

Today I am bringing you another kids craft courtesy of my mom, Christine Wolzl. It looks like a great little craft to help your kids understand the Easter story and most of the supplies you likely already have around your house. If you aren’t a religious person, I still love the little cave idea to use for a bunny home this time of year or even as a bear den to help your kids learn about hibernation!

Sunday is Palm Sunday, and the beginning of Holy Week. A lot happens in the final week of the life of Christ, so I created a set of props to help your young child learn about and retell the story. Too often the real story of Easter gets lost in the excitement of bunnies, eggs and chocolate. Making this project with your child will help your child experience the real reason why we have Easter. The original idea for the paper plate resurrection tomb came from a couple of ideas found on Pintrest. I took that idea and expanded it to include Palm Sunday, Holy Thursday, Good Friday as well as Easter Sunday. It is an easy and fun craft to do with your child, and the props will help them share the story with others.
Here is how to make it:
Collect the items you will need:
- a Styrofoam or paper plate (dinner sized)
- a paper lunch bag
- cardstock; white for the patterns, green for the palms, and assorted colours for little flowers
- 3 popsicle sticks
- permanent Sharpie markers
- Crayola or other regular markers
- glue gun
- scissors
- craft glue

Cut the Styrofoam plate in half.

Glue the two halves of the plate together with a glue gun. Cut a tomb entrance in the front half plate.

Make a popsicle cross by cutting one of the sticks in half and gluing it to the full stick with your glue gun. I trimmed the rounded edges off as well, using a pair of pruning snips.
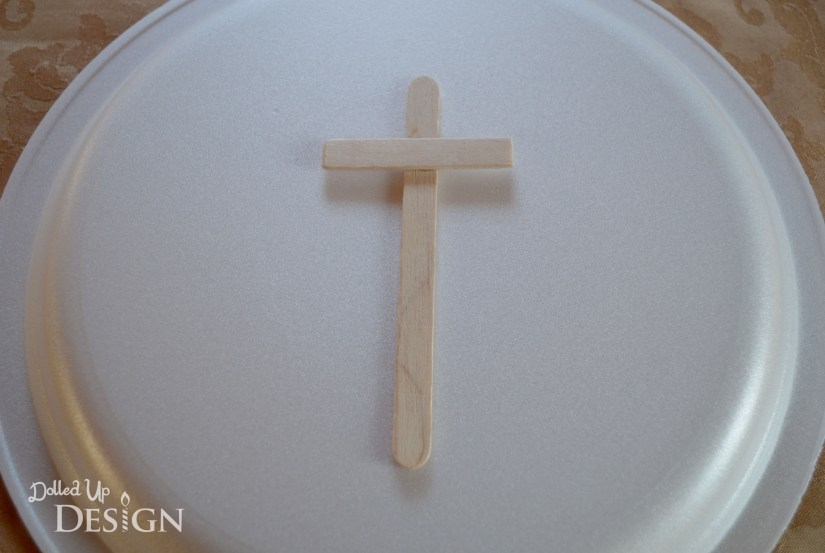
In the back half plate of the tomb, punch a small hole and insert the popsicle stick cross. I used a bit of glue gun glue to hold the cross in place.

Decorate the front of the tomb with grass, flowers, and stone work. Use permanent Sharpie markers as regular markers will rub off. The flowers can be drawn on with the Sharpie markers, or can be made from coloured card stock with a punch, or cut out freehand. The flowers and grass represent the Garden of Gethsemane where Jesus goes to pray after his Last Supper, and where he is betrayed to the soldiers by Judas.

Download the pictures of Jesus and the bread and wine, and print them on white card stock. I have sized both images for this project in this Holy Week Craft Images pdf download.
The original Jesus image can be found here: http://familyfeastandferia.com/wp-content/uploads/2011/04/JonahProjectJonah.pdf and the bread and wine can be found here: https://missionbibleclass.files.wordpress.com/2011/08/d07_meaning-of-lords-supper.png
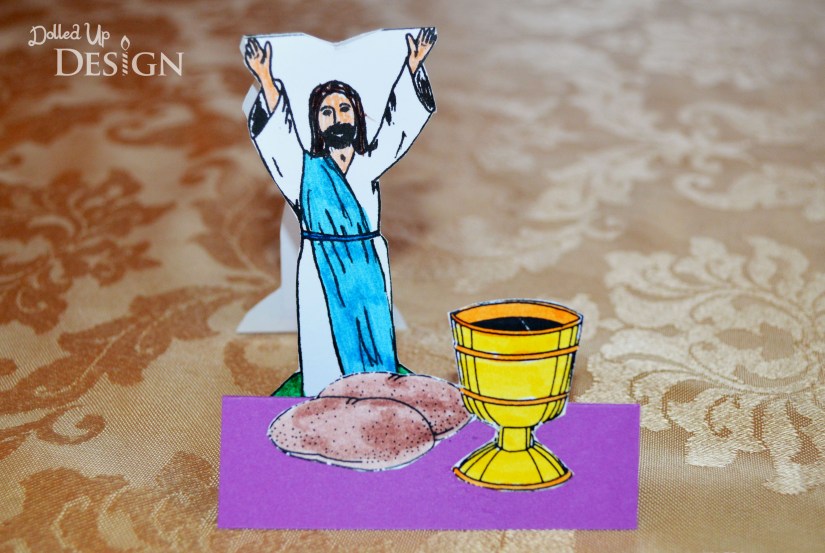
Colour and cut out the Jesus figure. Cut a V notch out of the top of the figure in the white area. (The notch has to be big enough for Jesus to fit over the top of the cross.)

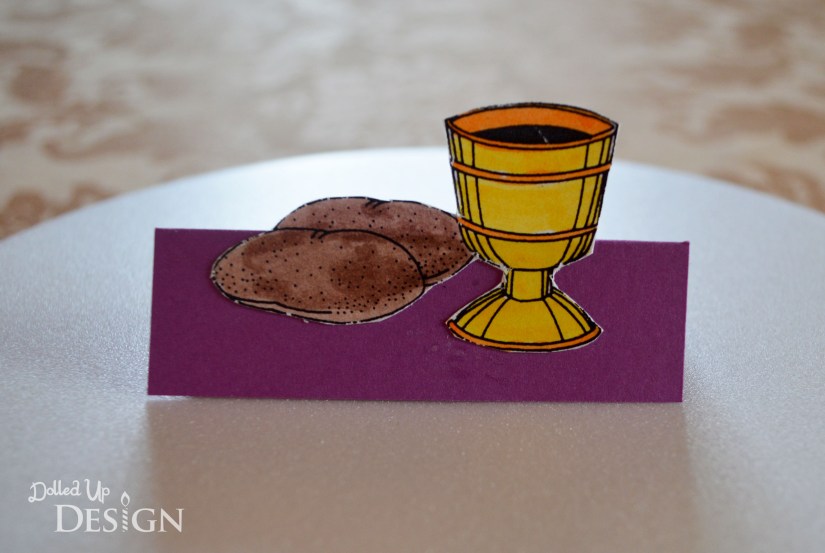
Colour and cut out the bread and wine picture. Glue onto a 2 inch by 3 inch piece of purple card stock which has been folded in half like a tent. This represents the table at the Last Supper.
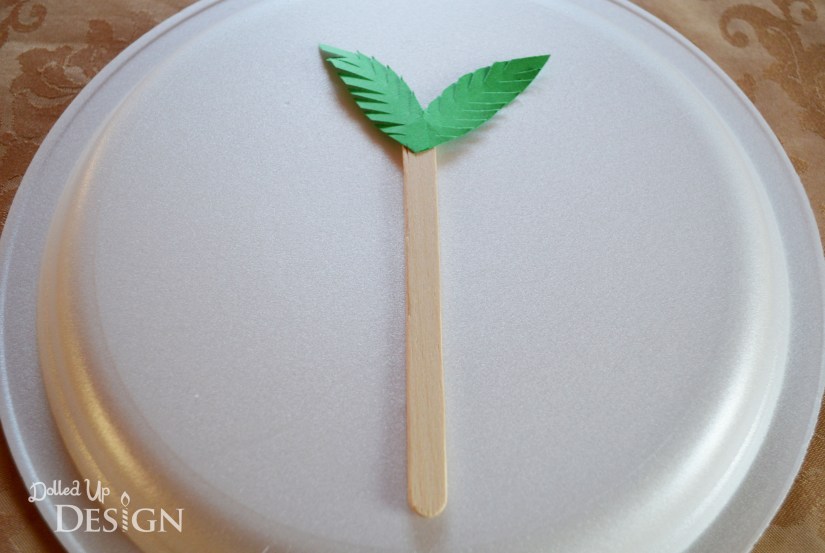
From a piece of green card stock make 2 palm leaves and glue them to the top of the popsicle stick. This represents Palm Sunday.
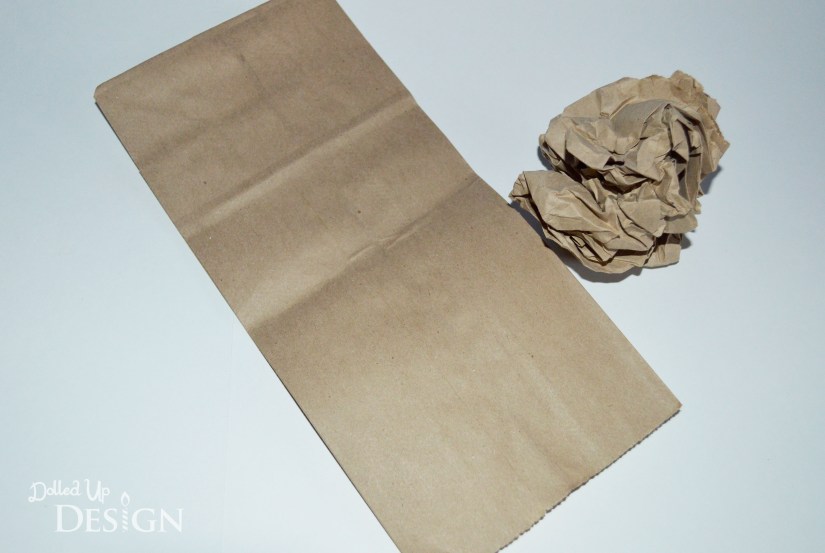
Open a paper bag and then scrunch it up into a ball. This will be the stone in front of the tomb.
Line the props up in this order: Jesus, palm branch, bread and wine, tomb and stone.

As you read or tell the story of Holy Week, have your child do the actions with Jesus. You can tell the story in your own words, read a children’s story of Holy Week, or read the sequence from out of the Bible.
For Pam Sunday, wave the palms in front of Jesus.

For Holy Thursday, have your child move Jesus behind the table with the bread and wine.
Then move Jesus in front of the flowers. This is the Garden of Gethsemane where Jesus is praying.

For Good Friday, have your child hang Jesus on the cross (the notch made in the top of the Jesus figure slips over the top of the cross.)

Then take Jesus down from the cross, put him in the tomb, and roll the stone in front of the tomb.


For Easter Sunday, roll the stone away and bring the risen Jesus out of the tomb.

I hope you enjoy making this Holy Week craft with your child. Have a faith filled Easter!
