

We celebrated my husband’s birthday over the weekend. He says he doesn’t really care whether or not I do anything for it, but I do like to try and make it special. It is especially hard since I go all out for the kids birthdays and that leaves them expecting something spectacular every time there is a birthday in the house to celebrate.
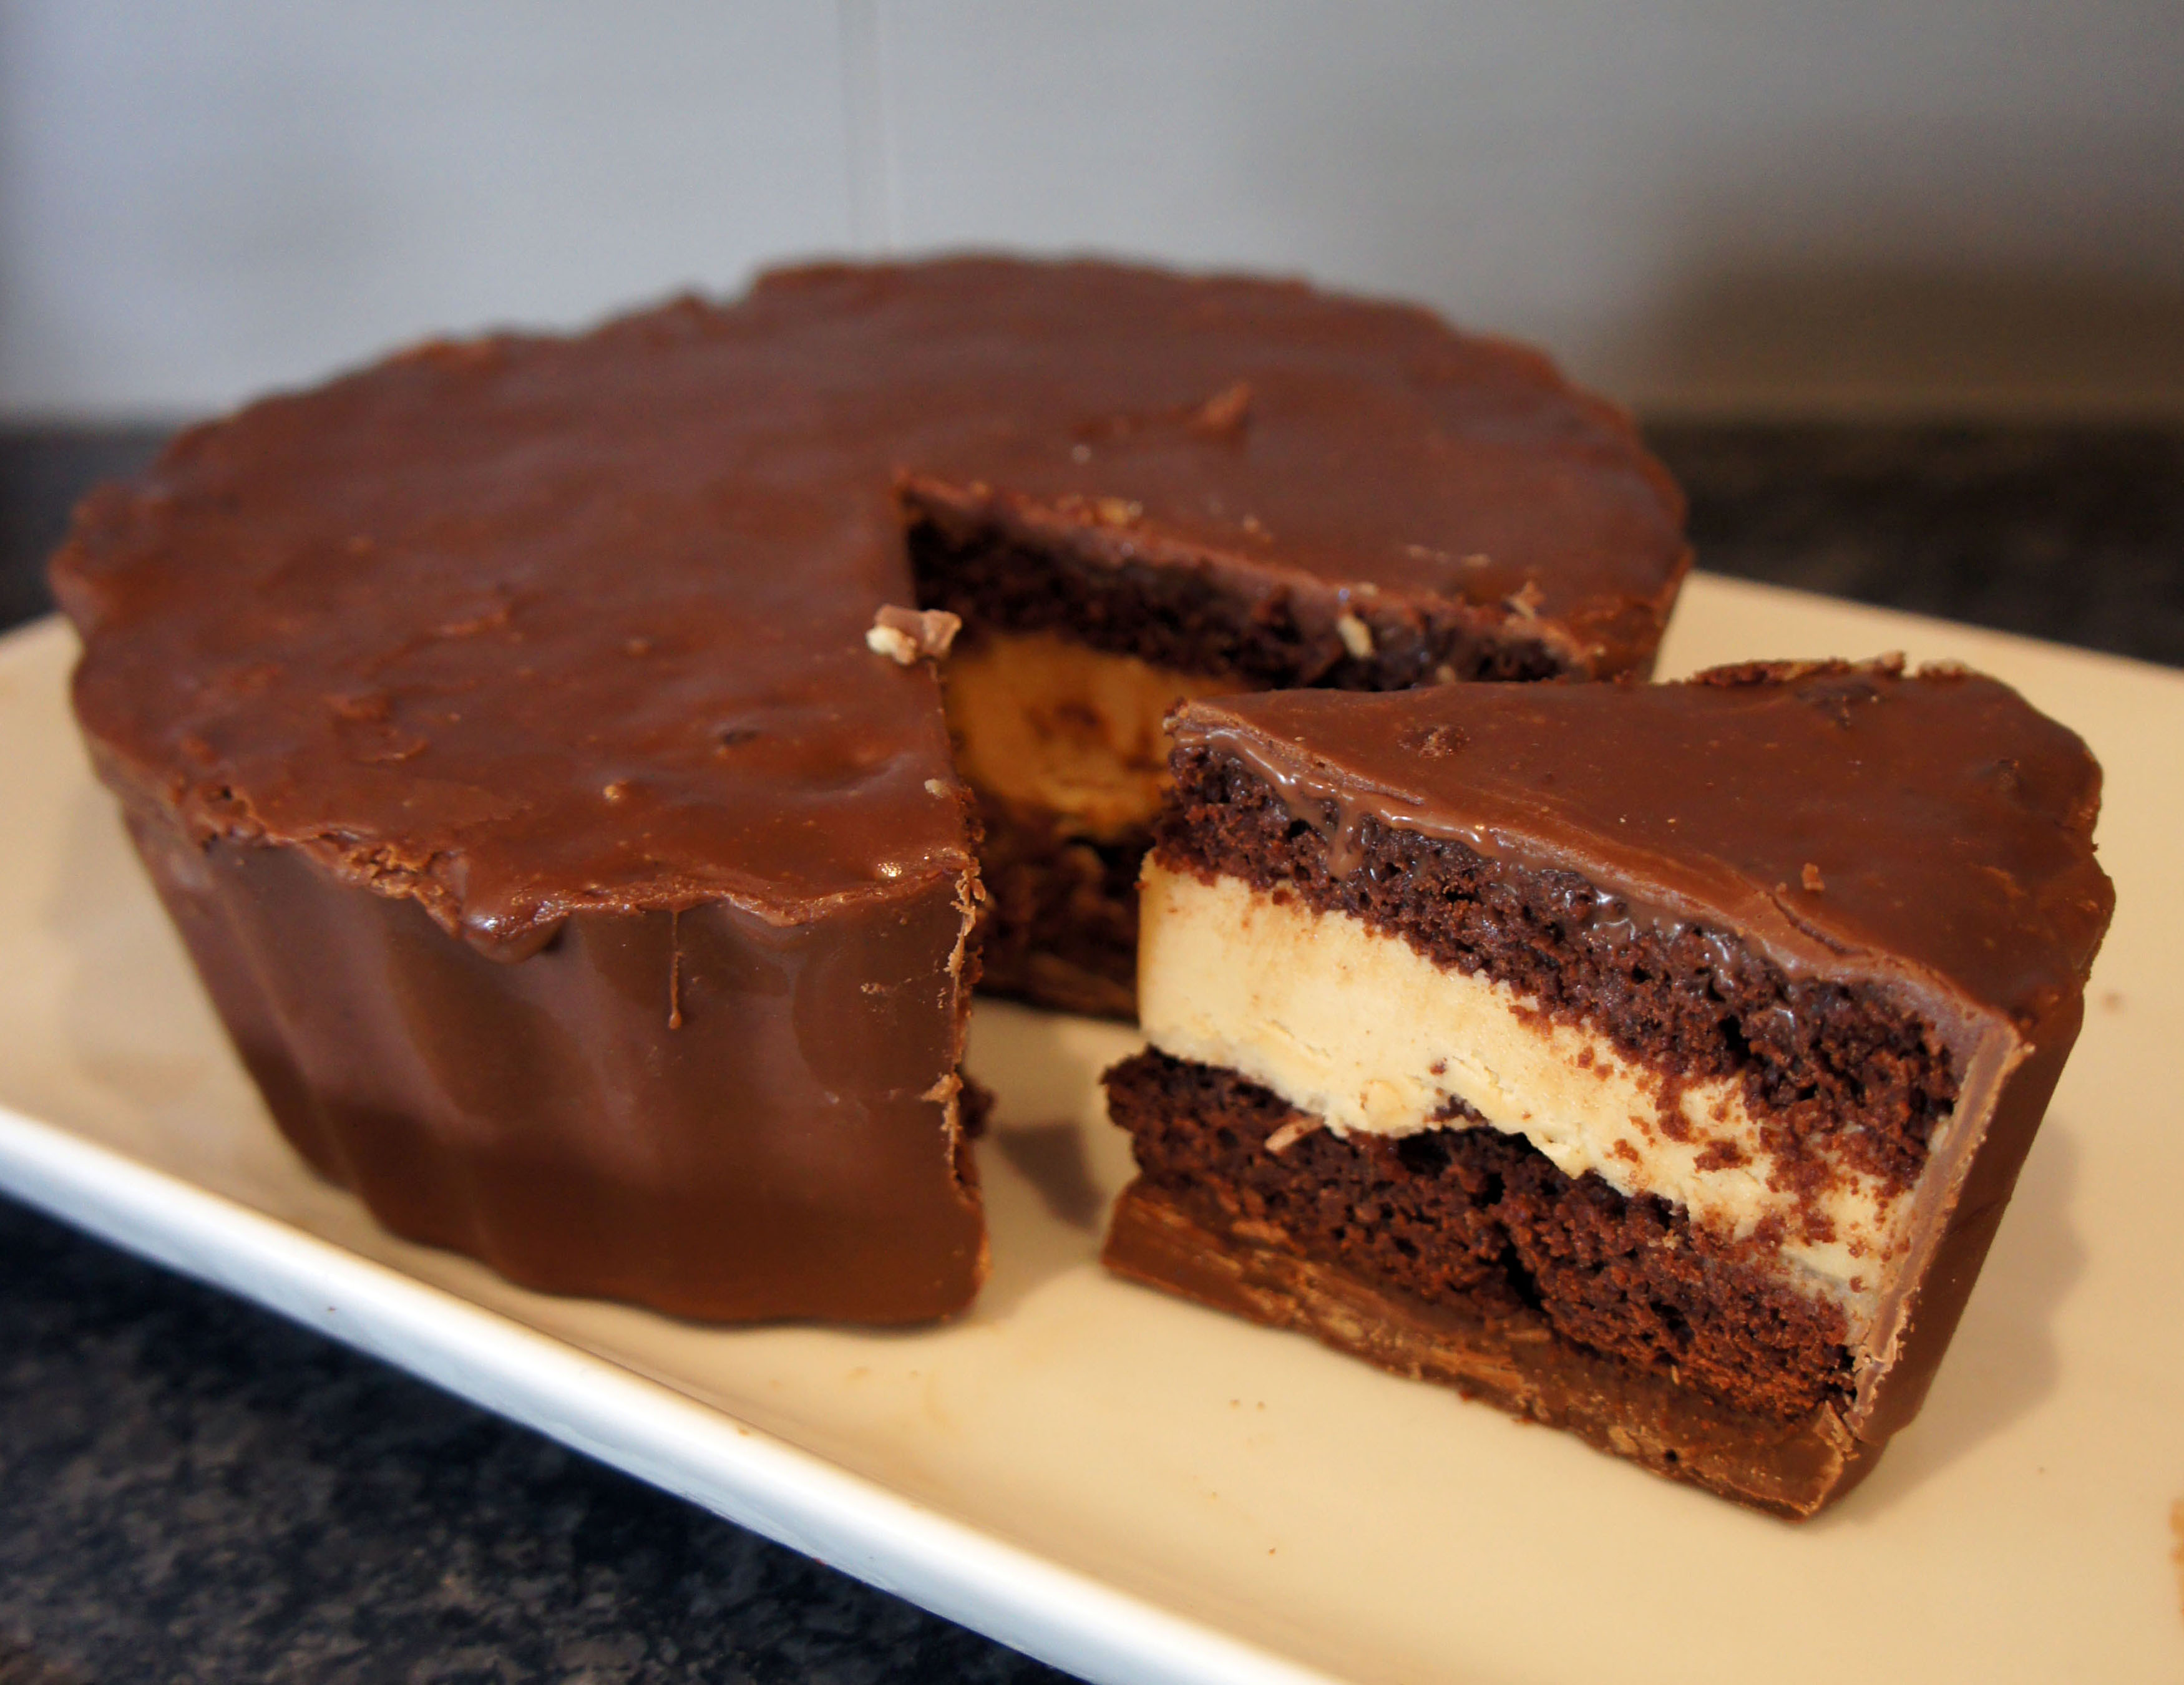
I have tried planning parties/get togethers for him in the past and it has always been a big bust. This year it was just our family of four and my brother and new sister in law who joined us for one final dinner before they head off across the country for school in Halifax. My original plan was to try go-karting, but the weather wasn’t very cooperative and my silly husband preferred to spend the day hauling rock, raking out sand and laying the patio in our backyard. We ended up just having a really nice barbeque dinner and I surprised him by making a giant cake version of his favorite chocolate bar:

Inside the chocolate shell of his giant peanut butter cups were layers of chocolate cake, peanut butter buttercream frosting and chocolate ganache. With that combo I knew it was going to be good, but I was still surprised how delicious the final result actually was!
I didn’t really follow a recipe.
The cake layer was a boxed mix, baked in the bottom section of my giant cupcake pan to give me the right shape.
The peanut butter frosting was actually some leftover buttercream I had frozen from doing my brother’s wedding cake at the beginning of the month. Once thawed, I whipped it in my stand mixer with a couple giant spoonfuls of peanut butter.
The outer shells were simply melted milk chocolate chips I spread with a spatula into the cupcake base section of the same giant cupcake tin. I did it in two layers and once hardened in the fridge they were fairly easy to pop out of the pan in one solid piece. This is a method I had done before for my daughters giant cupcake birthday cake so I was fairly confident it would work out.
The chocolate ganache layer on top was a basic ganache recipe made by melting the same milk chocolate chips with some whipping cream. I did mine in the microwave to keep it easy.
I had the basic idea in my head and was very happy to discover this great instructional video on youtube. I could post a recipe and directions, but MyCupcakeAddiction does such a great job that you might as well just check out her Make a GIANT Reese’s Peanut Butter Cup video! Hers is prettier then mine, but in the end I was pretty happy with my results.

I don’t decorate for my husband’s birthday as I would for the kids, but I do like to throw up a birthday banner to recognize the day and add a festive feel to the house for the kids. I ended up finding some baseball themed paper plates and napkins at Michaels, so my 4 year old and I decided to go with a bit of a baseball theme since lately daddy has been really into watching the Toronto Blue Jays play.

Do you recognize the letters in the birthday banner? It is repurposed from Keira’s Snow White Picnic Party we had back in May.
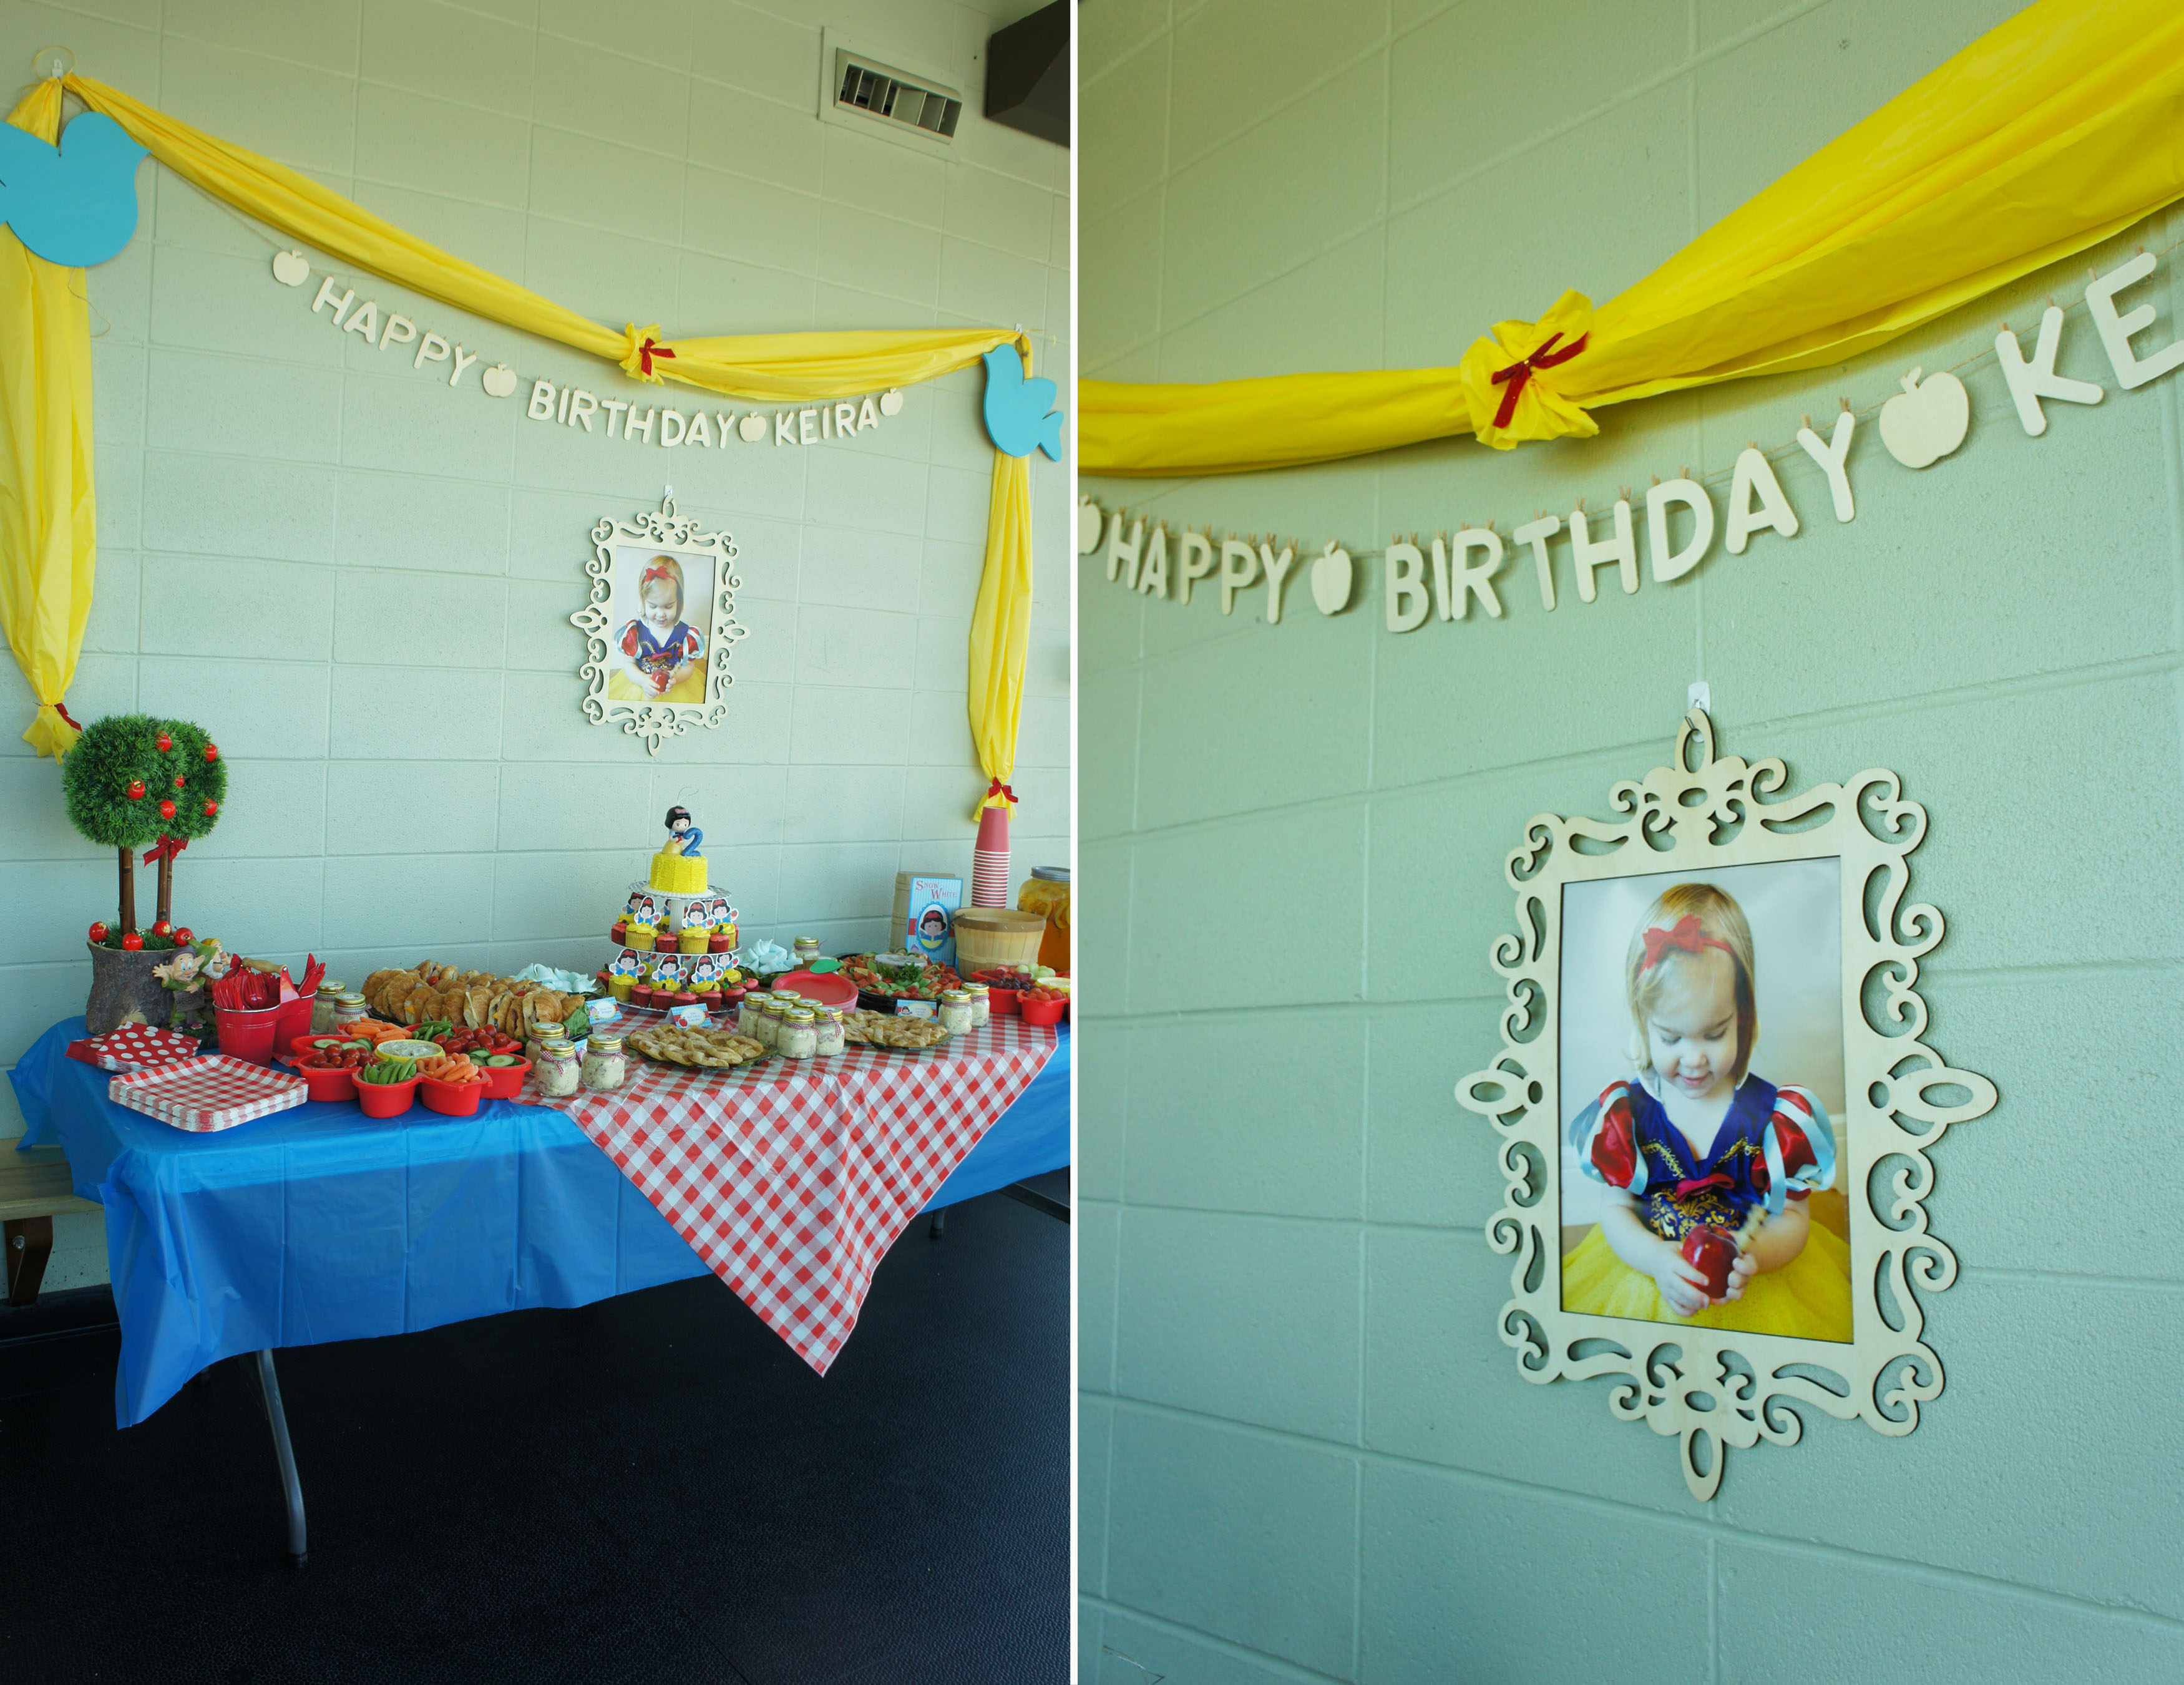
I loved the simplicity of this birch birthday banner I came across from scoutmob.com and was looking for an easy, inexpensive way to replicate it for her party.
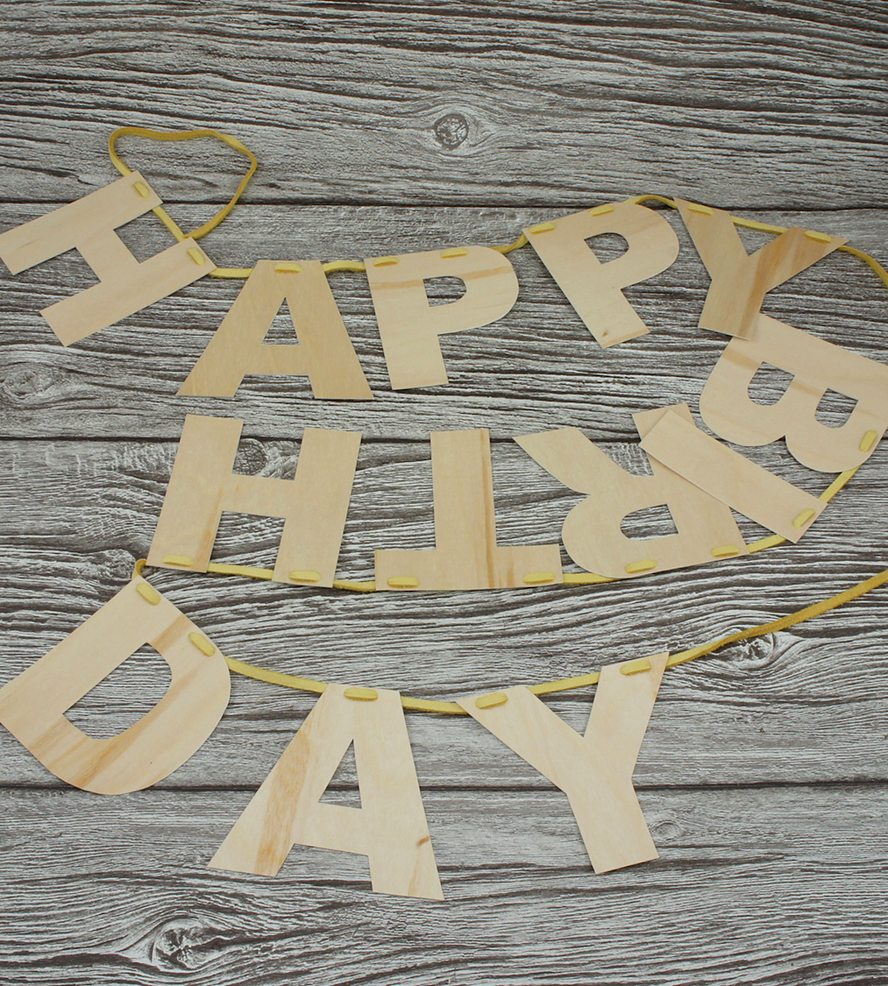
As with most of my projects, the solution was found within the aisles of Dollarama. I came across these wooden letters in the craft section and grabbed a few bags to give me the letters I needed to spell out “Happy Birthday Keira”. I needed a way to attach the letters to my twine, so I picked up a bag of mini clothespins at Michaels and decided to hot glue those to each of the letters. As I was doing this I had a bit of an AHA! moment and realized that the clothespins would make the letters totally reuseable and reconfigurable.
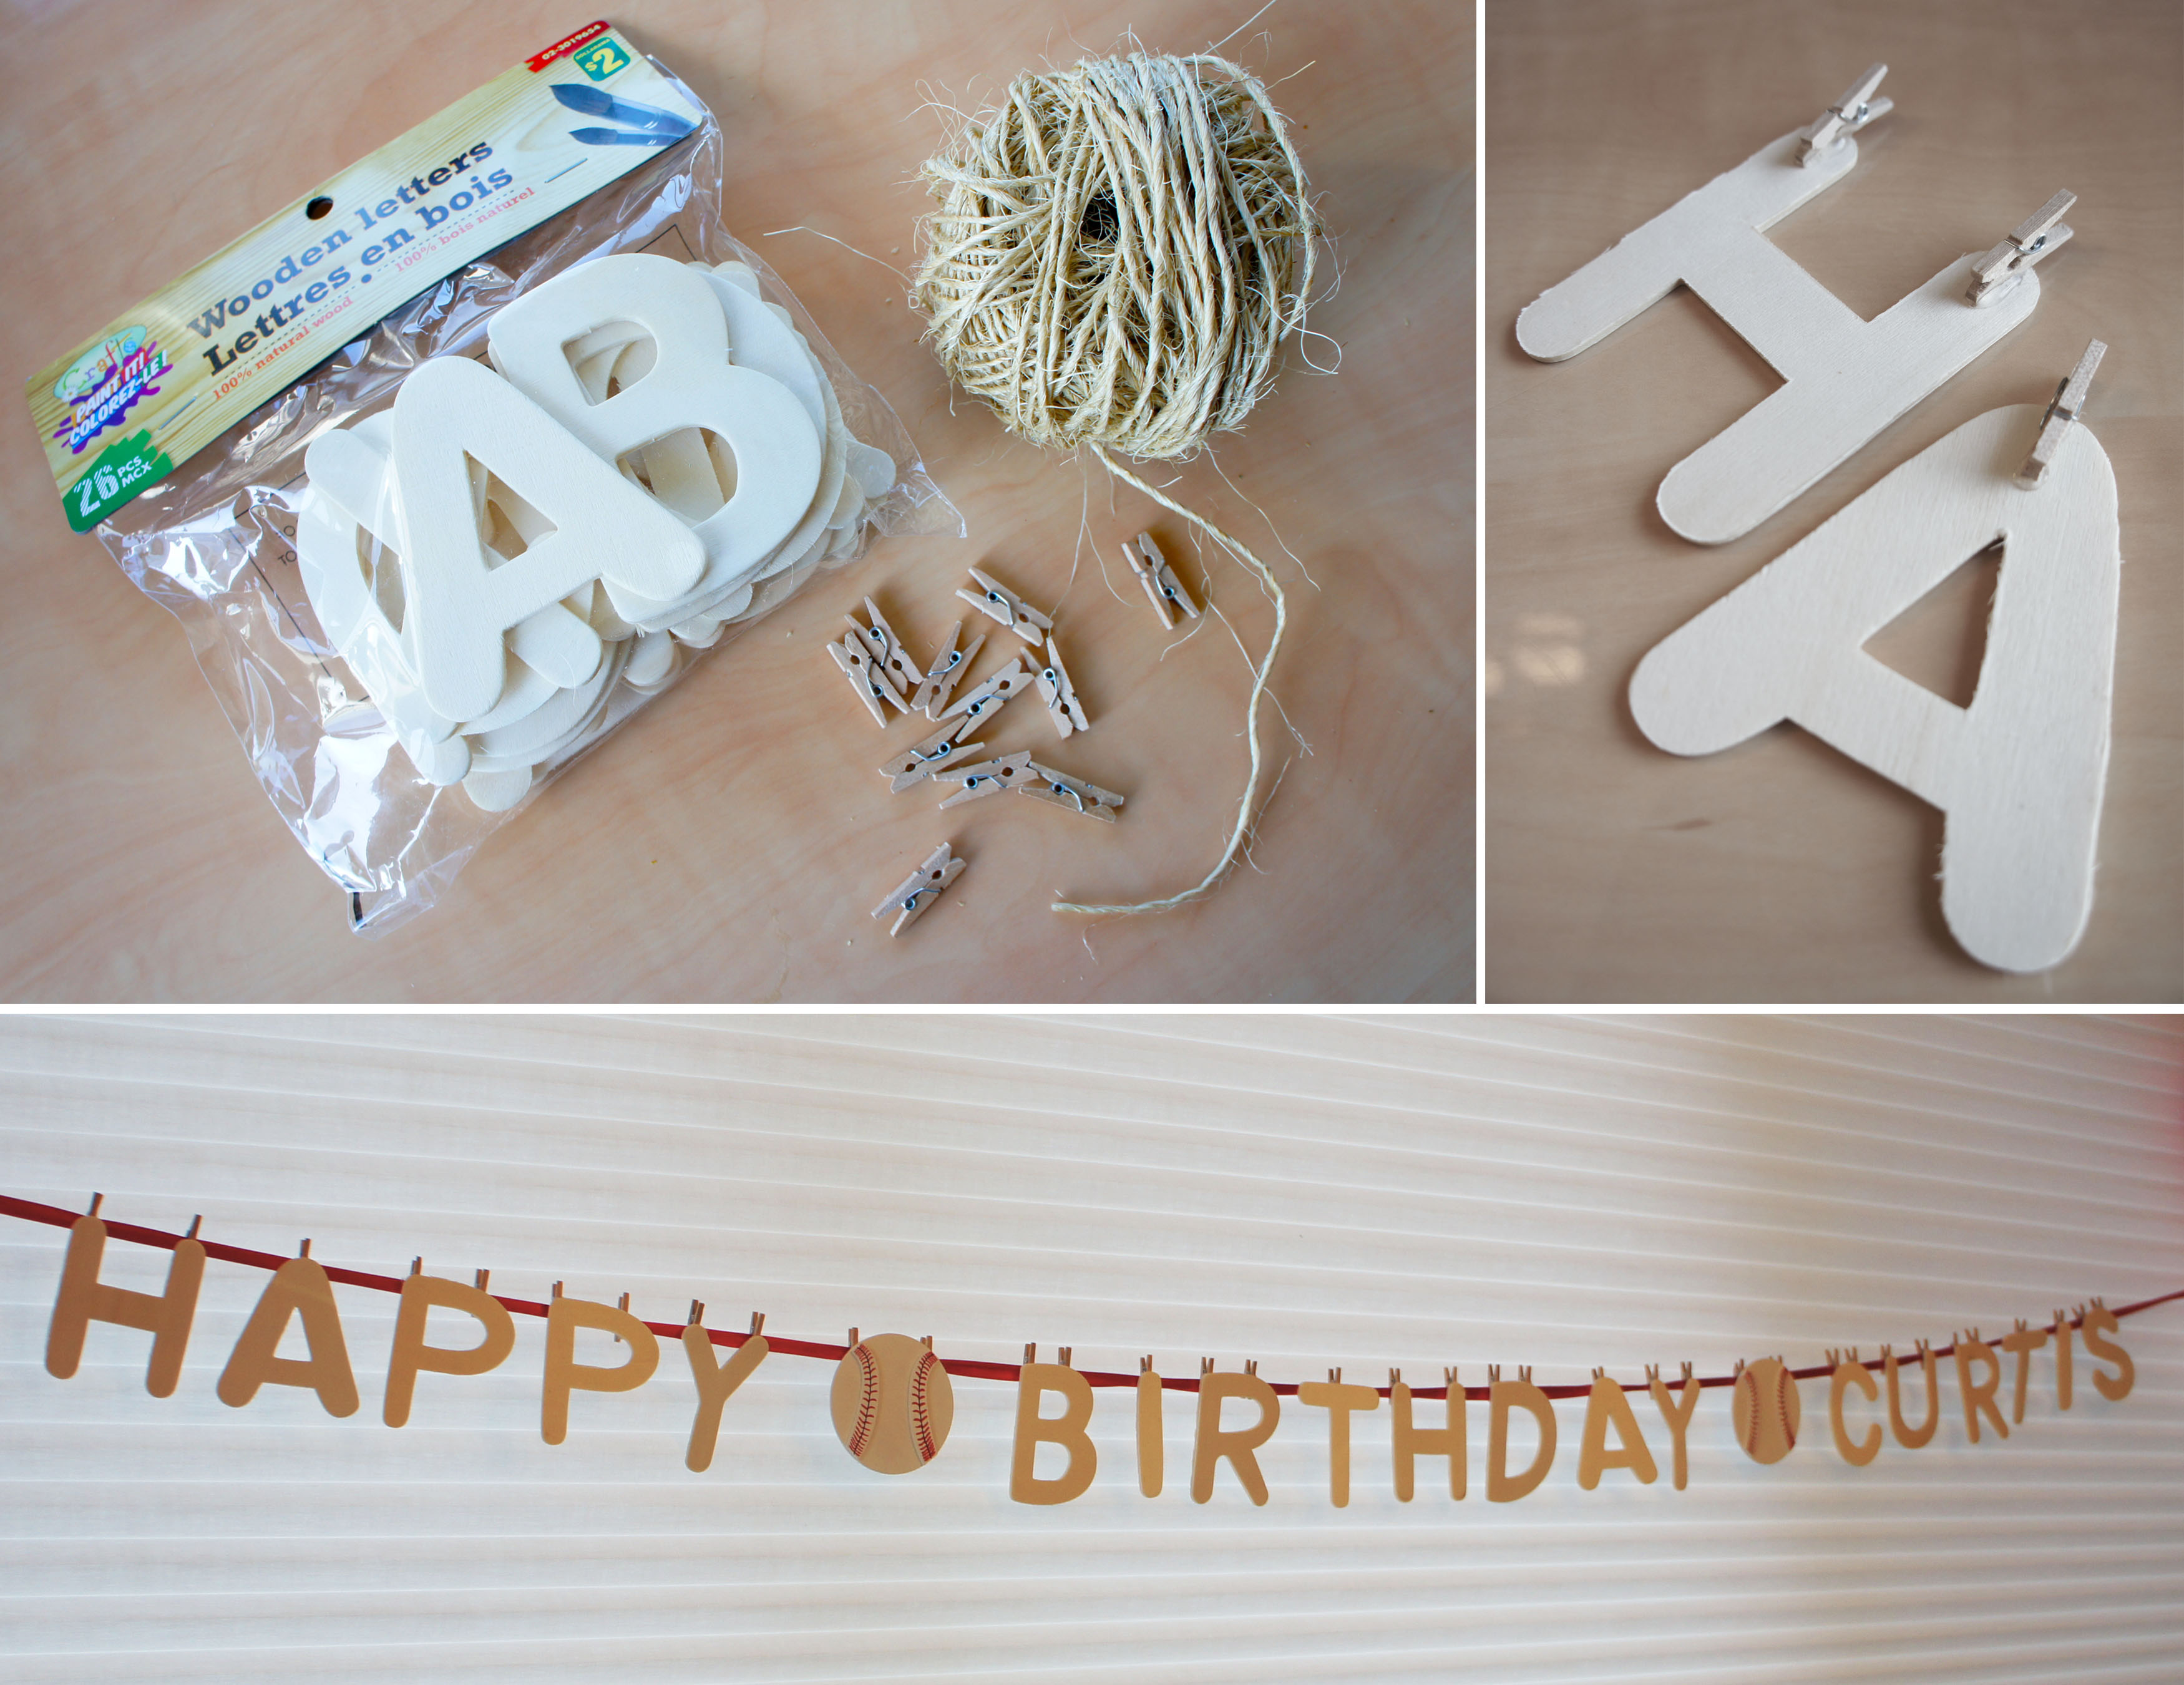
For the Snow White themed banner I picked up some apple wooden shapes at Micheals to fit in between the words. I loved the little extra touch they added so I decided to add baseball’s to daddy’s birthday banner. They have all kinds of great painted and unpainted wooden shapes at Michaels (pirate ships, puppies, lady bugs, cupcakes) so it wasn’t hard to find something that worked with my theme. To attach them, I hot glued the same mini clothespins on that I had used for the letters.
And just to show how versatile this idea is, here are the same letters strung across the cake table I did at my brother’s wedding. (Which I still need to do a full post on!)
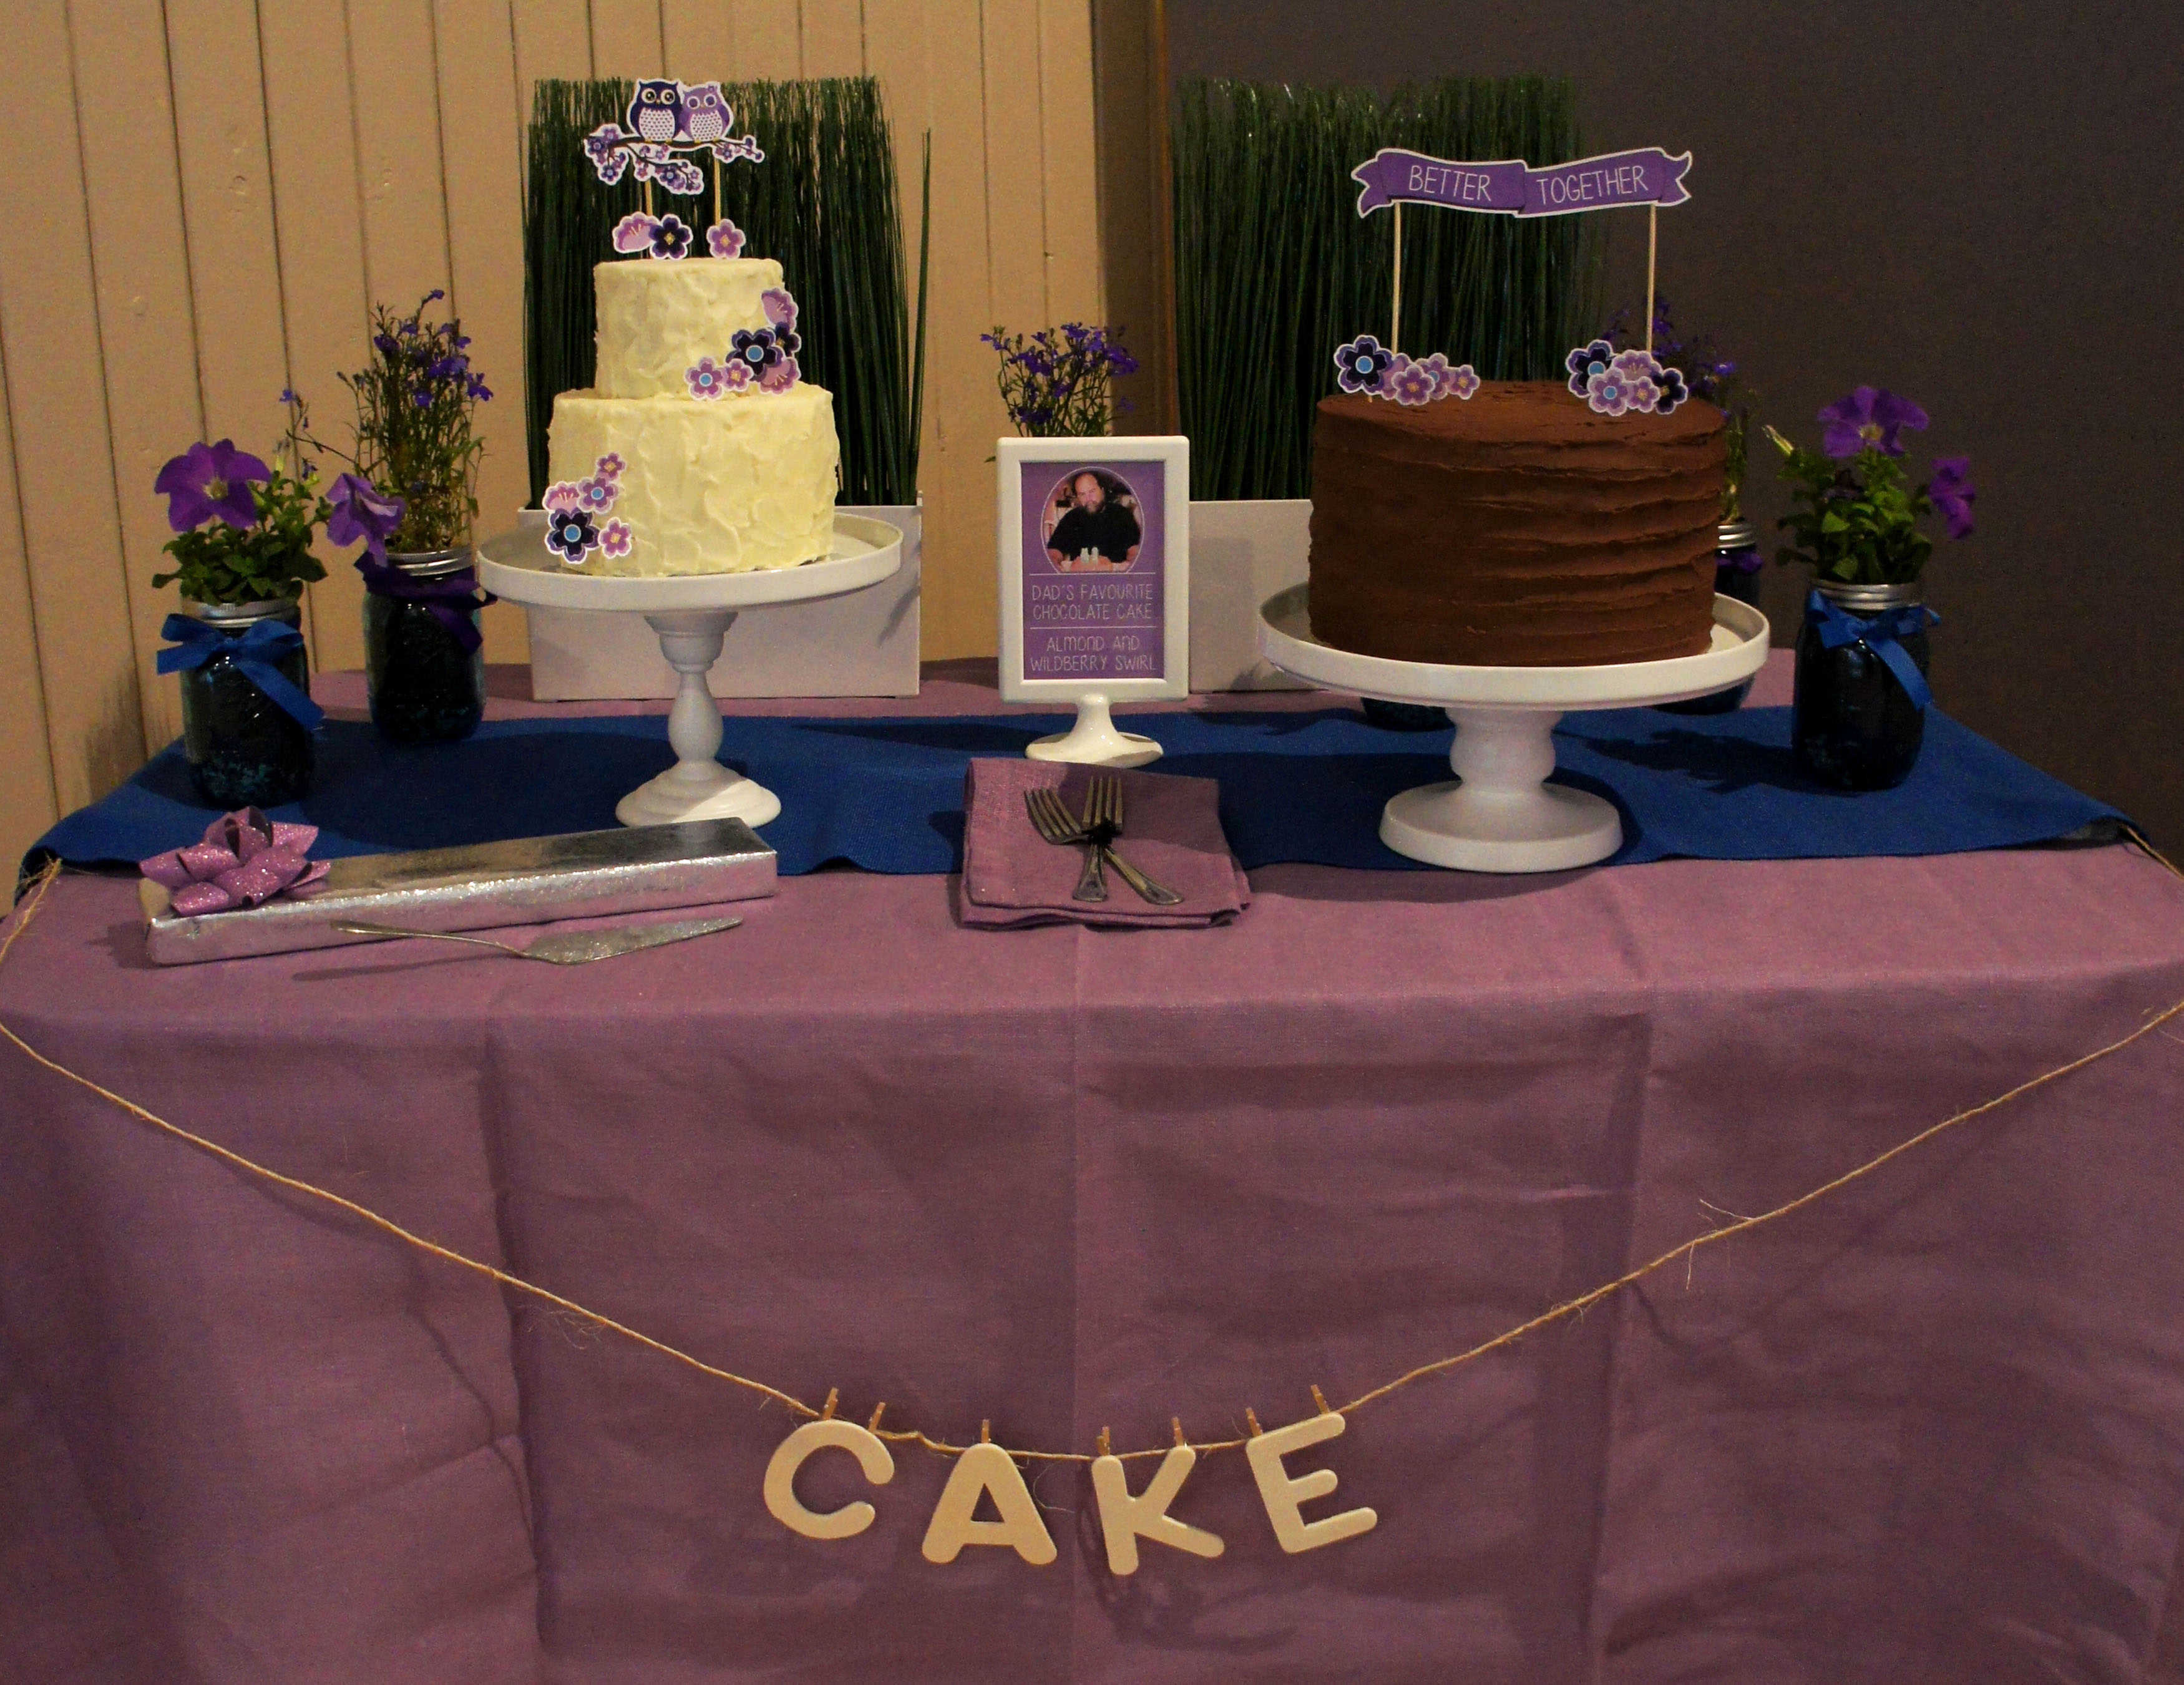
The possibilities really are endless for spelling out everything from Happy Birthday to Merry Christmas or Happy Easter. The ribbon or twine can easily be switched out to match your party theme and the inexpensive wooden shapes help add that little extra touch. This is a great item to have in the party cupboard and mine has already gotten great use just in the two months since I made them.