Doll House, Our Forever Home

Finding Furniture and Decor Decisions

Last week was a rough week on my husband’s credit card.  As we count down the days until we get possession of our new house, we have been busy ordering big ticket items like blinds and furniture, and shopping for décor items to help turn our new house into a home we can enjoy and be proud of.

My husband got to make the final decision on the new sectional couch for our bonus room so he left it up to me to select the couch and loveseat for the living room.  This proved to be a much more overwhelming task then I was expecting.  After many shopping trips we felt like we had exhausted all our options (and the kids patience) so we finally settled on and ordered this pair from Ashley Furniture over the weekend.

SofaSet

The shape is clean and modern like I was looking for and the grey should go nicely with the other selections we have made in the house.  We weren’t able to view the actual couch in store or see a fabric swatch, so I am really hoping I love the set as much once it is in my home.  Fingers crossed.

The other item we ordered through Ashley was this colorful accent rug.  Again we weren’t able to see and feel it in person so I really hope it lives up to my expectations.

Rug

I did some playing around in Photoshop and this is the overall look and feel I think I am going for in my new living room.  The chevron curtains are already bought and I think I have found the right paint color for the accent wall so all that is left will be buying a few throw pillows and finding the right coffee table.

Print

Originally I was wanting something colorful and patterned for an accent chair, but I think I am kind of digging the idea of the Ikea Poang chair in the simple cream color.  It is clean and bright and ties in nicely with the cream stripes in the carpet.

For our bedroom, I think I have decided on this green and grey comforter set.  I will likely paint the back wall behind our bed in a rich grey color and then will need to find a few green accent pieces to finish it off, like the bench in my picture.  I am also considering painting out our walk-in closet in a muted green before my husband installs the Ikea PAX shelving units we have for it.

Bedroom

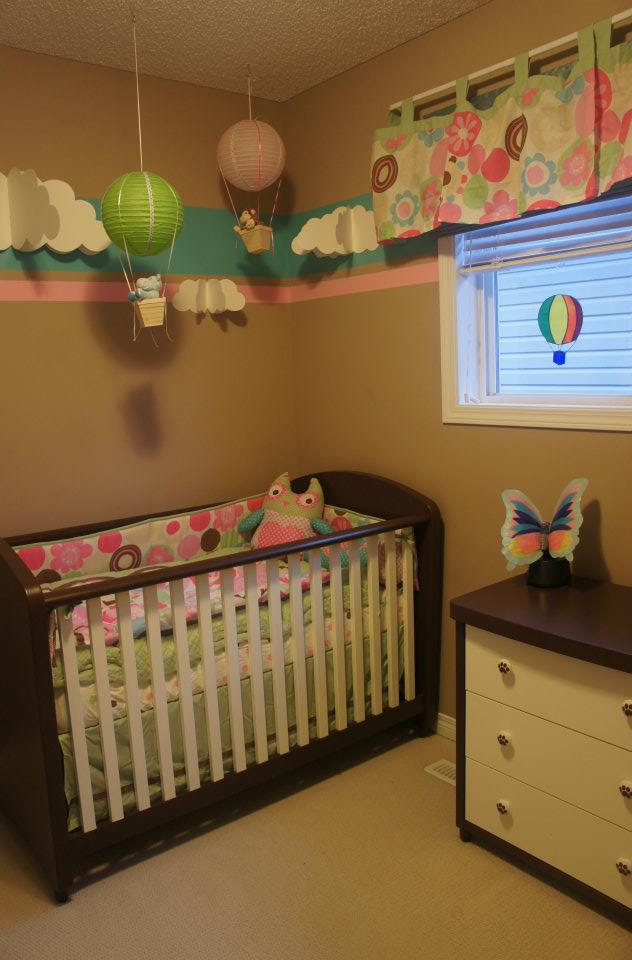
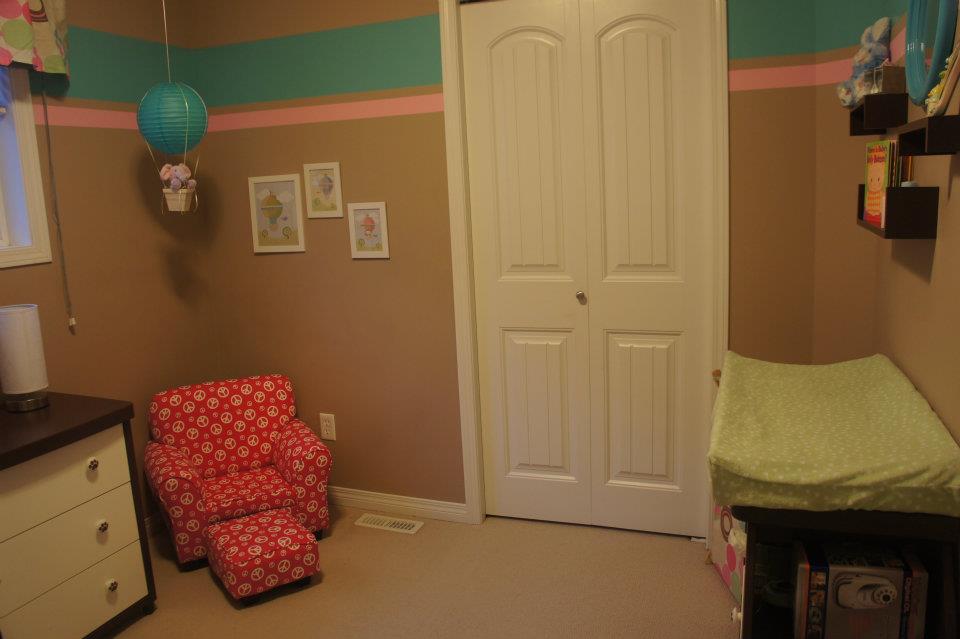
Finally, the other room I have been focusing on this past week is my soon-to-be 4 year olds room.  I really want the move to be fun for him and for him to feel comfortable in his new bedroom.  I was hoping for something without characters, but he is insisting on a Ninja Turtle room so that is what he’s going to get.  Luckily Grandma and Grandpa are currently in California so we had them pick up a Turtle bedding set I found and liked at Walmart down there.  I also ordered a large Michelangelo decal online that will be going on one of his walls.

CamdensRoom

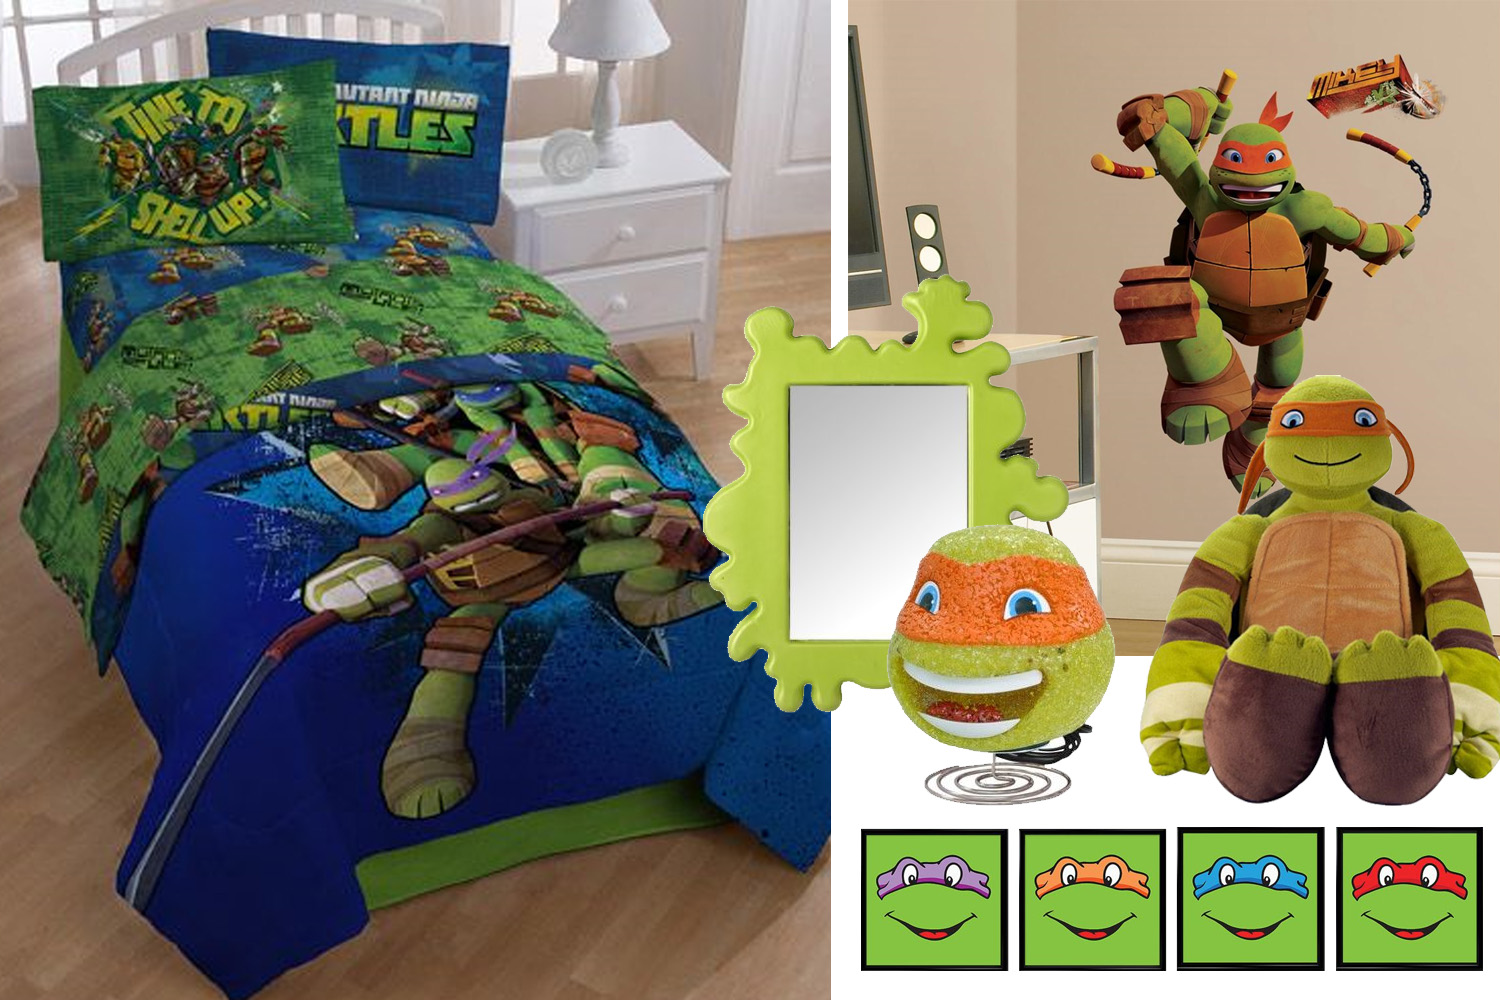
I have a few other things pinned on my Ninja Turtle Bedroom board and will probably incorporate some more artwork once we are moved in and I get a better feel for the room.

23 more days until we get the house and my vision can start turning into reality.  I can’t wait to share the finished rooms with you!

Advertisement
Big Hands, Crafts, Doll House, Our Forever Home

DIY Scrabble Tile Pillows

SONY DSC

I have had this Scrabble tile pillow idea pinned on my pinterest boards forever – since before we even started thinking of buying a new house.  My husband and I both enjoy playing Scrabble so I instantly fell in love with the idea and have been waiting for just the right time/place to use the idea.  After weeks of furniture shopping, we finally just ordered a large custom sectional for the bonus room of our new house and I knew it would be the perfect spot to incorporate the pillows.  I struggled choosing between the words “HOME” or “COZY”, but decided HOME worked best as the décor in our new forever home.

The method I used to create my pillows requires you to cut a stencil out of contact paper.  I had used this method previously to create pillowcases as part of my sister’s wedding gift (below), so I was fairly confident it would work for this project too.

SONY DSC

For the actual pillows, I found these 15×15″ pillows at Jysk.  The cover came off easily, they were a good match to the Scrabble tile colors and at only $3 per pillow I didn’t have to worry too much in case the project was an epic fail.  I am so happy to say it wasn’t and I am able to share this project with you.

Materials Required:

– Pillow covers (1 per letter in your word)

– Home Printer

– Contact Paper (I got mine at Michael’s)

– Exacto Knife (tools section of the dollar store)

– Scotch tape

– Paintbrush

– Black fabric paint

I began the project by laying out the letters and numbers in Adobe Illustrator using the font Arial Narrow Bold.  For my 15×15″ pillows, I ended up doing the letter in 700pt type and the smaller numbers in 365pt.  Once laid out, I printed the letters off on my home computer to use as my template to cut out my stencils from contact paper.

SONY DSC

If you are lucky enough to have a light table, that can be used to overlay the contact paper on the printed letters on cut them out.  I improvised by taping my letters and contact paper up on my patio door so the sunlight acted as a light table.  I then used my exacto knife and carefully cut out each letter/number.  TIP: When placing the contact paper, ensure the side that you peel off is facing down or your letters will be backwards.  For letters/numbers with centers such as the O or 4, you will need to keep the middle sections as part of your stencil.

From there, I placed the contact paper template on my pillowcases to determine exact alignment.  I begin by placing it with the backing still on and marking along the edges with scotch tape.  The tape then gives me a guide once I peel off the backing paper and go to stick it down.  It is a bit of a tricky process, but the contact paper is pretty easy to pull apart if it does stick on itself.  Just don’t try to reposition too much once stuck down because it results in a less clean edge.  Once stuck down, push along all edges to ensure there is a good bond and the paint won’t leak under the stencil.

SONY DSC

The final step is to begin painting.  Place a piece of cardboard inside the pillow so the paint does not leak through to the other side and just begin filling in the open areas with the paintbrush and fabric paint.  For clean edges, always start on the outside of the contact paper and brush in towards the open area.  It is a bit tedious, but it makes for sharper edges.  Once dry, just stuff the pillow back into the case and you are done!

SONY DSC

This method can be used for any type of image or lettering you want to put onto a pillow.  Using the Scrabble tile idea, the possibilities are endless – you could do your child’s name or initial, or spell out “LOVE” or “NAP” for your own bed.  It was a quick and easy project and I am very  happy with the final results.  Now to wait to get into our new house so I can see these on our pretty new sofa.

Doll House, Our First House

Up in the Clouds – Keira’s Hot Air Balloon Nursery

SONY DSC

Now that they are making good progress on our new house, my husband has suggesting it is time I start thinking about what I want to do with the kids new rooms.  It doesn’t seem that long ago since I worked on my little girl’s nursery and I think I will just reuse most of the décor items in her room until she is ready to be moved up to a big girl bed.

For her nursery, I chose a hot air balloon theme.  I wanted something bright and girly and it seemed like an easy theme to pull off with a few simple DIY projects.

576016_10151535222000497_384077708_n

I started with a bright bedding set and we added stripes of blue and pink paint around the room.  The blue stripe served as a sky-like background for simple 3D clouds I cut out of poster board and glues together using rubber cement.

577722_10151535243015497_1235609367_n

For the air balloons, I simply attached paper lanterns onto dollar store wooden baskets using ribbon and hot glue.  Each balloon was finished off with the addition of a cute animal in the basket and hung from the ceiling.

559517_10151535250290497_1099291338_n

We ended up using the crib and furniture from my son’s nursery, but I did find her a special pink chair.

530435_10151535238625497_915843981_n

I carried the balloon theme through onto some wall art I hung by the chair in basic white Ikea frames.

560764_10151535252285497_553736208_n

I am very happy with the finished space and will be a little sad to leave this house after spending so much time doing each of the kids nurseries.  I love the pink, green and blue color scheme and I am pretty sure there will be a similar color palette once I do design her a new room.

383534_10151535243260497_1080276145_n