Celebrations, Throwback Thursday, Uncategorized

Around the Year in 100 Posts!

OneYearLogo_BlogPost

Today marks one year since I decided to start sharing my ideas with the world through Dolled Up Design and what better way to share then in my 100th post!

I started this blog as an outlet for my creative ideas.  I love reading other blogs and seeing their great parties, interior decorating and creative food ideas.  I waste way too much time on Pinterest and decided I needed to start sharing back some of my own ideas rather then just creating board upon board of other people’s ideas.

This is a creative outlet for me.  I enjoyed my previous job as a graphic designer, but when I made the switch to being at home with the kids I felt my skills starting to fall to the wayside.  I began this blog as a way to try and establish myself as more then just “Camden and Keira’s mom” and am hoping in the process I might inspire other people to bring out their creative side.

I am surprised to see my post count as high as it is because it honestly doesn’t feel like I am able to spend as much time on my blog as I would like.  Between keeping up with the kids and moving this past year, this is definitely an accomplishment for me.  I am also proud and excited to have been chosen to join Moms & Munchkins as a Party Tip contributor so hopefully that gives me the push to come up with even more great ideas in the year ahead.  I have tons of projects floating around in my head, but it is always a matter of finding the time to execute and document these great ideas!

Like a lot of my projects, my blog is a work in progress.  The overall look of the blog still leaves something to be desired and the linking up to all the different avenues of social media makes my head spin!  There is definite room for improvement and I hope as I move forward and my blog continues to grow that it only continues to become better.

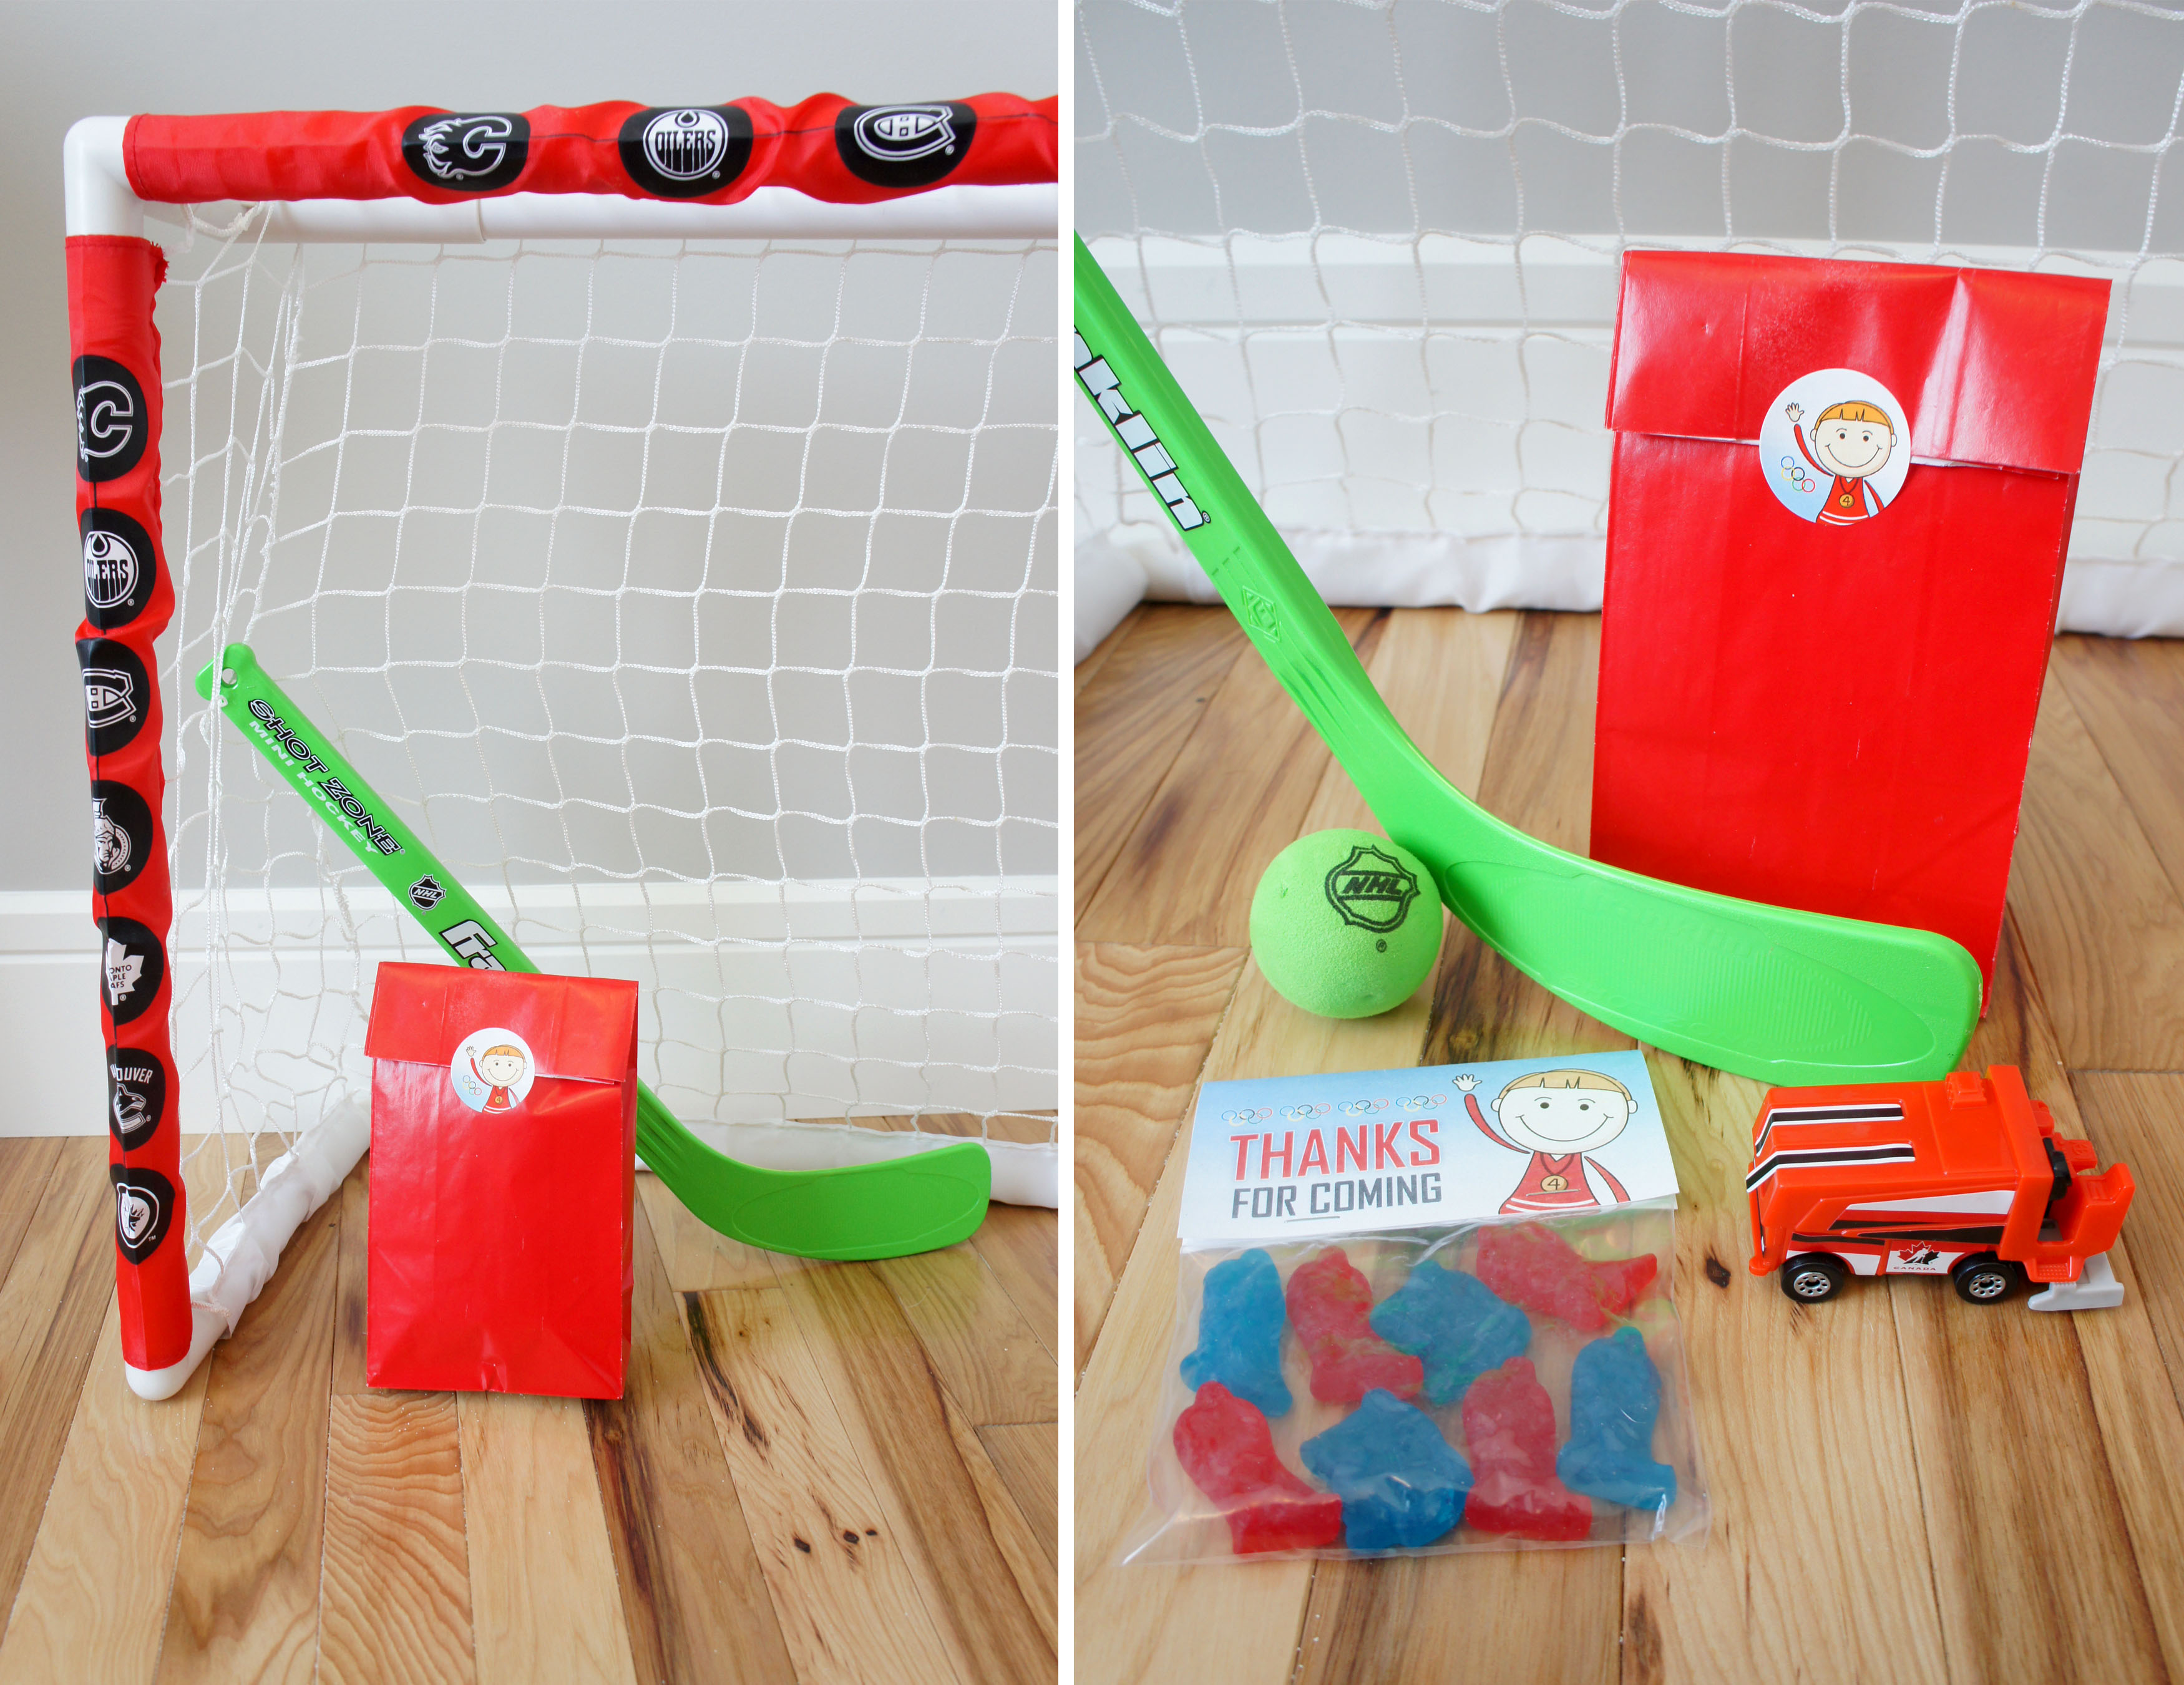
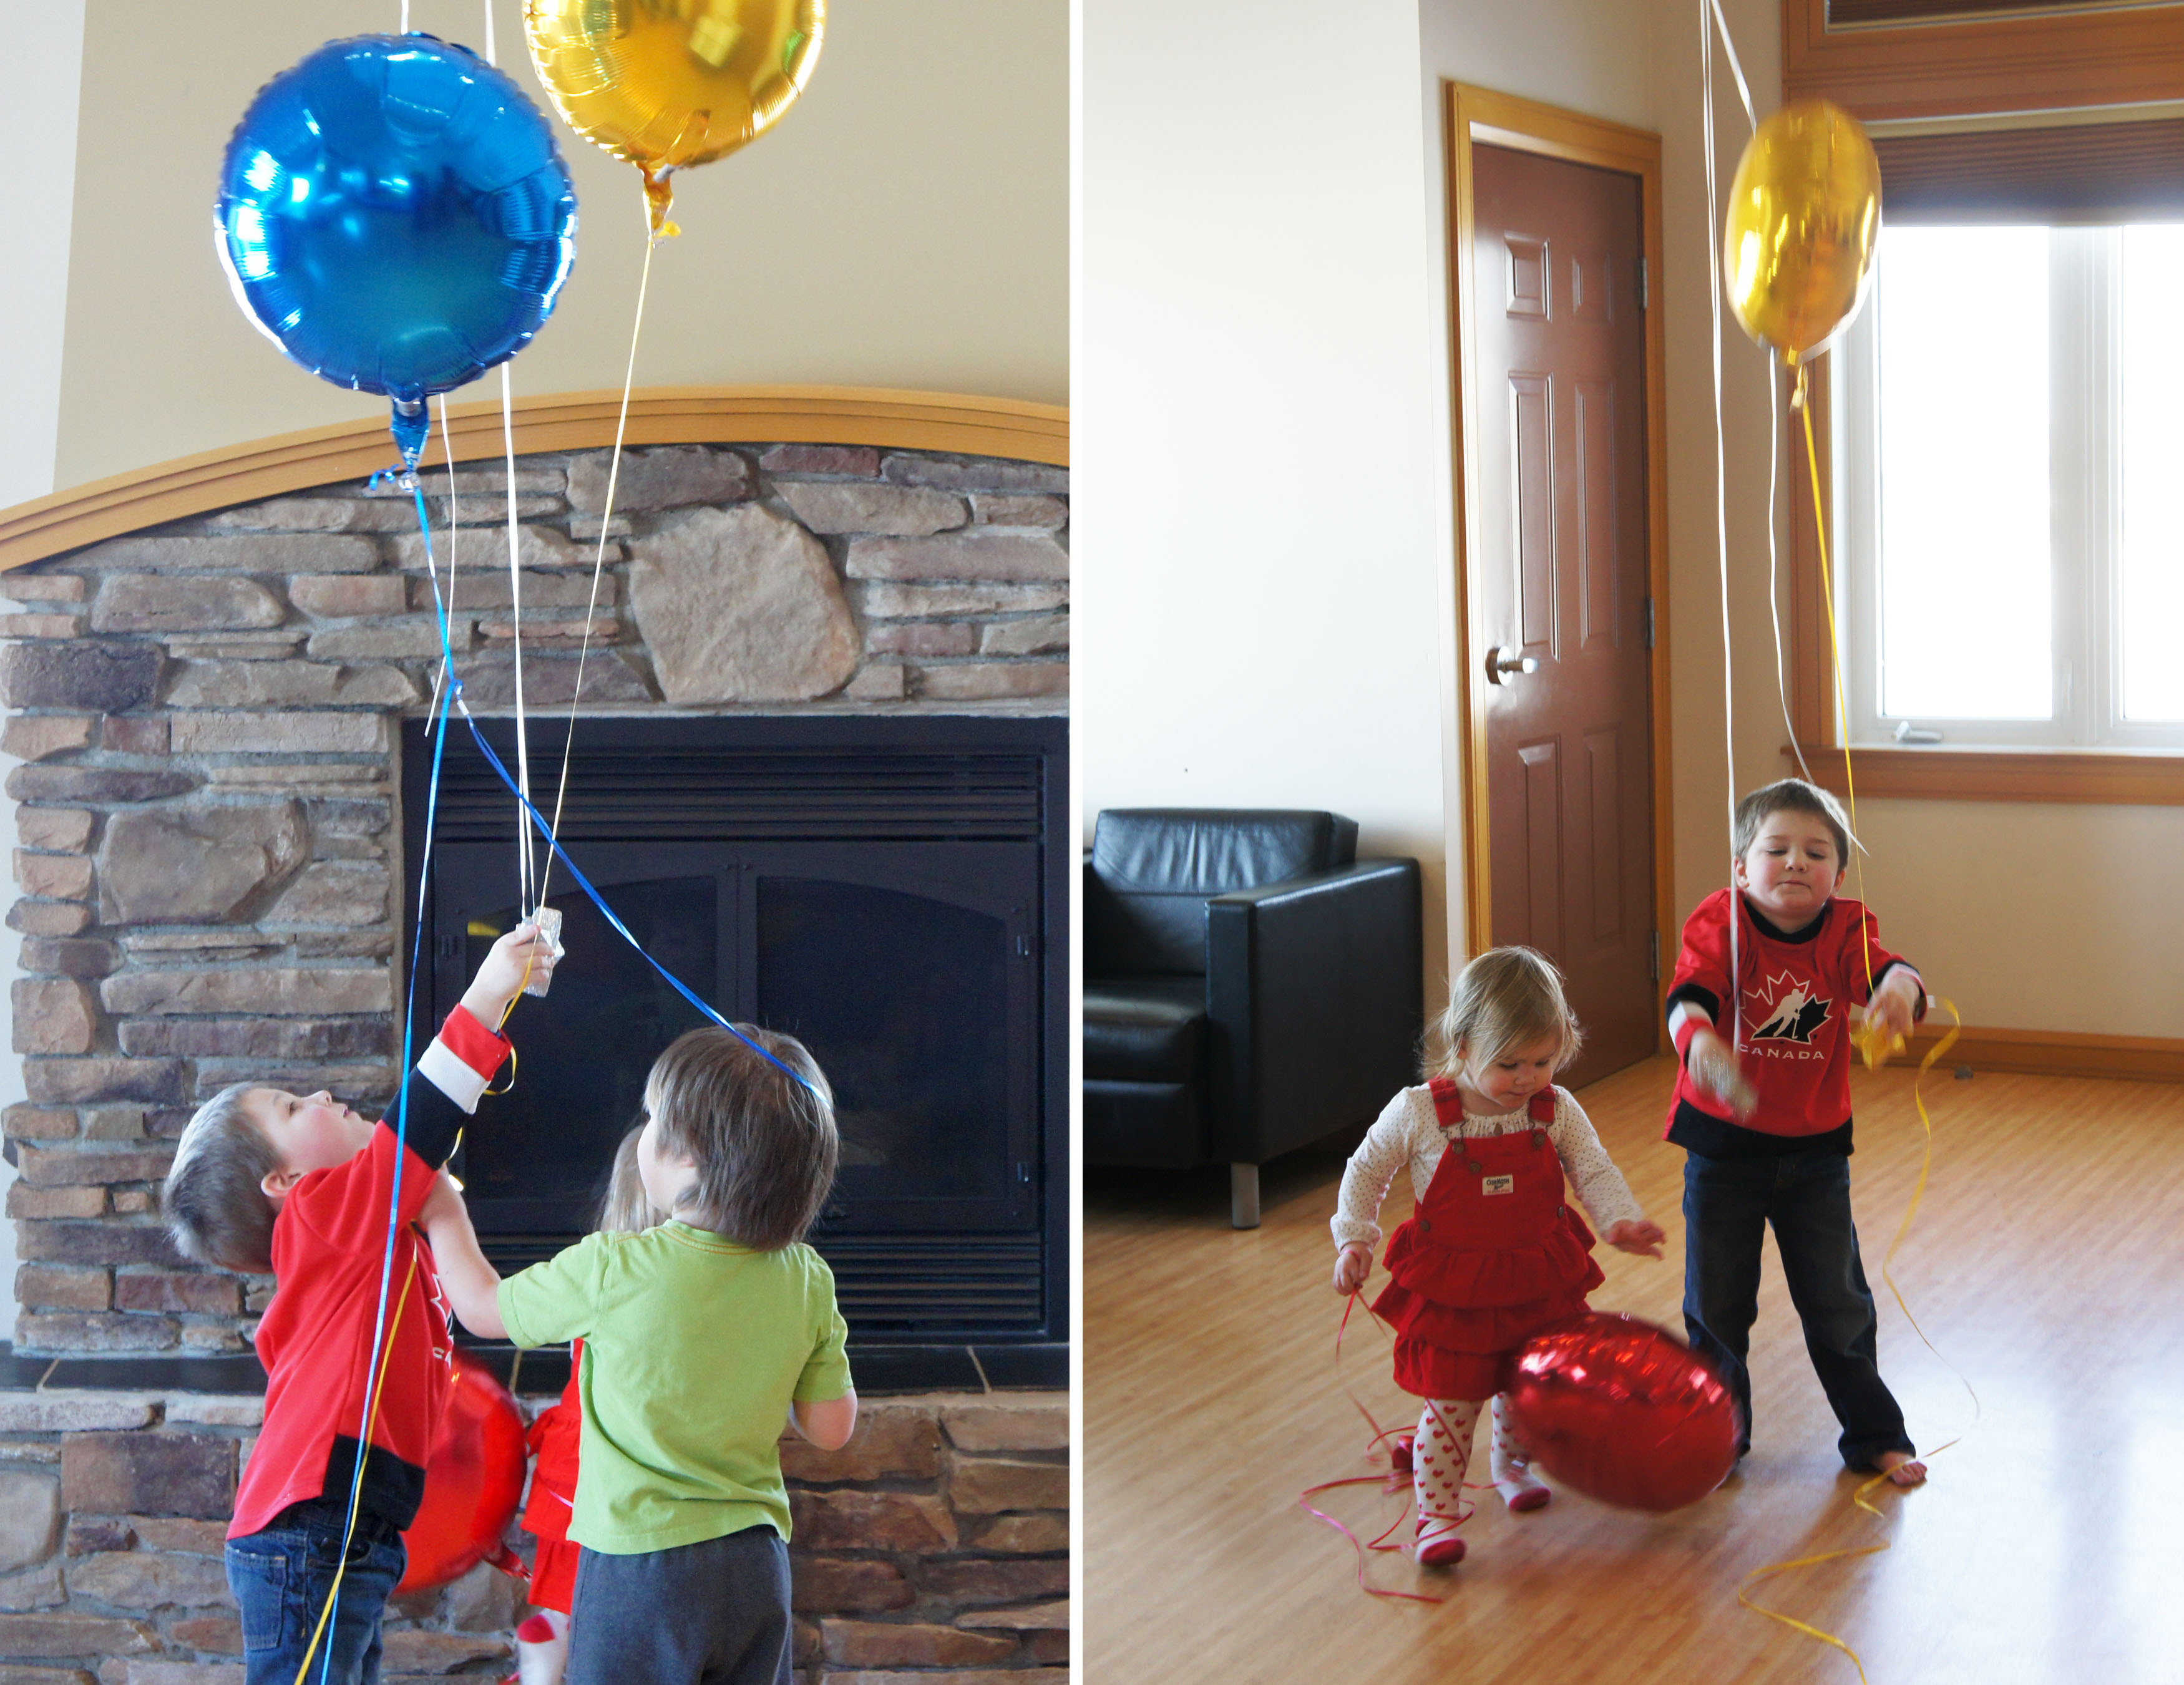
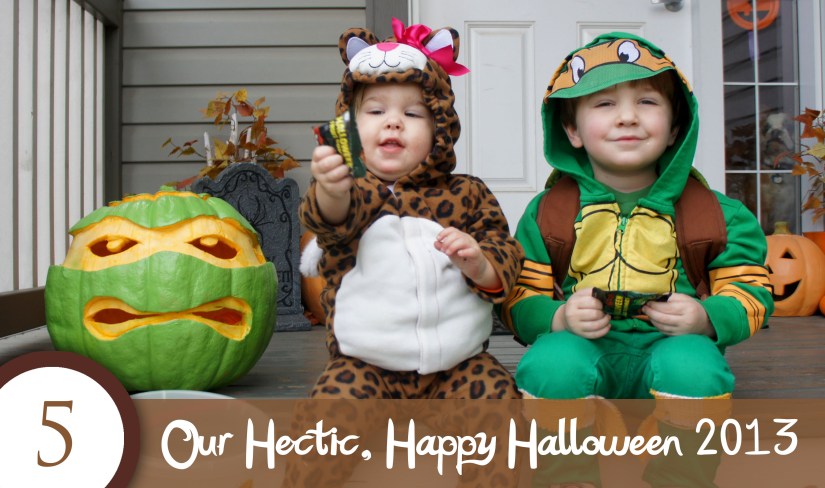
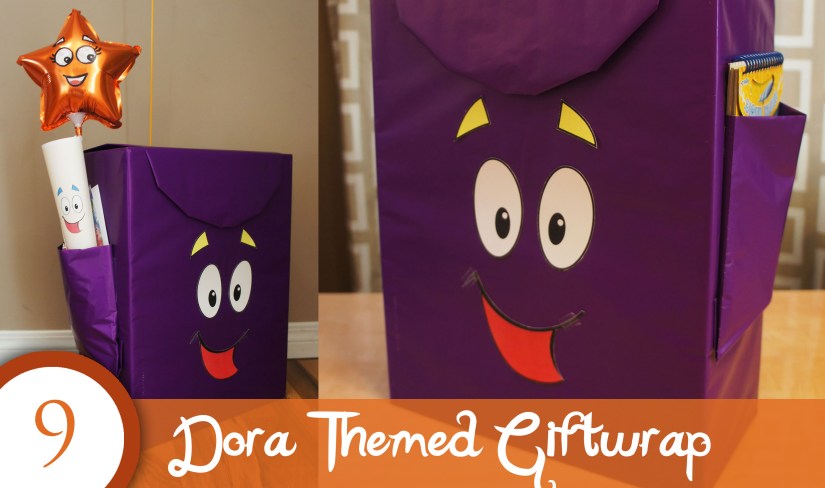
So, in celebration of One year and 100 posts, here are my top 10 favorite Dolled Up projects from the past year.  Click on the links to view the full posts!

SONY DSC

SONY DSC

SONY DSC

SONY DSC

SONY DSC

SONY DSC

SONY DSC

SONY DSC

SONY DSC

SONY DSC


And, because it is Thursday, it only seems fitting that I throwback and link to my very first blog post – my Love is Sweet personal candy buffet.

CandyBuffet1

Print

I would like to finish this post with a big thank you to all my readers old and new!

You are the main motivation for this blog and I can’t wait to share more projects and ideas with you in the year ahead.


Advertisement
Celebrations, Parties

An Olympic 4th Birthday Party for Camden

OlympicsPartyTitle

SONY DSC

Even though he wasn’t due until March, Camden came as a bit of an early surprise in February of 2010, right during the Vancouver winter Olympics.  My water broke but things were slow to progress so we spent time during contractions in the hospital’s family lounge watching Olympic figure skating and skiing.  Right after he was born, I was lucky to get one of the hospital’s luxury theme rooms which meant a TV to watch Team Canada play hockey while snuggling our brand new baby boy.

Because of this association with the Olympics and my fond memories of that time, I made the decision right after Camden’s third birthday that his 4th birthday should be Winter Olympic themed.  His actual birthday ended up falling on the same Sunday of the Sochi Olympics closing ceremonies so we had a Sunday morning brunch to celebrate.

I started off by designing the invite.  I kept it simple with a flat card that included a graphic image of my birthday boy:

SONY DSC

This was the first kids birthday I hosted outside the house and it ended up working out pretty well.  We rented out a large hall just blocks from our new home and I brought in the decorations, food and activities to keep the kids busy.

SONY DSC

This was my first time having actual seating for everyone so I took the opportunity to make nice place settings at each table.  I found some flag runners and matching plates I layered with gold star shaped dinner plates, Canada flag shaped napkins and small medals I made from ribbons glued to chocolate coins.  At the center of each table and on the food tables were gold colored cardboard trees I found on clearance at Target after Christmas – it always pays to know your party theme well ahead of time and be on the watch for clearance items that might fit the décor.

SONY DSC

Above the cozy fireplace, I hung both the large Olympic Rings Display I crafted out of plumbing insulation tubes and streamers, and the Olympic party banner I designed.

SONY DSC

For food, I had both a brunch foods table and a sweets table.  For the brunch items we had bowls of fruit in the Olympic ring colors, fruit and yogurt parfaits, sugared bacon smokies, raspberry cream cheese french toast roll-ups, mini quiche, 2 bite cinnamon buns and 3 types of muffins (chocolate banana swirl, Orange Pineapple, and Almond Raspberry).

SONY DSC

To display my mini cinnamon buns and muffins I constructed large mountain shaped stands out of dollar store foamcore.  They were a little time consuming to build, but I think the final result was worth it and I will definitely be using the idea again for future parties.

SONY DSC

For the sweets table I had sugar cookies I decorated with M&M’s to represent the Olympic rings, small cups of hot chocolate mousse and edible curling rocks I fashioned out of two bite brownies, some colored melting chocolate and candy rings.

SONY DSC

SONY DSC

SONY DSC

And, of course, there was also birthday cake.  I kept the outside plain and simple, with the surprise being the 5 layers inside colored to match the Olympic rings.  Camden loved his “rainbow cake” and I think it is one of the tastiest cakes I have made to date.

SONY DSC

At the “Decorate Your Own Medal” table, the kids had a fun time stringing colored pasta and a juice can lid on ribbon to craft their own Olympic medal.

SONY DSC

To keep the kids entertained, we also brought in our bouncy castle and set up a set of mini hockey nets with sticks and balls for them to play.  The bouncy castle, by far, was the most popular activity at the party!

SONY DSC

One activity that wasn’t such a huge hit was the Pin the Rocks on the rings game.  The kids all took a turn, but it didn’t turn out to be as exciting for them as I thought it might be.

SONY DSC

For favors, I ended up getting a good deal on mini hockey sticks and balls at the end of summer and  bought enough for each kid to play with at the party and then each take one home.  I continued with the hockey theme in the treat bags and included a small Zamboni toy I found at McDonalds, a foam hockey ball and a small bag of hockey played shaped candies I finished off with a personalized topper.

SONY DSC

It ended up being a crazy hectic weekend for us between getting possession of our new house on Friday and then hosting the party on Sunday, but it all worked out and I was happy to have the chance to celebrate my little boy with family and friends.  I was told the kids all went home exhausted and one of the 3 year olds was even so kind as to tell me it was “the best party ever!”

SONY DSC

I can’t wait to start planning for next year!

Celebrations, Crafts, Little Hands, Parties

Juice Can Lid Olympic Medals

OlympicsPartyTitle

I have to admit I am a little conflicted over whether to share my party projects or to keep them all as a surprise for my party guests who follow the blog.  Lucky for those not coming to the party, I have decided to share my ideas right away and give you time to do it yourself before or during the Olympics.

Today I am sharing a simple Olympic medal craft I have planned for the kids coming to my son’s 4th birthday party.

SONY DSC

Supplies

  • Frozen juice can lids (1 per child)
  • Stickers for decorating
  • String or ribbon
  • Dried pasta with holes (rigatoni, penne, etc.)
  • Rubbing alcohol
  • Gel food coloring
  • Zipper seal bags

I came across the idea to use frozen juice concentrate lids as medals when I was searching Olympic ideas on the internet.  I could have just strung the medal on a thick ribbon, but I decided the craft needed a little more to it to help keep the kids busy.  I came across this Fantastic Fourth Olympic Party  from Put a Bow on It where she had pasta necklaces as an activity for the kids and decided to borrow the idea for the ribbon portion of my medals.

I have never made colored pasta before and was surprised at just how easy it is.  All it took was some rubbing alcohol, gel food coloring and dried pasta mixed up in a plastic bag and I had colored pasta.  For each color I used approximately 2 tablespoons of rubbing alcohol, about 1/4 teaspoon of gel color and 2 cups of pasta.  I double bagged the pasta, as was recommended by Mommy Testers in their How to Make the Best Dyed Pasta tutorial, and then laid the colored pasta out on paper towel lined baking sheets to dry.  I then repeated for each of the 5 Olympic ring colors.  Luckily I needed the gel colors anyway for the cake so I wasn’t buying too many extra supplies for this project.

SONY DSC

Once I had the pasta prepared, I had my husband help drill a hole through my juice can lid and prepared a sample medal for the party.  To decorate the medal juice can lid portion, I used star shaped stickers I found from Dollarama and then strung the pasta on a ribbon I strung through the drilled hole.

SONY DSC

Camden seemed pretty excited about the finished medal so I am hoping the little Olympians at our party have just as much fun creating their own to wear!