Celebrations

Cakes: High Flying Planes and Ruffles

SONY DSC

This weekend I baked up cakes and cupcakes in celebration of two very special little boys – my own nephew and my friend’s brand new nephew.  They didn’t turn out exactly as I had wanted, but I had fun doing it and being able to make their celebrations a little sweeter.

For my nephew, we were celebrating his third birthday!  My sister bravely hosted a house full of young kids so I decided to help out by baking and bringing the cake.  I know most kids are overloaded by stuff these days so my hope is that the gift of my time and talent to make his birthday cake is more valuable then just another toy.

Max is into cars and planes and all things that move.  Last year I made him this construction themed cake so this year I decided to go with the Planes theme and did up this simple blue cake with white clouds and a Dusty toy as the topper.

SONY DSC

The cake was finished off with an inexpensive paper banner flying behind Dusty and a “3” candle from the Dollar Store.

My fluffy white clouds along the sides ended up sliding in transit, but it was easily fixed and overall I was happy with the finished cake.  Max couldn’t wait to get into it and my husband had two slices, so I must have done something right!

SONY DSC

For flavours, I kept things simple and both cakes were chocolate cake filled with a delicious banana creamcheese filling.  As you will see below, my second cake had a monkey theme so the banana seemed fitting.  I also added some Skor bit’s into my nephews cake for good measure and they added a nice little bit of crunch.

SONY DSC

Lucky for me the 2 cakes being for boys also meant I was able to use the same blue icing and save some time (and dirty dishes!) when mixing up buttercream.

The second cake was for a baby shower in celebration of my friend’s new nephew.  When she asked me to make her a cake, I was a bit hesitant because I still don’t feel that my cake making skills are good enough for anyone to actually pay for.  I had done a ruffle cake for my daughter’s birthday cake in May and it turned out pretty well so I suggested that style since I was fairly confident I could pull it off.

I asked my friend to snap some photo’s of the finished cake, but unfortunately she forgot her camera and had a bit of a hectic day so unfortunately my quick, crappy iphone picture  of the finished ruffle cake will have to suffice.  The cake was just a 6″ round, so I also baked up 2 dozen cupcakes to ensure she had enough cake for all her guests at the shower.

SONY DSC

To finish off the cake, I designed a cute paper monkey topper and blocks that spelled out baby’s last name.  For the cupcakes, I incorporated the same monkey into two different paper toppers that got hot glued to striped paper straws to stick into each.

SONY DSC

SONY DSC

Happy 3rd Birthday Max and Welcome to the World Baby Zackary!


Celebrations, Parties

Picnic Time for Teddy Bears!

SONY DSC

I love any excuse for a party.  Unfortunately having only two kids means only two birthday parties to plan during the year, and I now find myself looking for ways to fill that lull between their birthdays.

Cue the playdate!

As mentioned in my Foam Ball Teddy Bear Craft post, my daughter and son both ended up having Teddy Bear picnic themed days in the same week for her dance and his preschool class.  I love the teddy bear picnic theme and already had quite a few party supplies I could reuse so I decided to take advantage of the theme and host a lunch playdate after preschool on a Thursday afternoon.

SONY DSC

To pull off my theme, I didn’t need to look much further than my party supply closet and the kids toy box.  The grass print plastic tablecloth and cardboard picnic basket were leftovers from my daughters 2nd birthday, the trees and white picket fence were used at my sisters Gnome themed bridal shower, and the teddy bears were the kids.  Other items such as platters, jars and baskets were all things I have slowly added to my collection over the past several parties.

SONY DSC

Besides food, the only party supplies I really ended up buying were a couple blue and green checked tablecloths and foam balls from the Dollar Store, some brown and cream paper plates, plastic cutlery, a bit of scrapbook paper and the adorable bear shaped treat containers I used for favors.

SONY DSC

To Doll Up my plain paper plates, I cut ears from scrapbook paper and stapled them to each of the plates.  For a quick and inexpensive banner, I embellished a few of the plates with blue paper bows and strung a them up on a ribbon behind the food table.  For more color and interest, I folded some quick pinwheels from the same blue paper and alternated those with the teddy bears on my banner.

SONY DSC

My adorable “Please Feed The Bears” sign was a bit of a last minute addition and I am so glad I took the little bit of extra time to create it.  All it required was a bit of acrylic paint to handpaint the words onto strips of kraft colored cardstock.  From there, I simply glued them onto a dowel and inserted it into a small flower pot I had on hand.

SONY DSC

The foods were each labelled with some quick tent cards I made up using the cute bear graphics from the invitation.

Print

I tried to keep the menu simple and kid friendly while sticking with the Teddy Bear Picnic theme.  We had bear shaped peanut butter & jelly Cub Sandwiches, Honey Bear Ham Buns, Veggies with Dip, Chocolate Pretzel Twigs and Fresh Bearies, Bear Paw cookies, and Teddy Grahams.  For drinks, I made up a quick Very Beary punch.

SONY DSC

SONY DSC

My favorite food item by far was the Toffee Apple Cheesecake Dip.  The dip was easy to prepare the night before and it paired deliciously with granny smith apples I sliced up right before the party.  Get my recipe here.

SONY DSC

I also finally made this recipe for Ham and Cheese Sliders that I have pinned forever from The Girl Who Ate Everything.  I loved that I could have them prepared ahead of time and just pop them into the oven for a few minutes right before my guests came over.  They tasted great and, as a bonus, I even had leftovers for dinner that night!  If you are looking for food to serve at your next party or even a quick dinner idea, I highly recommend these.

SONY DSC

I  like to send my guests home with a little something and when I remembered seeing these adorable bear shaped containers I knew they would work perfect with the theme.  They came in packs of two in the baby section at Dollar Tree for just $1.25 and made the perfect little favors once filled with mini gummy bears.

SONY DSC

It was a great afternoon.  I finally got to show off our lovely home to some of the ladies have been hearing about for the last year and a half, the kids played so nicely together and I actually got to enjoy some adult conversation.

Thanks to things I already had on hand, this is one of the simplest parties I have thrown together but I think it is one of my favorites because it turned out so cute!

SONY DSC

For more tips on how I pulled off this cute party without breaking the bank, check out my guest post at Moms & Munchkins.

And be sure to head on over to Pinterest to check out all kinds of other great ideas on my Teddy Bear Picnic Board.


Crafts, Everyday Life, Little Hands, Two Legged Fun, Uncategorized

Home Depot Kids Workshop

SONY DSC

Okay, technically it is no longer summer, but we did manage to finish one more item from our summer bucket list over the weekend: attending a Home Depot Kids Workshop.

Since getting possession of our new house, we have spent more then our fair share of time (and money) at Home Depot and Lowes.  We always have the kids in tow and while they are generally pretty agreeable, they have made it known that visiting the hardware store is not the most exciting activity for them.  And who can blame them, really?  Riding in the racecar cart is only exciting for so long!

SONY DSC

On one of our many trips to Home Depot this winter, we just happened to be in the lumber section towards the back of the store and my son noticed that there was a crowd of kids painting and building.  He desperately wanted in on the action, but I was pretty sure it that you needed to have registered for it and I quickly steered him away.  Expressing his disappointment, I promised it was something I would look into and that he could attend the next time.  It took me a few months, but I finally make true to my promise.

The Home Depot Kids Workshops take place on this first Saturday of every month.  The project details are always available on their website ahead of time and I was able to register for the class online via their simple form.  I admit that when I have looked before the projects haven’t always appealed to me, but I was excited to see this month’s was something my 4 year old could build and actually play with.

We arrived at the store right at 10am.  Once there,  Camden was welcomed warmly by the Home Depot staff and given his official orange Home Depot apron with his name on it!

SONY DSC

Our project for the day was building an Emergency Service vehicle.  At each spot at the table was a complete packaged kit with instructions, stickers, wood, wheels and the nails needed to put the project together.  The instructions were clear to follow and the wood all had pre-drilled holes that made it easy to get the nails started and in the right locations.  It all came together fairly quickly and my son was quite proud that he was able to wield the hammer and actually help put the vehicle together.

SONY DSC

Once assembled, they had a table full of paint for the kids to customize their creations.  Camden stuck to his favorite color, green!

SONY DSC

Instead of waiting in store for the paint to dry, we decided to bring everything home and finish putting the stickers on there.  We were given a friendly good-bye from the staff and a cute little certificate of completion that Camden proudly held the entire drive home.

SONY DSC

The kids were also each given a project pin that I assume are meant to be collected and added to their apron as they attend more of these clinics.

It was a fun activity for my son and made for a great little “date” for he and I to do without his little sister tagging along.  And the best part is that it was all completely FREE!

We had it on our Summer Bucket List, but this is something you can definitely do in those upcoming winter months when you are all going stir crazy and need a reason to get out of the house.  Yes, it means yet another trip to the hardware store for the kids, but trust me they won’t be complaining this time around!

Similarily, Lowes offers FREE Build and Grow Clinics for children aged 5 and up.  There is a great looking haunted house coming up on October 18th and I have seen other movie themed projects such as Turbo or How to Train Your Dragon in the past.  This is something I will definitely be checking later in the year after my son turns 5.

SONY DSC

Have you attended one of these workshops in the past?  Please describe your favorite project in the comments below!

Print

Recipes, Sweet

Toffee Apple Cheesecake Dip

SONY DSC

Today I am sharing a quick and easy recipe I prepared as part of a Teddy Bear Picnic lunch & playdate we hosted.  I tried to serve kid friendly foods, but I will be honest and say that this was made mostly for the mom’s to enjoy.  The kids liked the apples, but I don’t think any of them appreciated the creamy, caramel goodness like us adults did!

Ingredients

  • 1 package of creamcheese (8 oz), room temperature
  • 1/3 cup icing sugar
  • 1.5 Tbsp heavy cream
  • 1 tsp vanilla extract
  • Caramel ice cream topping/syrup
  • Toffee bit chips (Skor or Heath brand)
  • Mini chocolate or peanut butter chips
  • 6 apples

Directions

  1. Place softened cream cheese in stand mixer and blend until smooth and creamy.
  2. Add in icing sugar, cream and vanilla extract.  Mix again until smooth.
  3. Place 1/2 of cream cheese mixture in a small serving bowl.
  4. Pour a thin layer of the caramel syrup over the cream cheese and sprinkle generously with a combination of the toffee and peanut butter or chocolate chips.
  5. Carefully layer the other half of the creamcheese mixture into the bowl and spread to edges.
  6. Pour a second layer of caramel syrup over the creamcheese and finish with another sprinkling of the baking chips.
  7. Refrigerate for at least an hour for flavors to combine.
  8. Serve with sliced apples – I used granny smith.

SONY DSC

Enjoy!

Big Hands, Crafts, Little Hands

Foam Ball Teddy Bear Craft

It is Teddy Bear week in our neck of the woods!

My son has started preschool this fall and Thursday is their first themed day – a Teddy Bear Picnic.  Plus, on Tuesdays, my little girl and I attend a Salsa Tots class and it just so happened that their theme for this weeks class is also a Teddy Bears Picnic.

Because of this happy coincidence, I decided to take the theme a bit further and am hosting a Teddy Bear Picnic lunch and playdate at our house on Thursday after preschool.

Print

A handful of my son’s class are all friends he has known from attending playgroup for the past two years and there are also a couple younger siblings Keira’s age.  Because of scheduling we decided against joining playgroup again this year, so I am hoping to plan a few playdates at our house to keep connected to this wonderful group of ladies and their kids throughout the fall and winter.

I am trying to keep things simple for the playdate, but that is hard when there are so many cute teddy bear themed decoration and food ideas out there!  Luckily I have a big party supply closet to draw on to create my tablescape, plus a few simple DIY projects I have come up with.

SONY DSC

These foam ball teddies occurred to me when I was in the craft aisle of the Dollar store and saw the bags of various sized small foam balls.  At first I thought two small balls glued onto a bigger ball would make a cute teddy head.  Then, I decided to buy a couple more different sizes to see if I could somehow make a body and full teddy bear.

SONY DSC

For this project you will need 4 different sizes of foam balls, hot glue, acrylic paint and any embellishments you might want for your bears.  To create my bears, I used for of the smallest sized balls for the ears and arms, the next size up for the two legs, then a slightly larger head and the biggest ball for the body.  For the nose, I cut the smallest sized ball in half with a serrated kitchen knife to attach onto the head ball.

SONY DSC

To connect the balls, I used hot glue, but toothpicks would also be a good method since the Styrofoam makes it easy to stick them into.  The glue did require some holding as it set and my final bears were a bit messier then I would have liked.

Once assembled, I simply painted my bears with a couple coats of acrylic paint and added on small bows I made from blue ribbon.

SONY DSC

I chose to keep my bears pretty minimalist, but you could definitely draw on a face with a permanent marker and personalize yours as you see fit.

If you are hosting you own teddy themed party, these could be a cute, inexpensive craft to do with the kids.  As mentioned, toothpicks could be used to attach the bears together and then you could have the kids decorate the bears however they wanted using paint, markers, googly eyes, pompoms, pipecleaners and ribbon.

My kids enjoyed playing with the balls as I was working, and my son decided they make a great snowman so that will be one of our crafts to do together come winter.  We may even make more of these bears and just leave them white to be polar bears!


I can’t wait to show you what other Teddy Bear themed ideas I have come up with later this week!

Recipes, Savory

Simply Delicious 2 Ingredient Grilled Salmon

SONY DSC

I love salmon.  It can be pricey around here so we don’t have it that often and I always forget how easy it can be to cook and how much I enjoy it.

Growing up my mom and dad used to always prepare it stuffed full of dill, onions, fresh herbs and a good squirt of lemon juice.  I like it this way, but one time when I did not have fresh herbs on hand I stumbled upon an even tastier way I now use to prepare mine.

SONY DSC

Ingredients

Directions

  1. Using a spoon or dull knife, spread the Dijon liberally across the surface of the salmon.  I prefer the grainy style Dijon, but smooth is what we had on hand this time and it works equally well.
  2. Put a generous sprinkling of Clubhouse la Grille Salmon flavour seasoning over the mustard.
  3. Grill or bake your salmon until cooked through and flaky.  For an extra layer of flavour we always grill ours on a soaked cedar plank.  It smells delicious as it cooks, and it keeps the salmon nice and moist.

SONY DSC

My husband is not a huge fan of fish, but he really enjoys this recipe and surprisingly the kids both gobble down everything on their plates when we have it.

If you are not a fan of Dijon mustard, don’t fret.  Once cooked, I have a hard time really tasting the mustard on the fish.  It imparts a delicious vinegar zip and combines perfectly with the spice mix to enhance the fish and give it a wonderful burst of flavour.

If you are watching your salt intake, I noticed on the Clubhouse website that there is a no-salt added version of the Salmon seasoning mix available along with all their other great flavour options in the spice aisle.

SONY DSC

SONY DSC

Enjoy!


Everyday Life, Two Legged Fun

Bubble Wand Light Sabers

SONY DSC

Have a Star Wars fan in your house?  Planning a Star Wars themed party?  By simply inserting glow bracelets into bubble tubes you can create your own cheap and easy DIY light saber!

SONY DSC

My original plan from our Summer Bucket List was to actually make glowing bubbles but it was one of those things that looks great on pinterest, and didn’t quite turn out in real life.  I tried to cut open the glow sticks and pour the “glow juice”  into the bubbles to make the glowing bubbles, but the thin glow bracelets made it hard to pour any liquid out.

After some frustration, I decided to give up and just inserted the glowing sticks right into the bubble tubes.  Voila!  Instant light sabers!

SONY DSC

My son was super excited to have his own light saber and the kids didn’t even notice the missing glow bubbles.  They were just as happy to use their glowing light sabers to bat at the non-glowing bubbles and each other.

(My apologies for the crappy quality of photos in this post!  It is hard to capture pictures of glowing objects and the kids were swatting the bubbles faster then I could blow them and take a photo.)

SONY DSC

This was a cheap and easy activity and is something I am very likely to repeat again in the future.  It would make a great accessory for a Star Wars themed Halloween costume and they made for fun in the bathtub in the dark later that night.

Glow sticks/bracelets and bubble wands are easily found at Walmart, Target or Dollar Stores.  Unfortunately bubble wands are usually a summer seasonal item so they may be hard to track down come late fall or winter.

Everyday Life, Two Legged Fun

A Trip Back in Time: Fort Edmonton Park

Visiting Fort Edmonton Park was one of the items on our Summer Bucket List.  After taking the kids the past two summers, it has become a bit of an annual summer tradition now for us and is definitely something I now look forward to in the summer months.

This year we made our way through the park travelling backwards through time.  We began at the 1920’s midway, went down 1905 Street, stepped onto 1885 street and then made our way all the way back to the 1846 Hudson’s Bay Fort.

My kids are still a little small for some of the rides on the midway, but they were still happy to ride the beautifully restored carousel and go for a spin on the hand-cranked bug swing ride.

SONY DSC

SONY DSC

Camden was also excited to try his hand at the fishing game again this year.  For prizes, each kid came away with a plastic horse toy they proudly held onto for most of the day.

SONY DSC

After enjoying the midway, we headed down the wooden walkways towards a farmstead where Keira happily discovered a pen of horses.  This is just one of many animal pens throughout the park and seeing their excitement over the animals is a large part of the reason I love bringing the kids here.

SONY DSC

Next, we hit up the ice cream shop!  This is definitely one of the highlights of a trip to Fort Edmonton.  We enjoyed our cones outside the confectionary store and then made our way across the street to the movie theater where my 4 year old was quite fascinated with the whole notion of movies being in black and white.  “But why do they not have colors mommy?”

SONY DSC

We then made our way through the firehouse and to the playground where the kids ran, climbed and worked off their ice cream cones.  It is not a fancy playground by any means, but the swings, teeter-totters, slide and jungle gym are more then enough for the kids.  I also love that it is tucked back away behind the buildings under a canopy of trees and is a nice spot to enjoy a packed lunch.

SONY DSC

Our next step back in time was past the tent city and teepee and onto 1885 street.  While I was in University, I spent an entire summer baking cookies and working in the bakery on 1885.  My attire included a long skirt, apron and a lovely bonnet while I spent the day in front of hot oven in the bakehouse.  I was disappointed last year to see the bakery and bakehouse were no longer running and a new bakery area had been put in the hotel across the dirt street.

Some things that haven’t changed are the horse drawn carriage ride running through 1885 street and the delicious hard candy’s from McDougall’s store.  We enjoyed a bag of the raspberry flavor as we were waiting for our turn on the wagon ride!

SONY DSC

Even though there are all kinds of great old houses and buildings to look through, that day we didn’t actually view the inside of many of the buildings because the kids were too happy running around outside and finding animals.  At the urging of one of the costumed interpreters I did end up getting them into one of the homes where they were excited to find a kids playroom upstairs.

SONY DSC

Before we went to Fort Edmonton, I tried to explain to Camden where we were going and showed him pictures from our past trips.  He was quite excited by a picture from when he was 2 and he got to ride a pony so I promised he could ride one again this time.  It was Keira’s first time riding and I think both kids really enjoyed the experience.

SONY DSC

Finally, we ended our trip through the park at the actual Fort.  The kids were getting pretty tired by this point, so we didn’t do too much exploring but we did get a good glimpse into a few of the buildings to see what life used to be like for the early settlers here in Edmonton.

SONY DSC

We then wrapped up our day with a trip back to the main gates on the steam engine.  We had already gone on our train journey with Alberta Prairie Railway Excursions earlier this summer, but the kids were still very excited to get to ride a train.  If there is a train involved, you can pretty much guarantee a successful outing with toddlers in tow!

SONY DSC

If you haven’t been to Fort Edmonton Park, I highly recommend it.  This is my third year taking the kids and each year just seems to be getting better as they are able to do more and are learning more.  It is fairly widespread so I brought the stroller along for my youngest, but we were able to make our through the entire park without using it too much.  There are lots of areas to stop along the way and there is so much to see and do that I don’t think the kids really notice how much walking their little legs have done.

And if you are an AMA member, don’t forget to show your card at the  gate for 15% off admission!

Print


Celebrations, Everyday Life, HOME, Two Legged Fun

Family Fun Down on the Farm

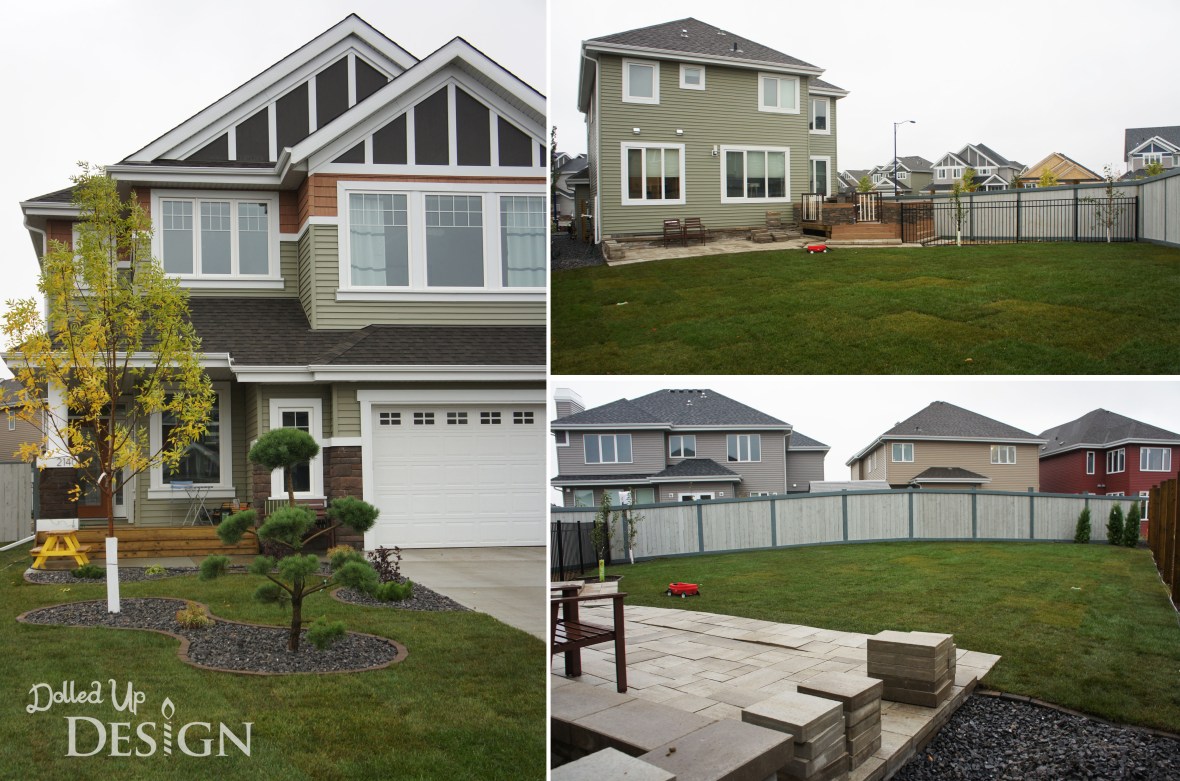
It has been a pretty great past several days at the Doll house.  After sitting around all last long weekend waiting for a sod delivery that never came, we finally got our grass on Wednesday evening and were able to get the backyard all done Thursday afternoon.  I love the grass and can’t tell you how happy I am to have the dirt covered up and finally feel like there is an end in sight to our summer long landscaping projects!

SONY DSC

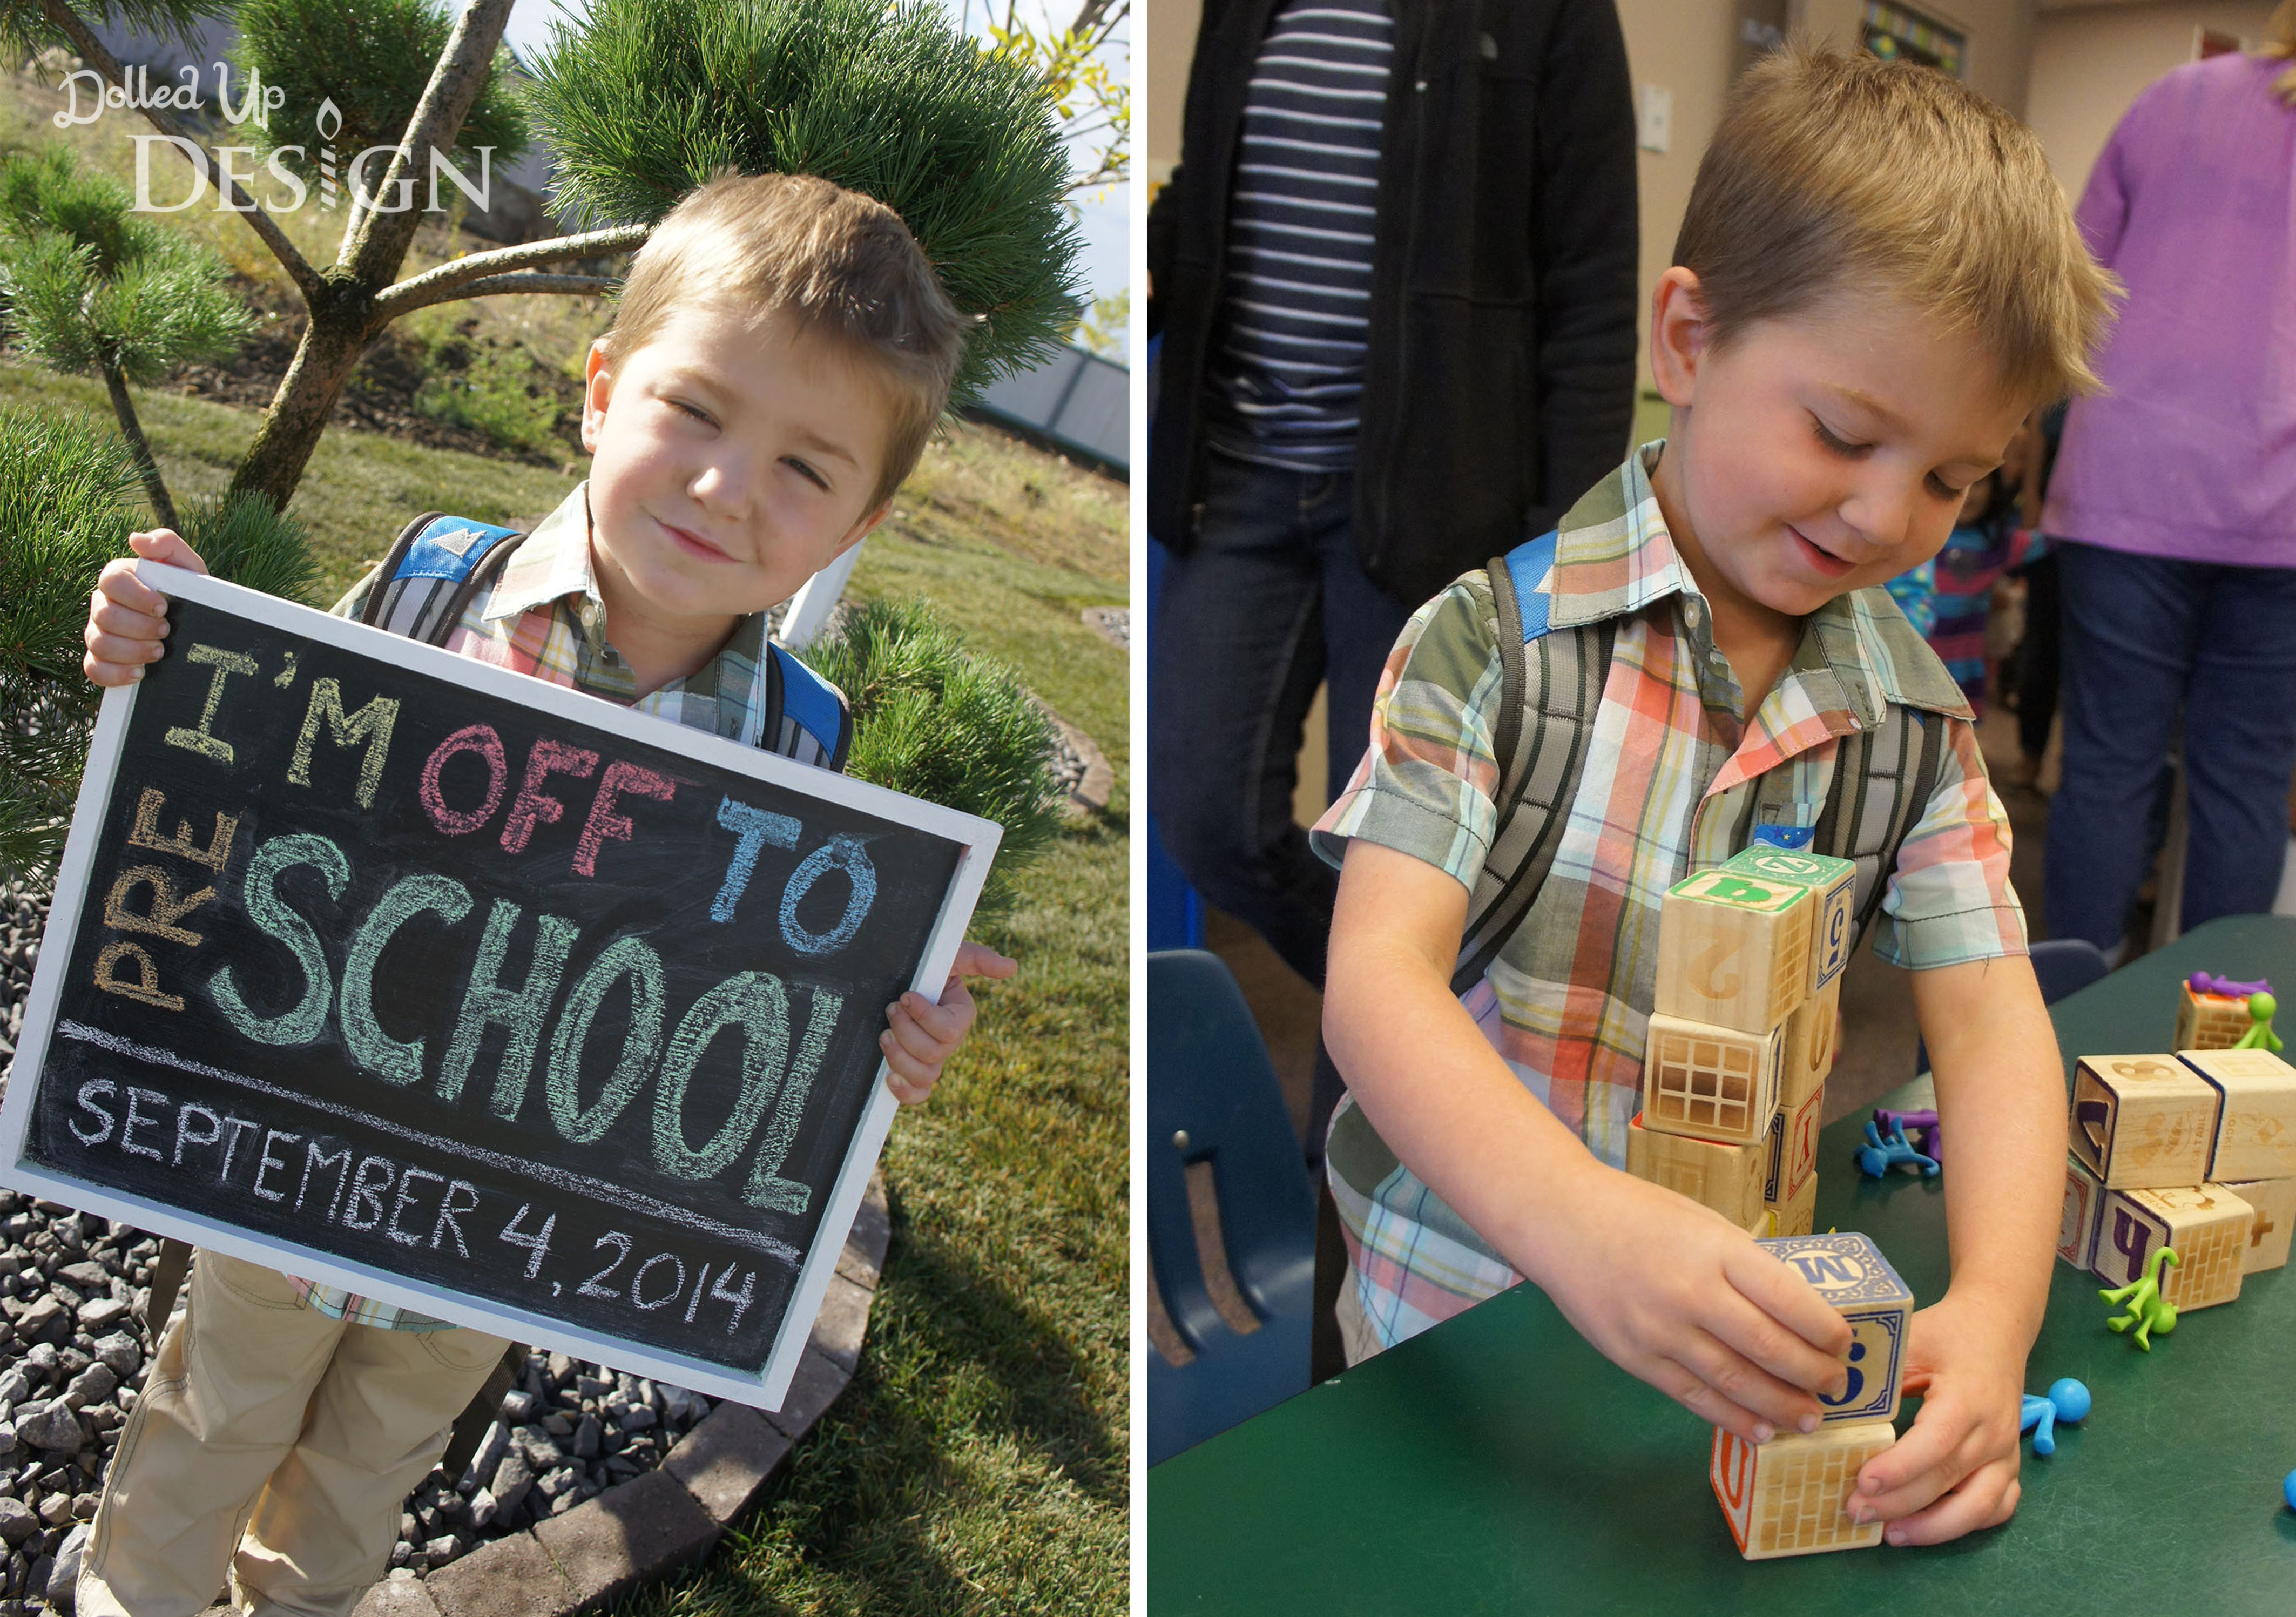
Thursday morning was also a big day for Camden as he got to go check out his preschool classroom and meet his teacher for the first time.  He seems pretty excited to start school next week and was even a little disappointed that Keira and I were staying with him for his first day.

SONY DSC

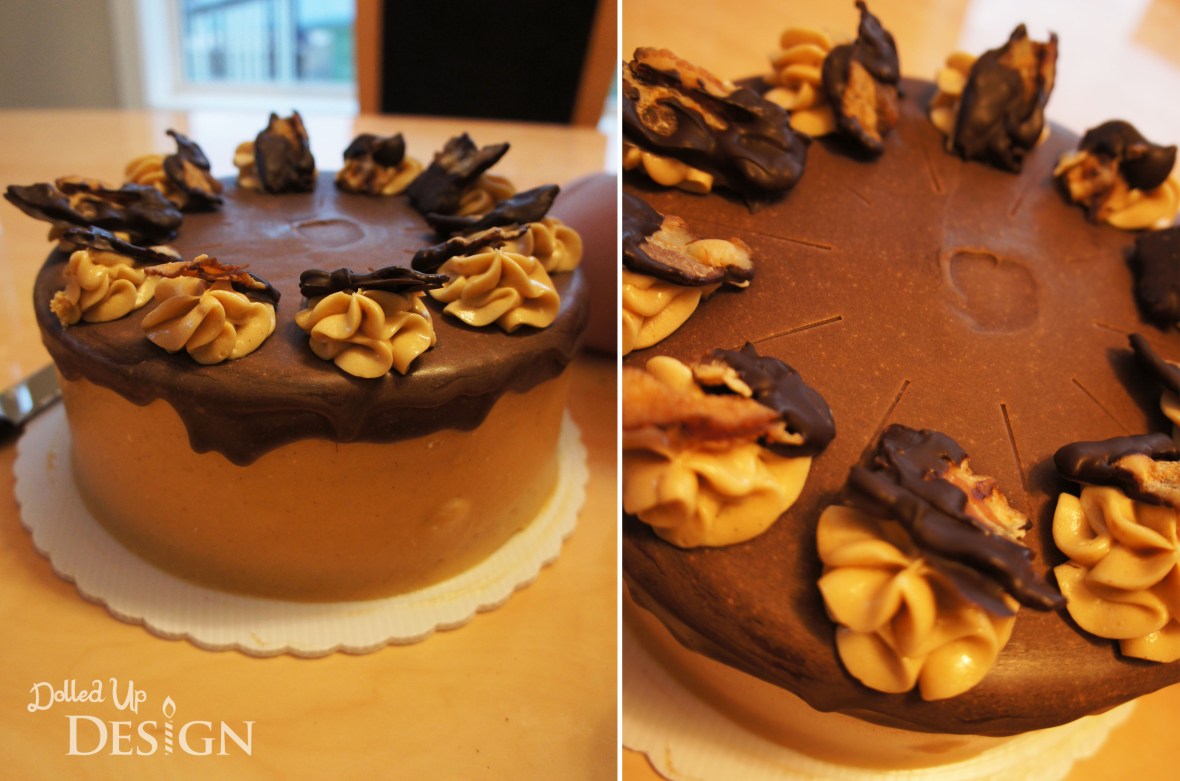
Friday was my birthday.  We celebrated with a low key lunch out at Red Robin (hello free birthday burger!) and a delicious cake my husband picked up locally from Wild Earth Bakery & Cafe.  It was a delicious banana cake, coated in peanut butter buttercream with a covering of chocolate ganache.  It was also adorned with chocolate covered bacon which we were a little unsure of, but my kids both can’t seem to get enough of.

SONY DSC

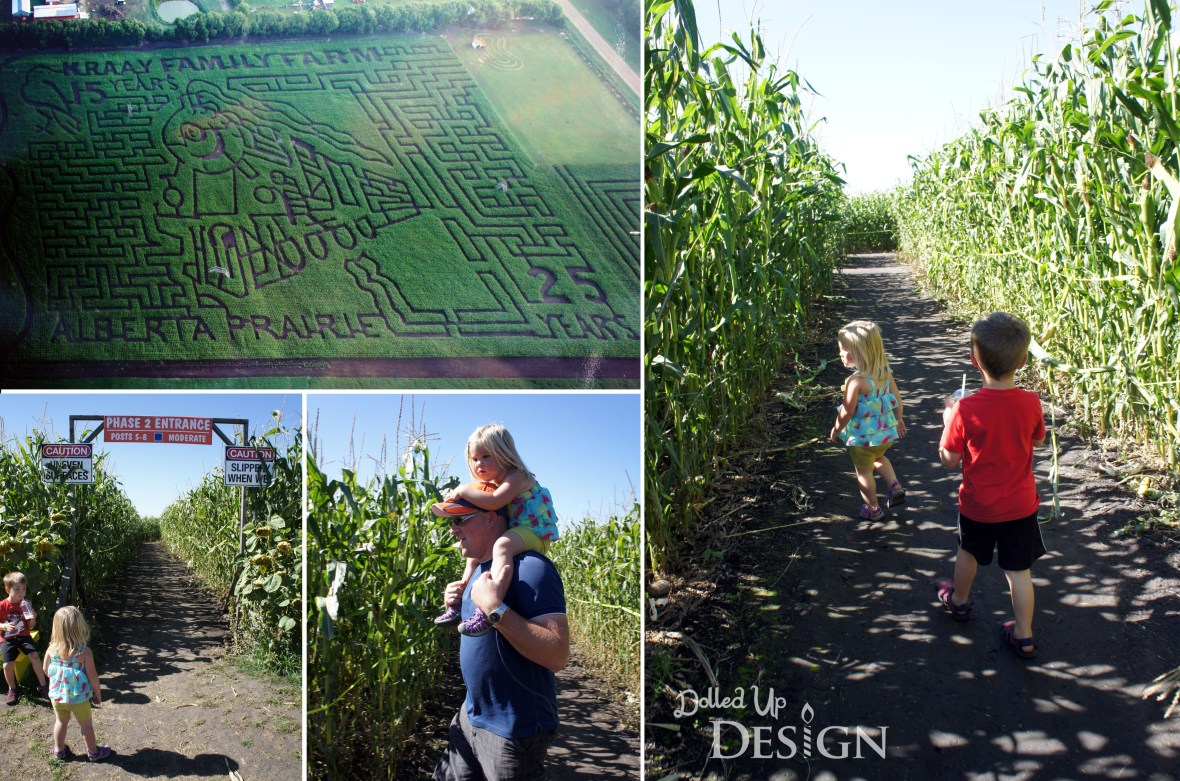
I have been trying for the last couple weekends to get my husband to step away from the landscaping/yardwork and accompany the kids and I to the Lacombe Corn Maze.  After managing to get the sod laid Thursday and using my birthday as a bit of a manipulation tool, I convinced him to take the one hour drive south Saturday morning to visit the Kraay Family Farm and get lost in the maze.  The weather was perfect and I was happy to get some quality family time in on what could be one of the last fleeting days of warm weather.

SONY DSC

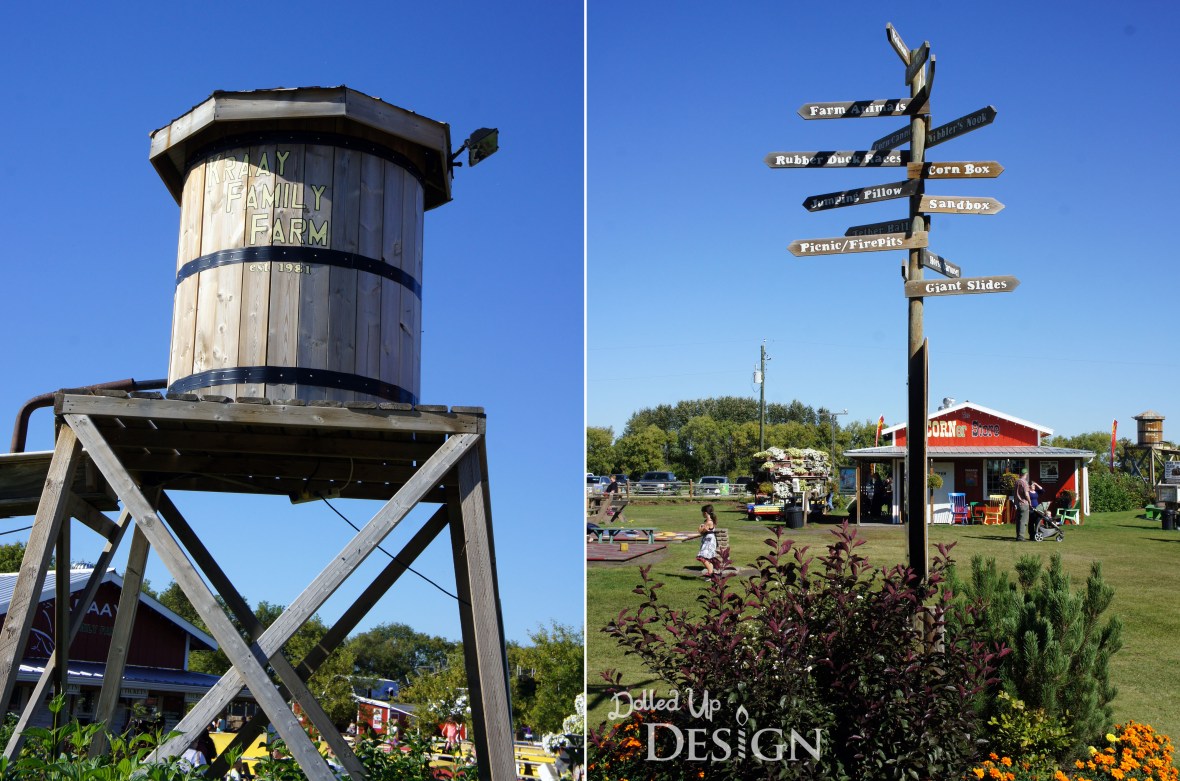
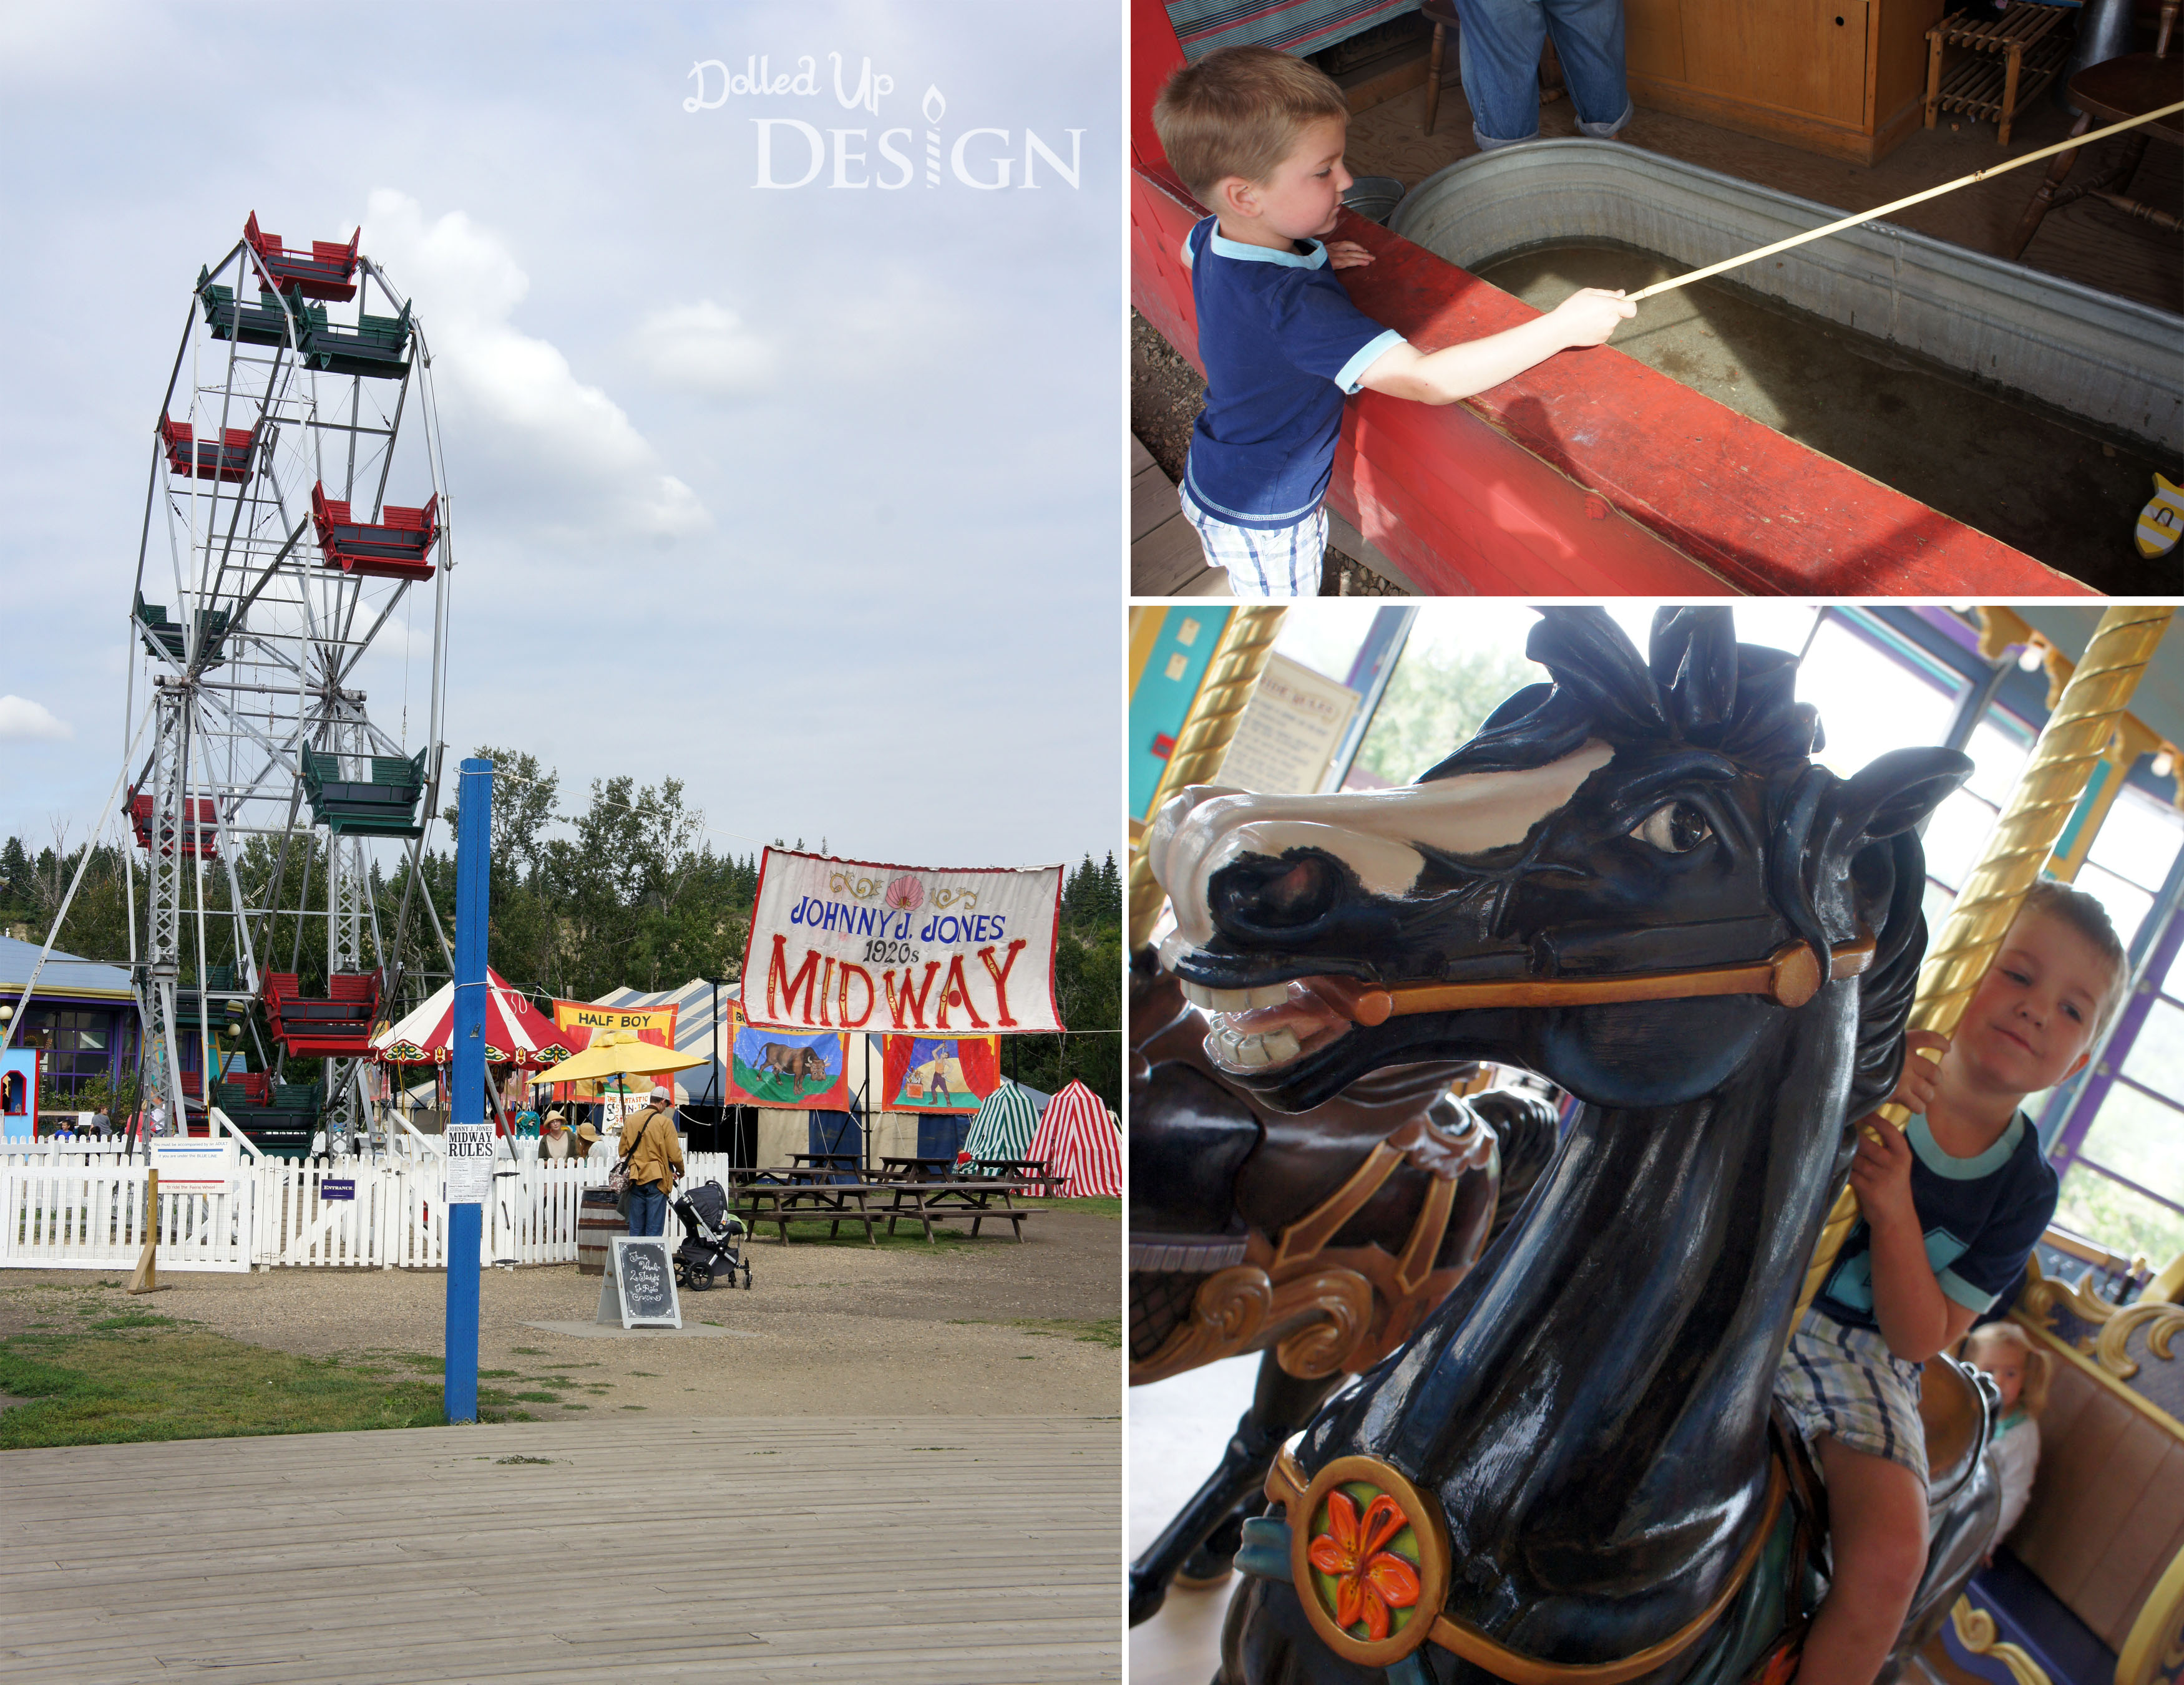
My husband and I had been to the corn maze several summers back and I was impressed to see how much has changed in the 10+ years since we first went.  From what I remember, the main highlight was the corn mazes and there were only a few small attractions for the kids.  Now, the corn maze seems to play second to all the playgrounds, games, rides, animals, and other kid centered attractions throughout the farm.

SONY DSC

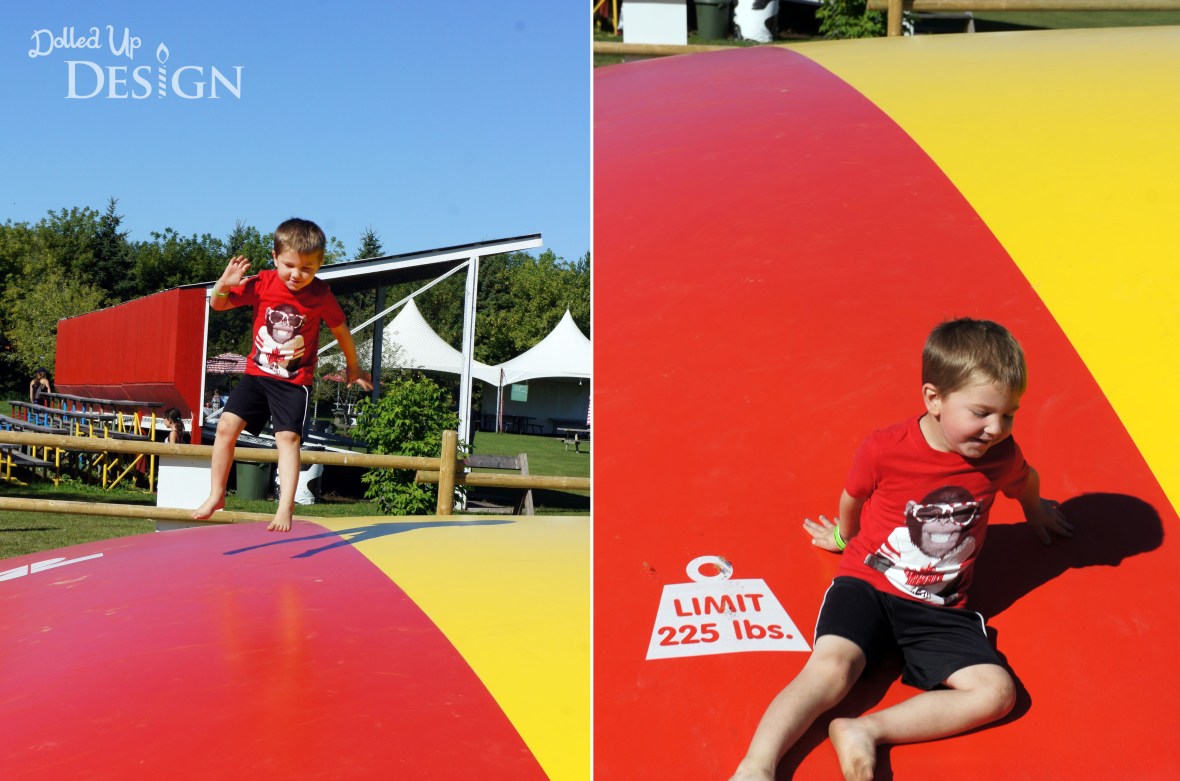
There was a lot to take in, but one of the first things Camden decided to try was the giant bouncing pillows just inside the gates.  Camden had fun, but you do get bounced around pretty good if there are other jumpers nearby.

SONY DSC

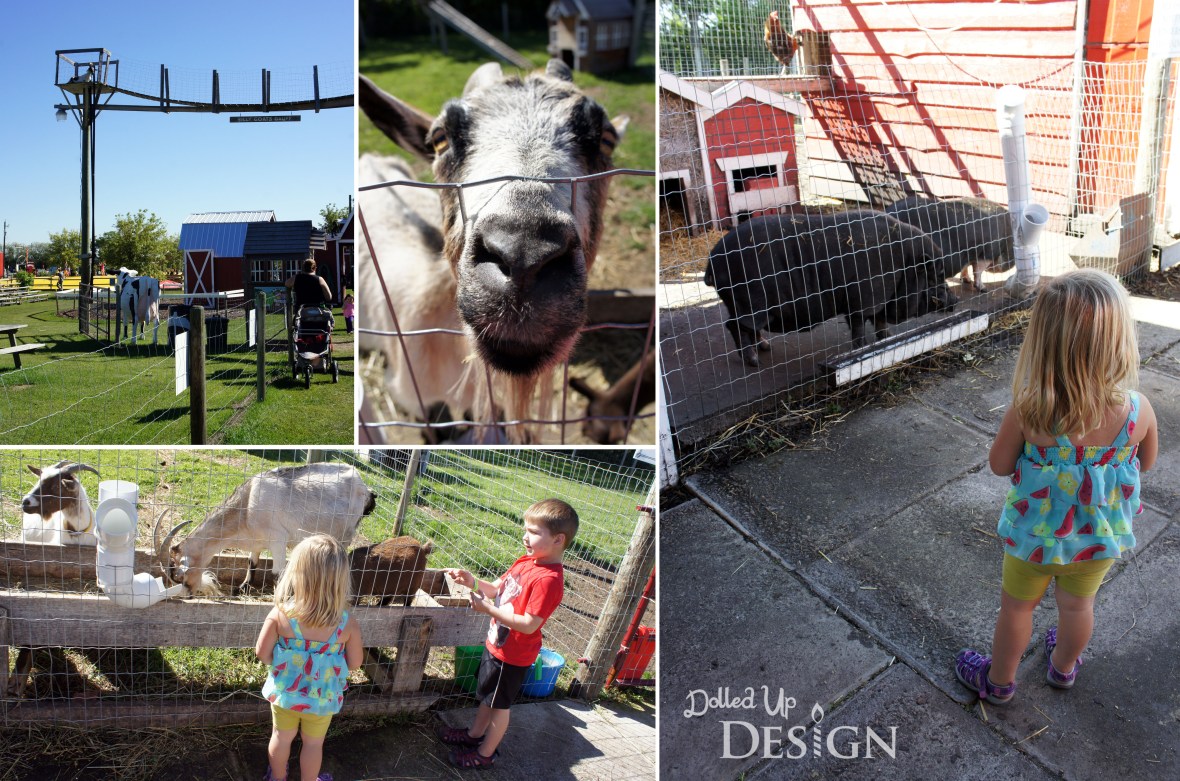
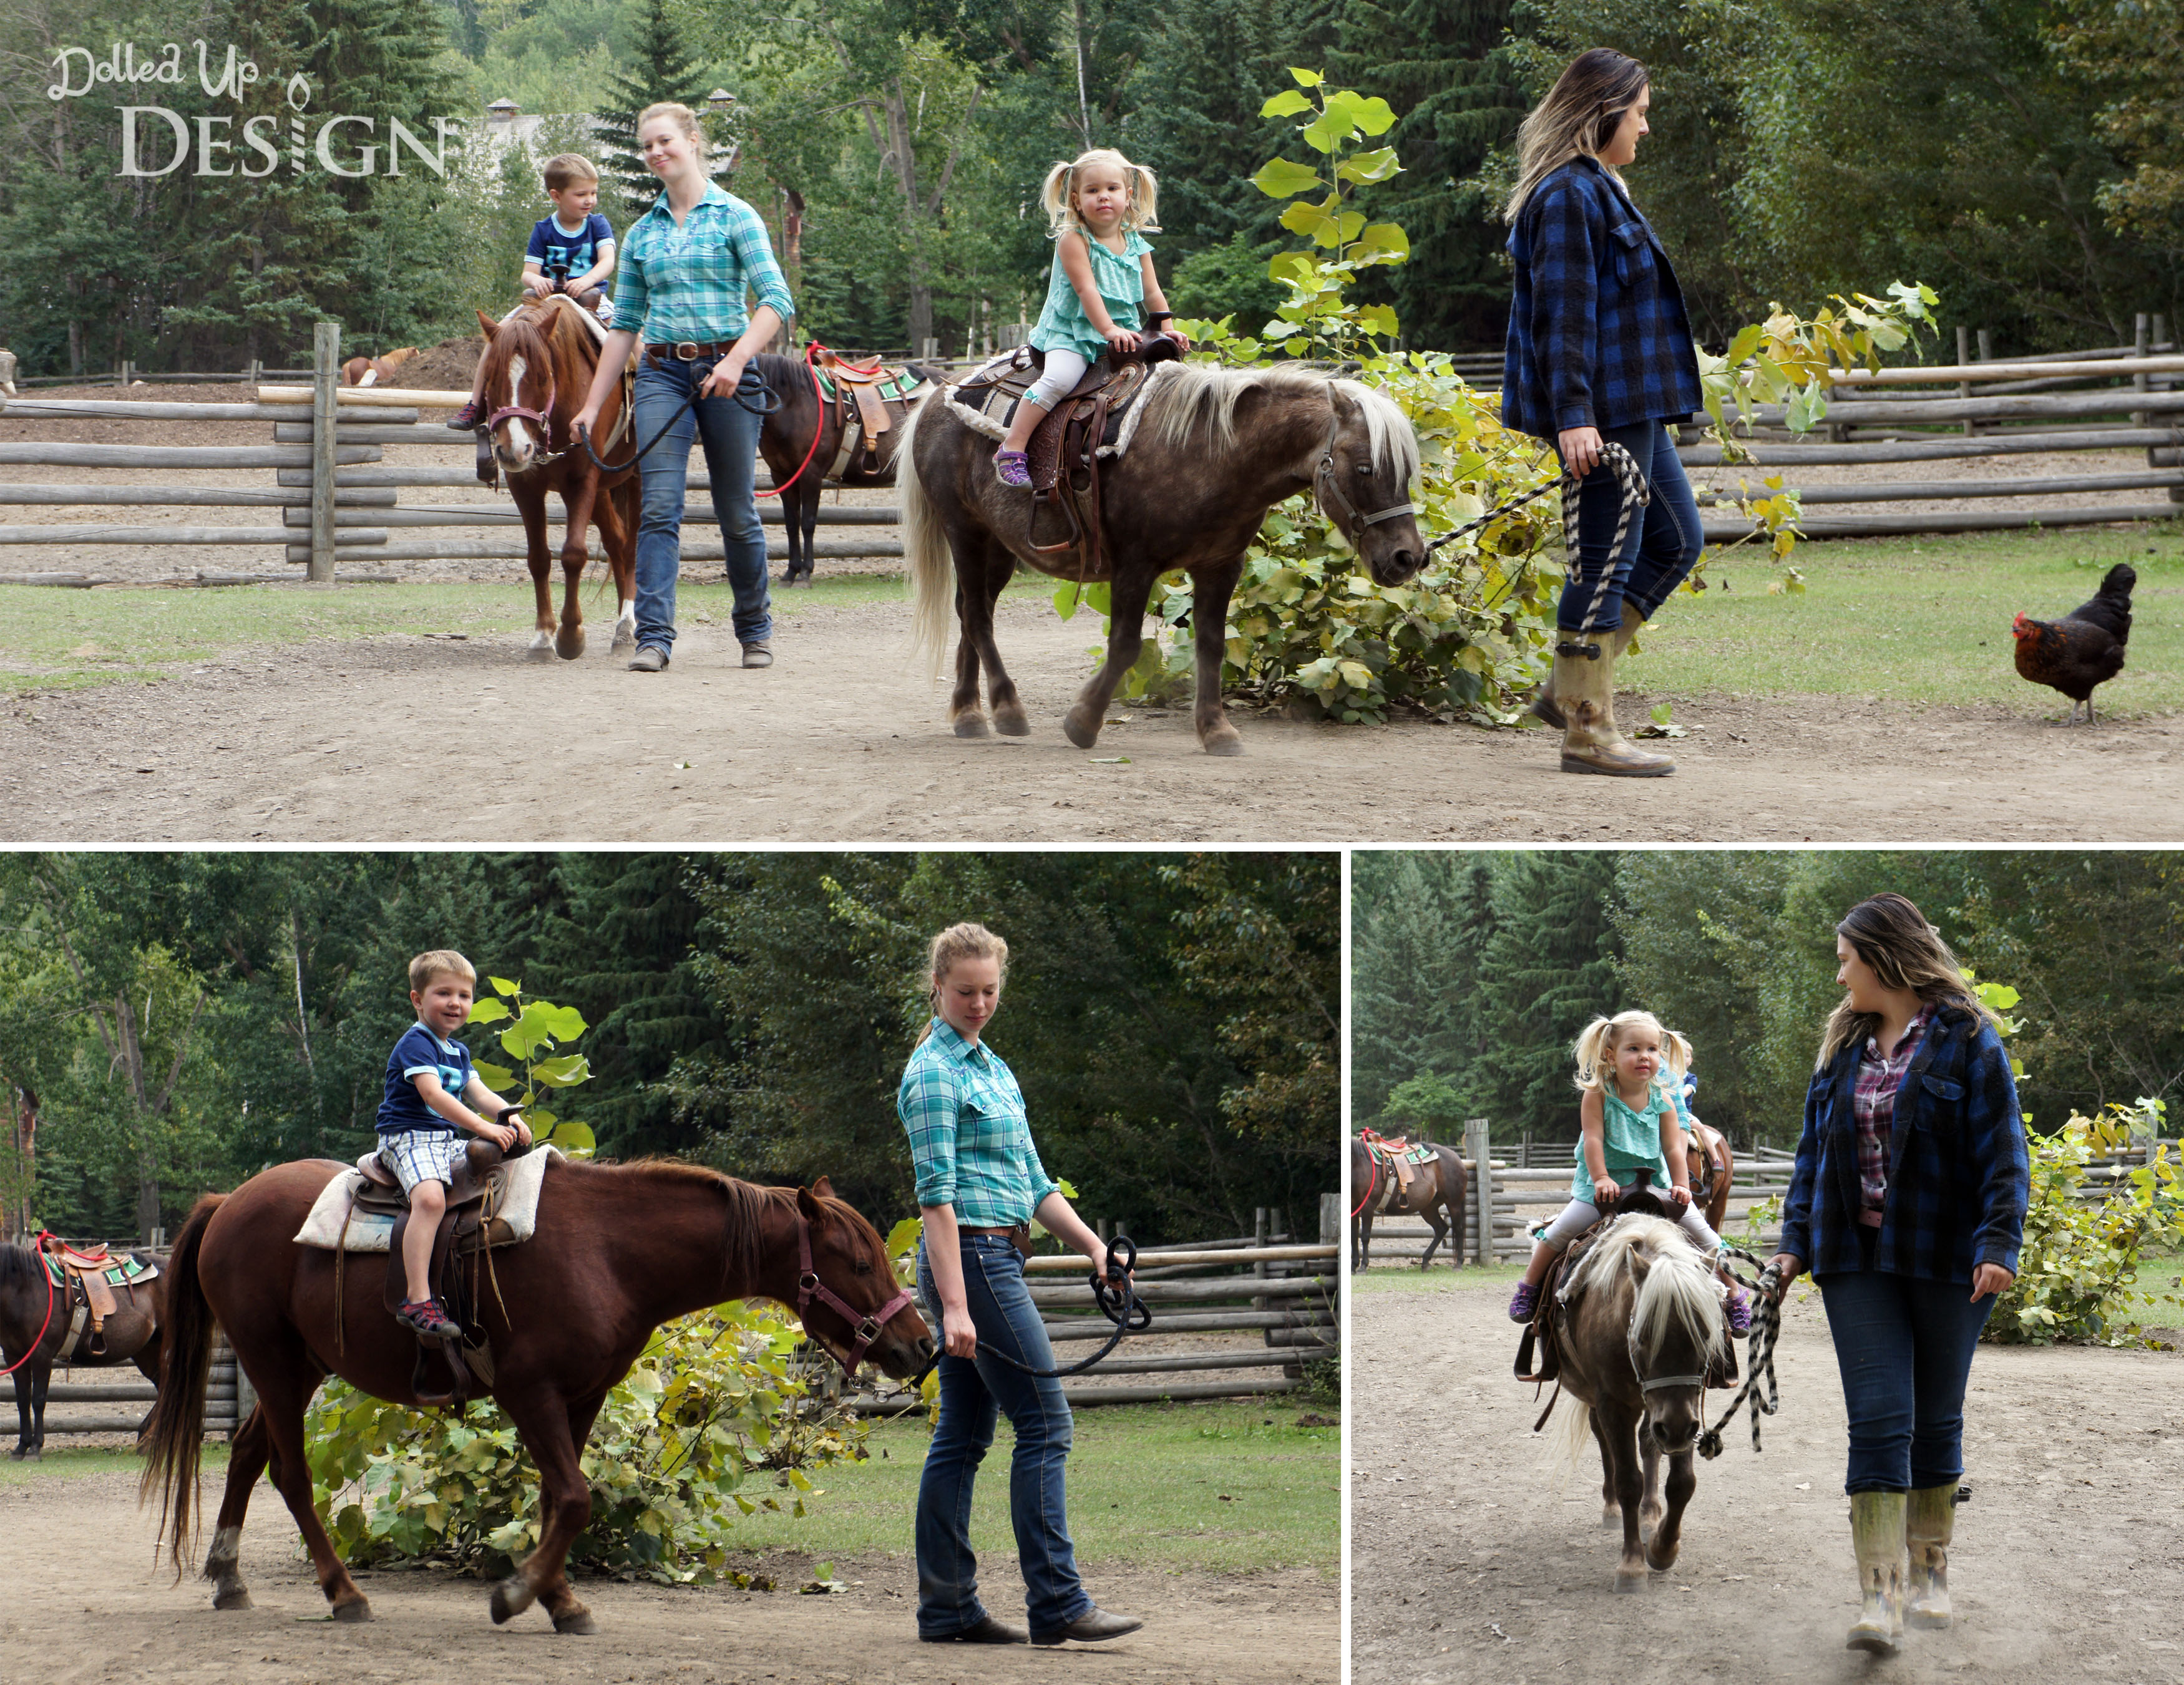
Next up Keira led us towards the animals.  There were ducks, chickens, pot bellied pigs, a miniature donkey and some goats.  The goats have a nifty set of catwalks that go all over the animal pens and allow you to view the goats far up above your heads!

SONY DSC

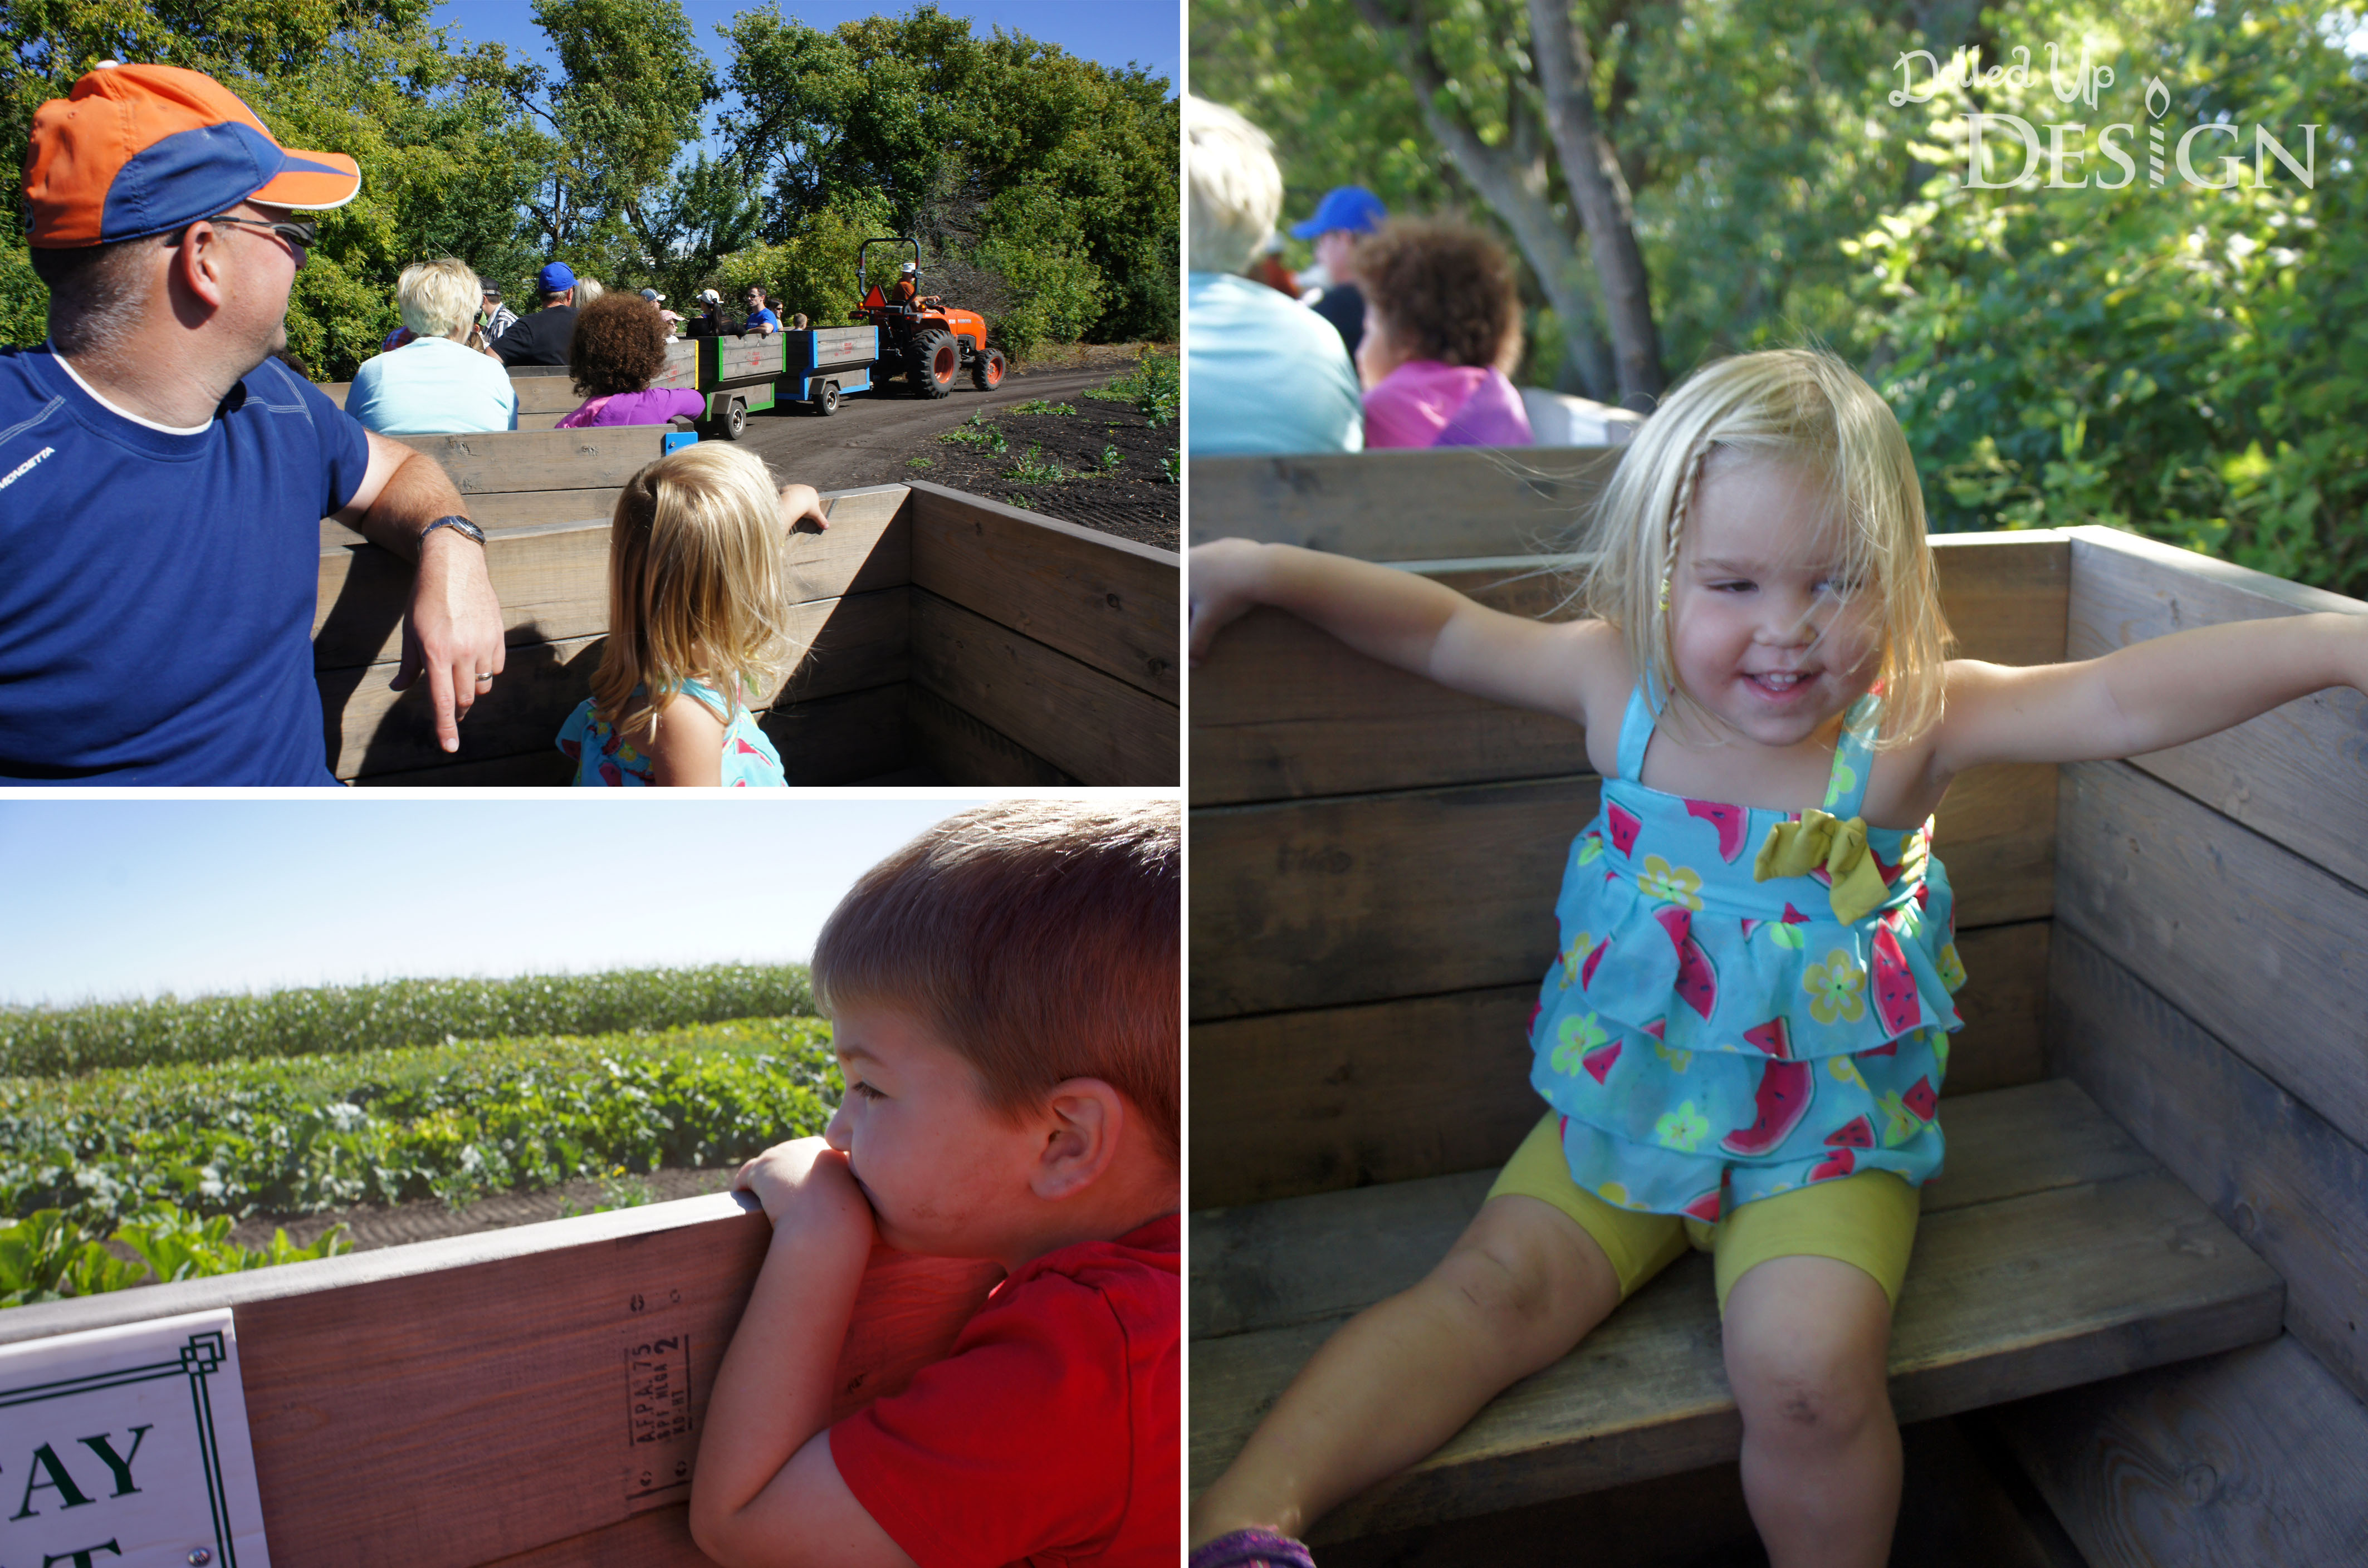
We then took a short tour around some of the farm in a tractor drawn wagon train.  Camden was excited to point out the pumpkins turning orange in the pumpkin patch and Keira was just happy to go for a ride!

SONY DSC

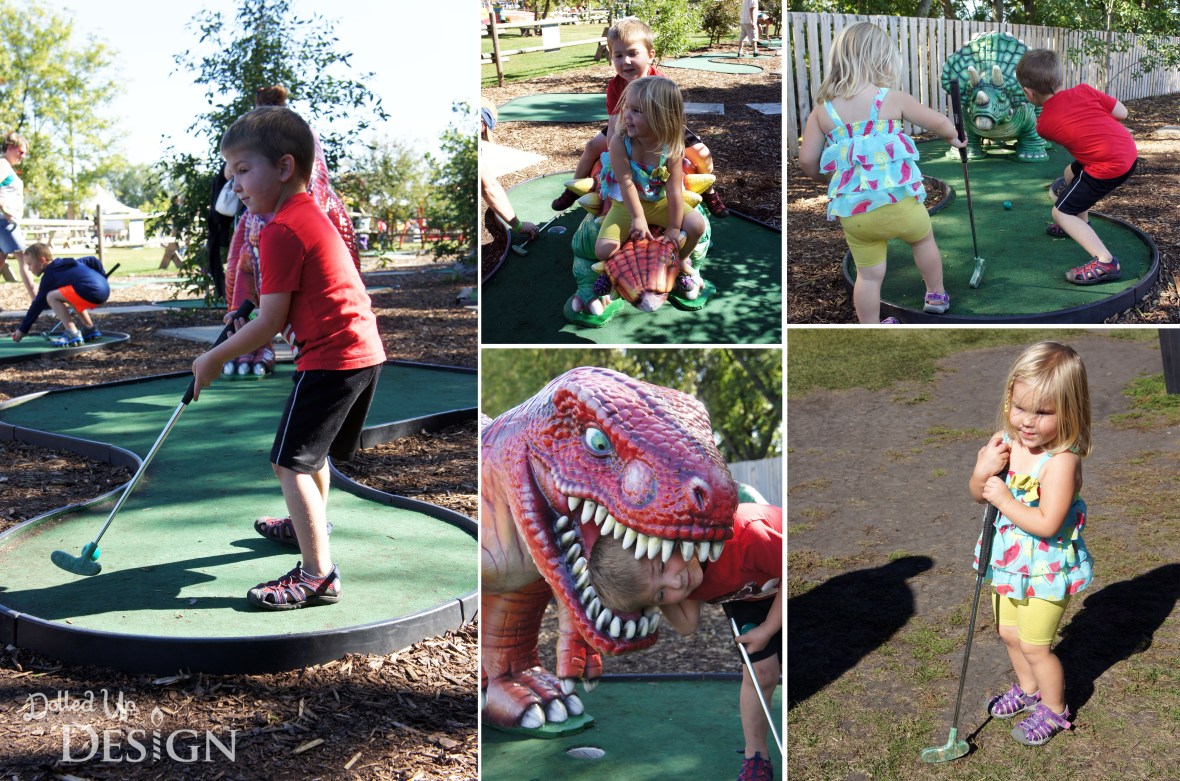
On the drive down I was feeling a little bad about not having completed quite a few of our Summer Bucket List items, but we were able to check off a few from this outing.  Mini golf was on our list, and the farm had a great dinosaur themed course that is included with price of admission.

SONY DSC

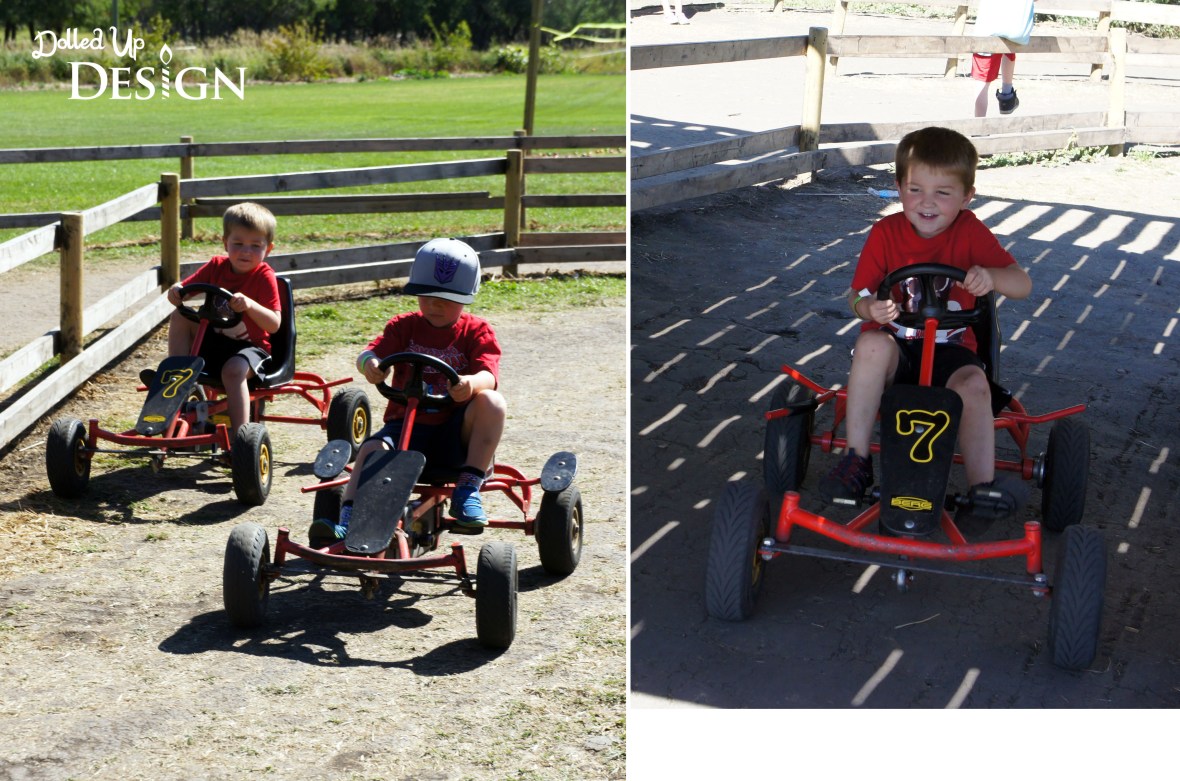
And while it isn’t quite go-karting, I am counting these pedal powered karts as going go-karting on our Bucket List.  Camden was just big enough to be able to pedal them and was happy zooming past the other drivers as he made his way around the small track.

SONY DSC

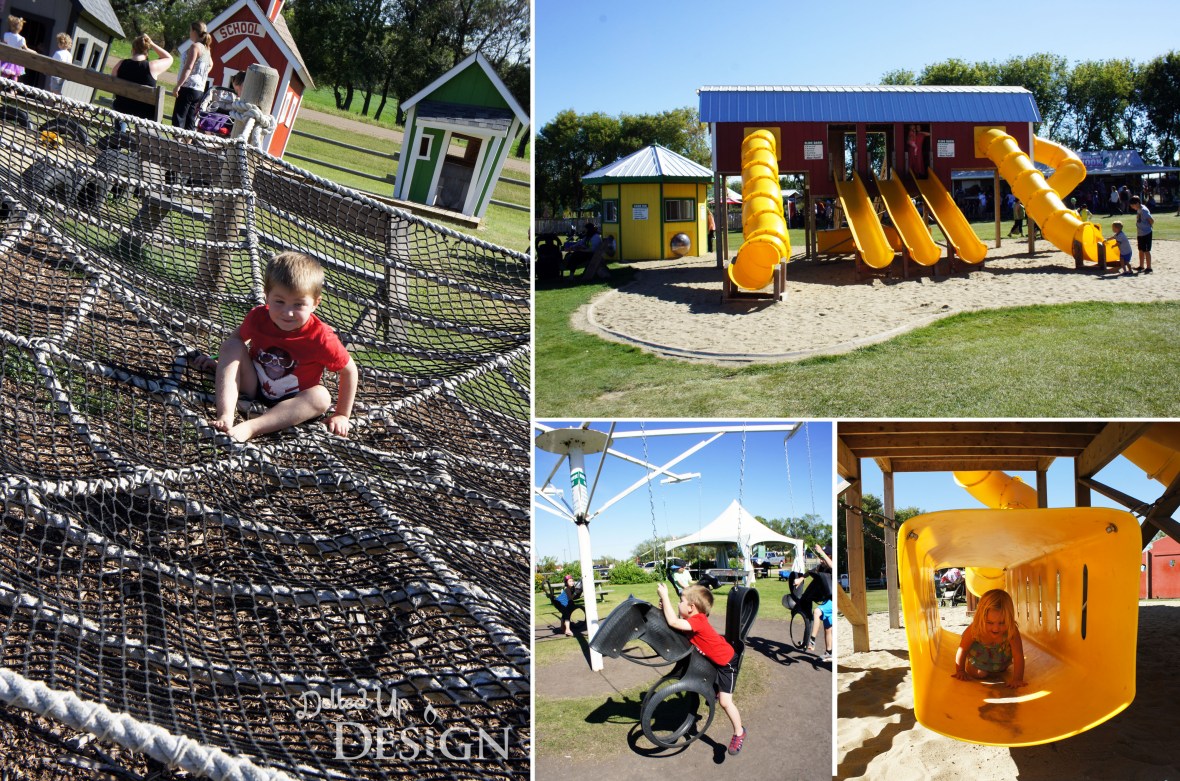
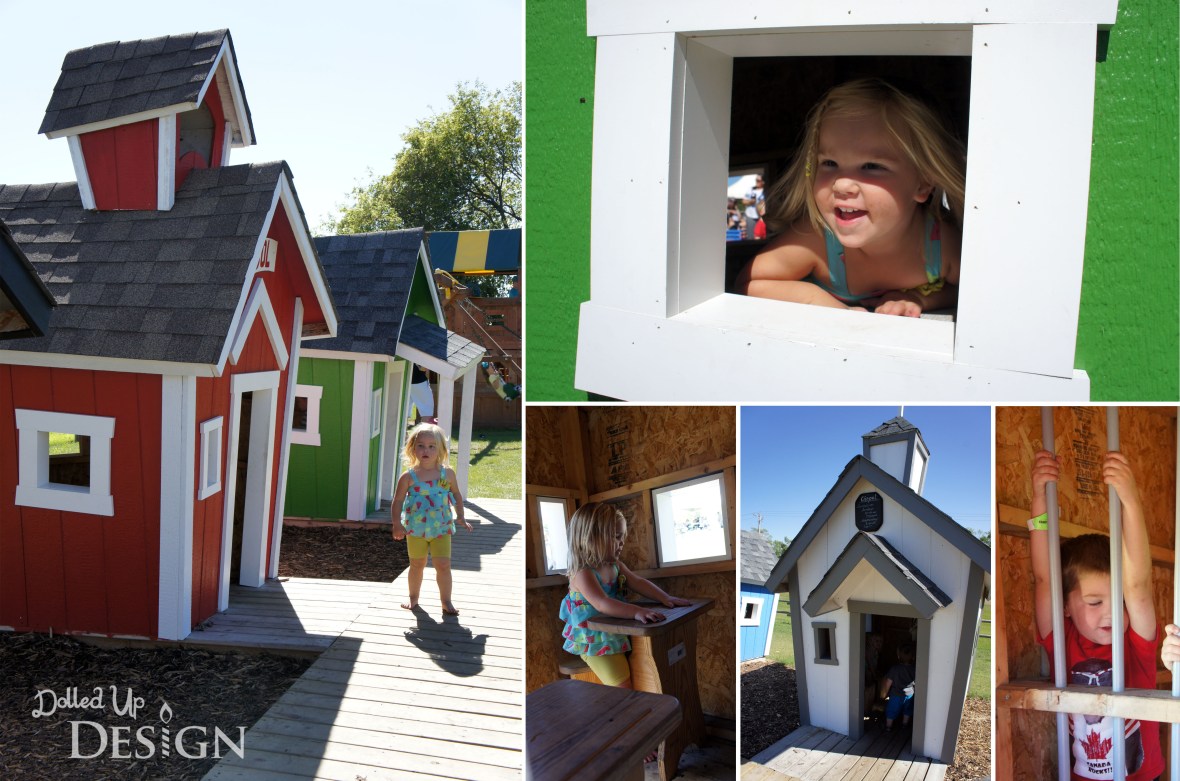
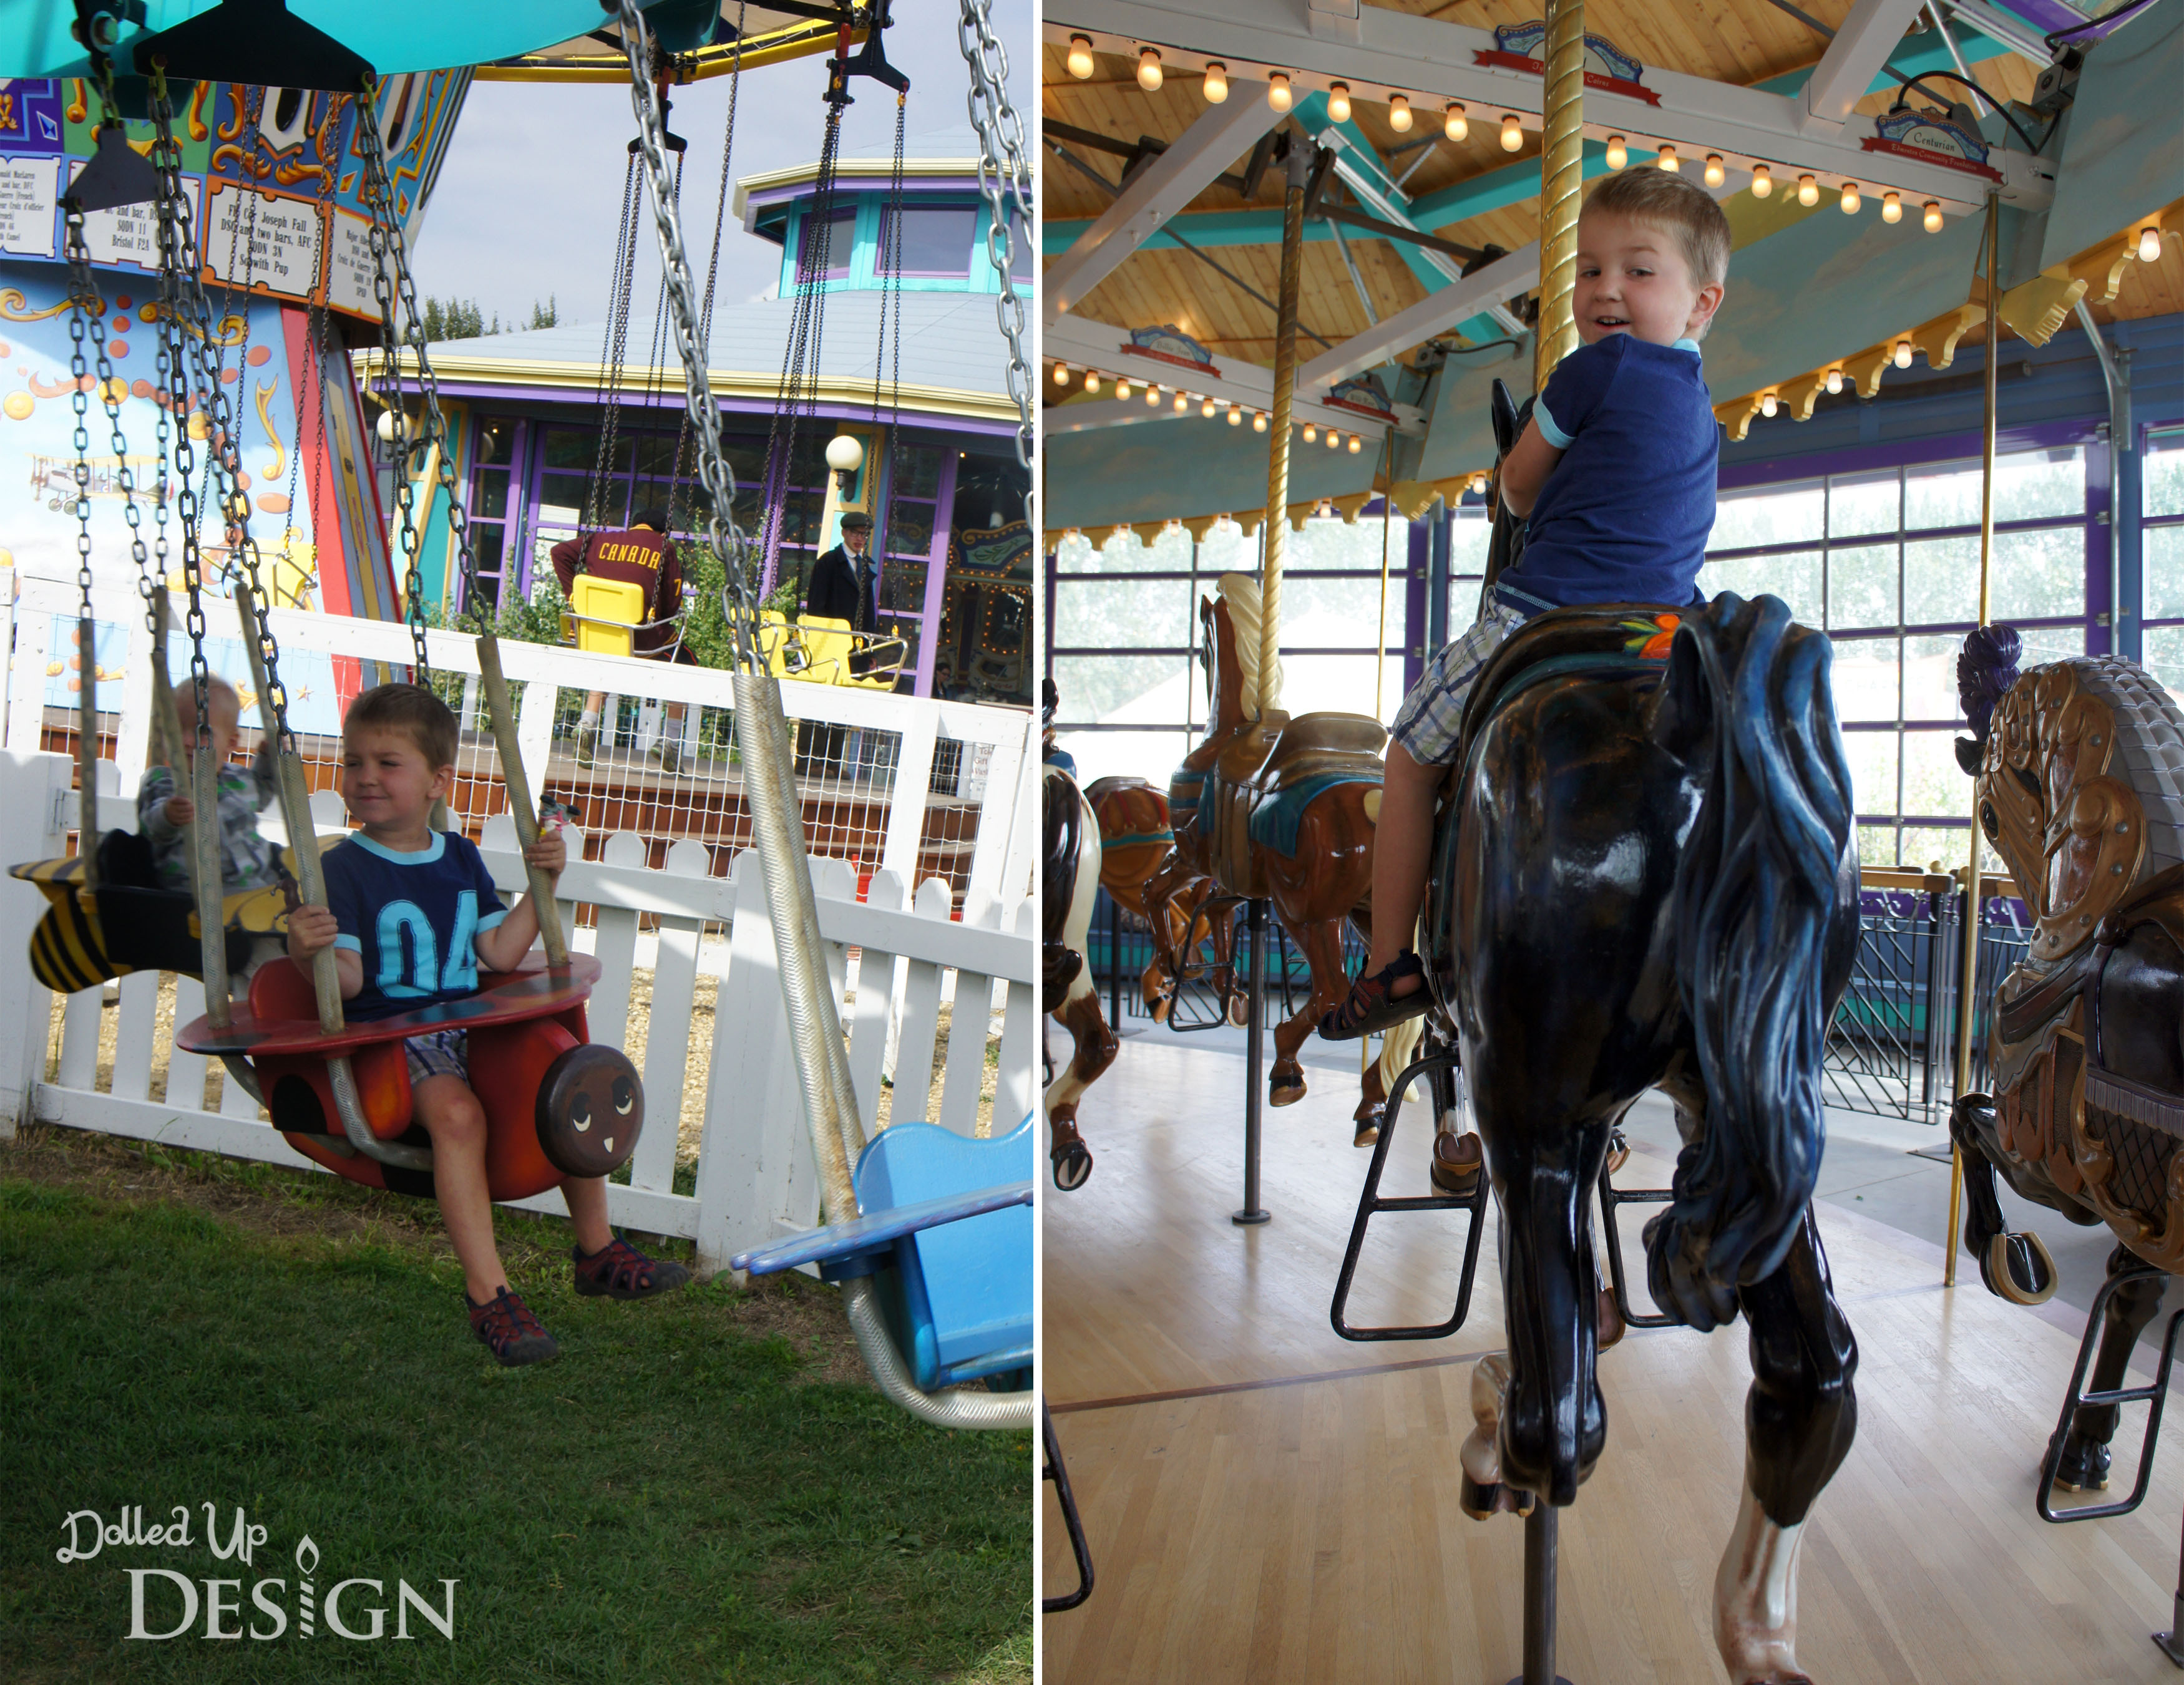
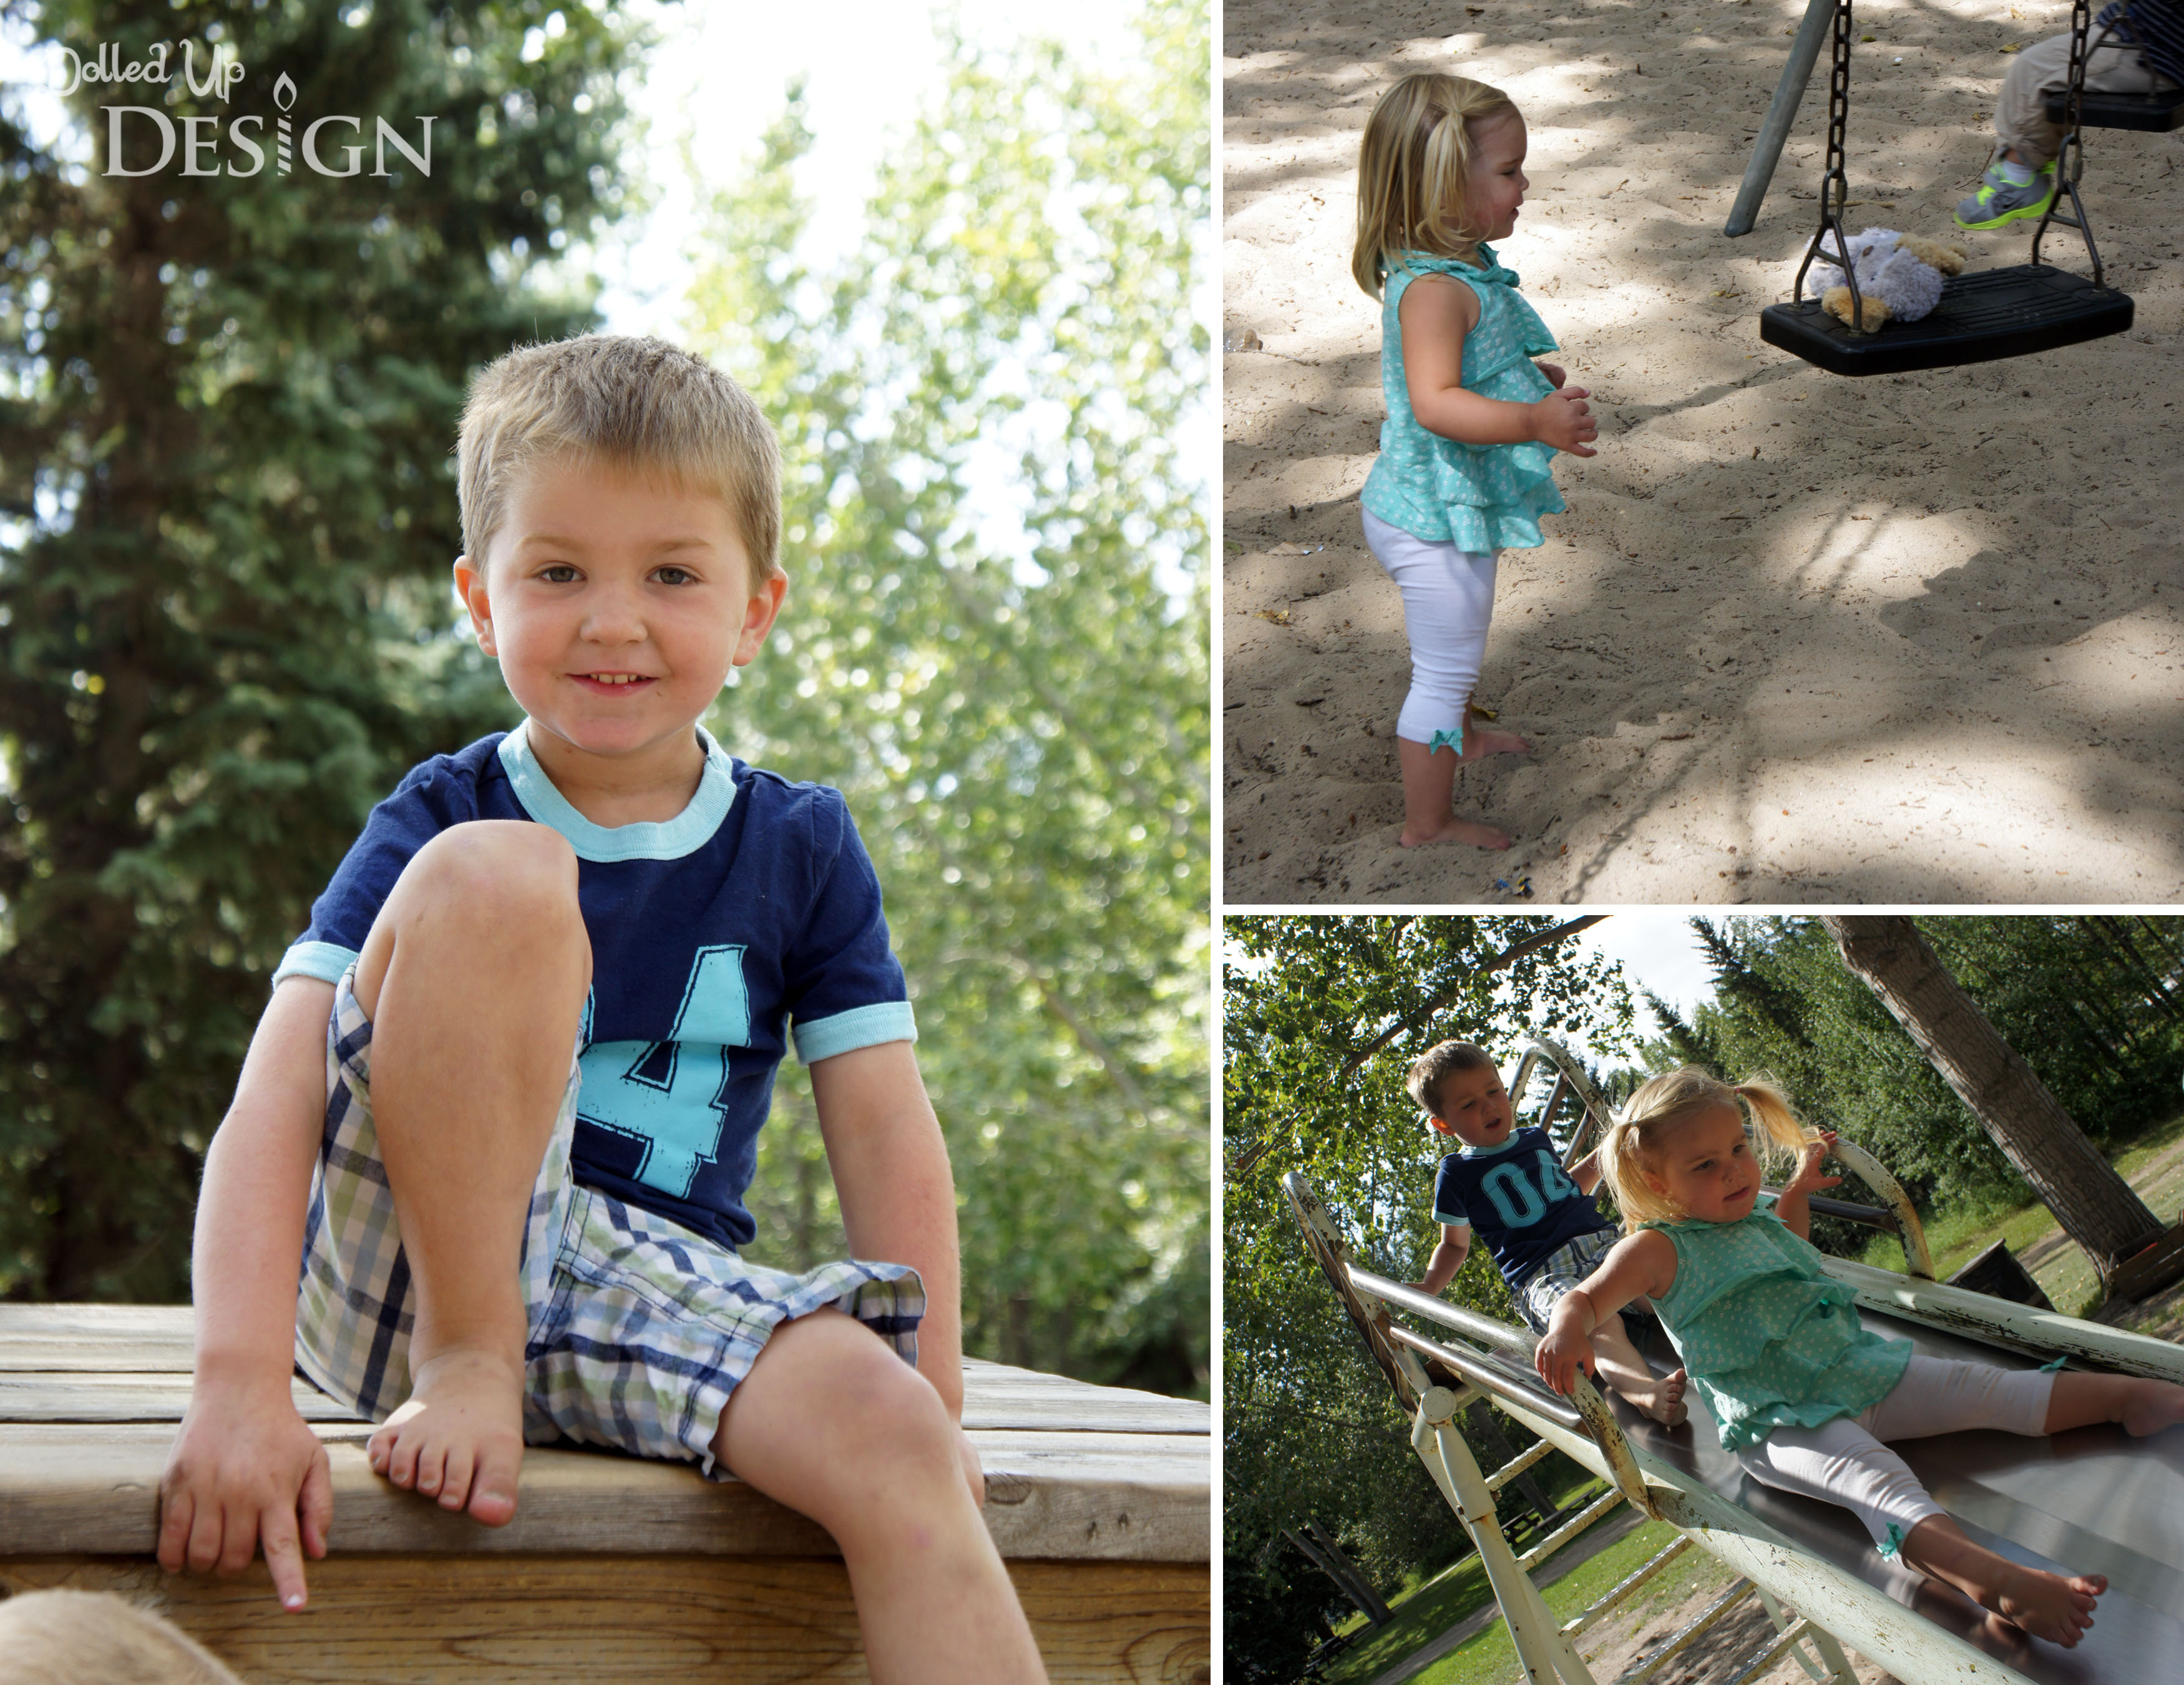
With slides, a tire horse merry-go-round, multiple play structures, a giant sandbox and unique crooked playhouses this is one of the best play areas we have been to all summer.  There were no shortage of things to keep the kids busy and I am sure we could go back repeatedly and they would not be bored.  We had a hard time prying them away to try some of the other activities we wanted to see!

SONY DSC

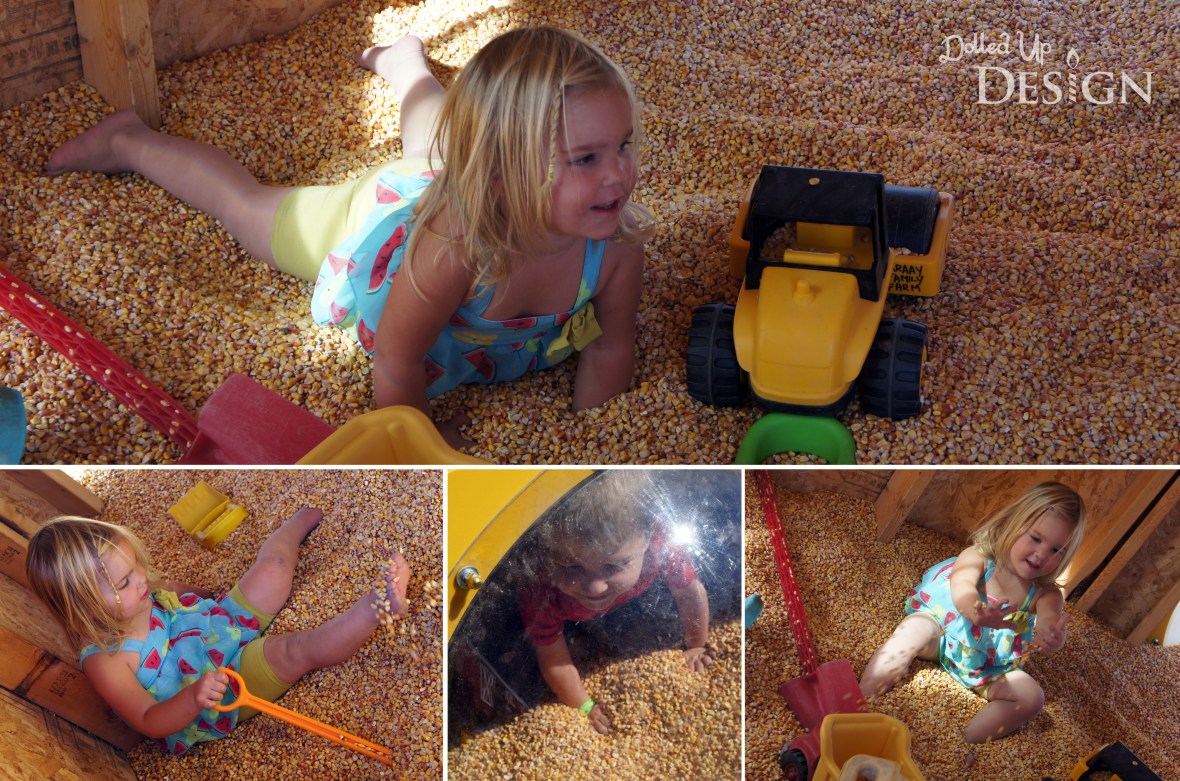
One activity I was surprised by how much Keira enjoyed was playing in a bin full of dried corn.  I think she would have happily stayed there for hours rolling in it, digging her toes into it and running it through her hands.  There was a giant sandbox just steps away, but she was far more interested in the corn.

SONY DSC

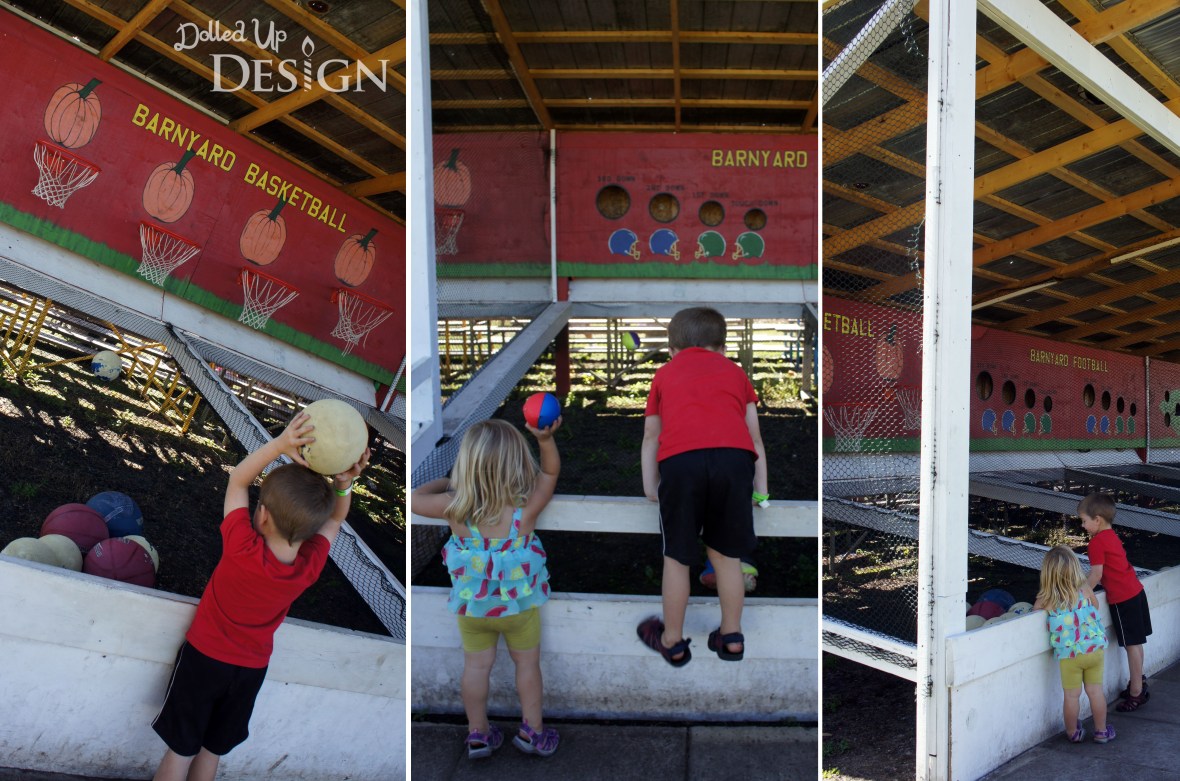
After a quick hot dog lunch, we made out way over to play a few games and get ready to watch one of the twice daily pig races.  There are a couple concession stands throughout the farm as well of plenty of tables and seating if you wanted to bring in your own picnic lunch.  The farm also rents out barbeques and there are tents available for special events such as birthday parties.

SONY DSC

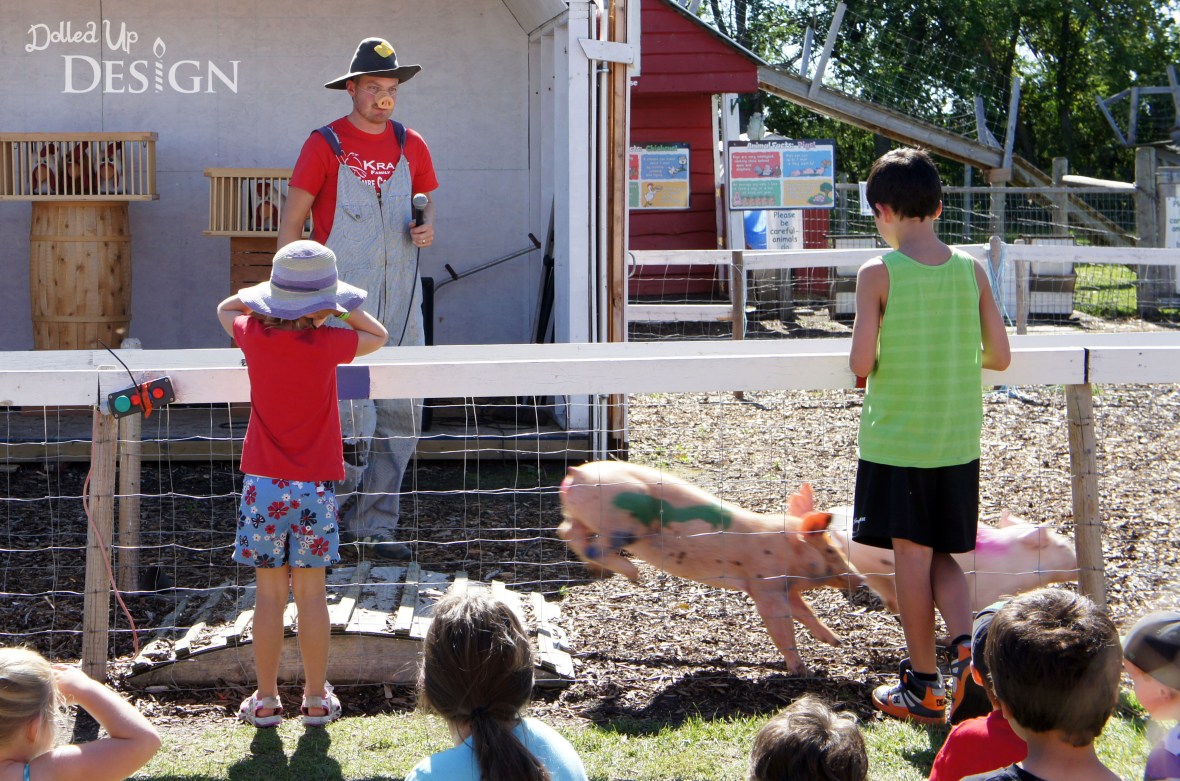
The pig races were short, but cute.  “Boss Hogg” did a good job commentating and getting the kids involved, and it was funny to see some of the pigs not too sure of where they should be running.

SONY DSC

Then, finally, we made our way through one of the three corn mazes.  It was a lot of walking and both kids were getting pretty pooped by the end, but my husband did a good job of not leading us too astray.  There are also clues and employees throughout the maze for those who might be completely directionally challenged!

SONY DSC

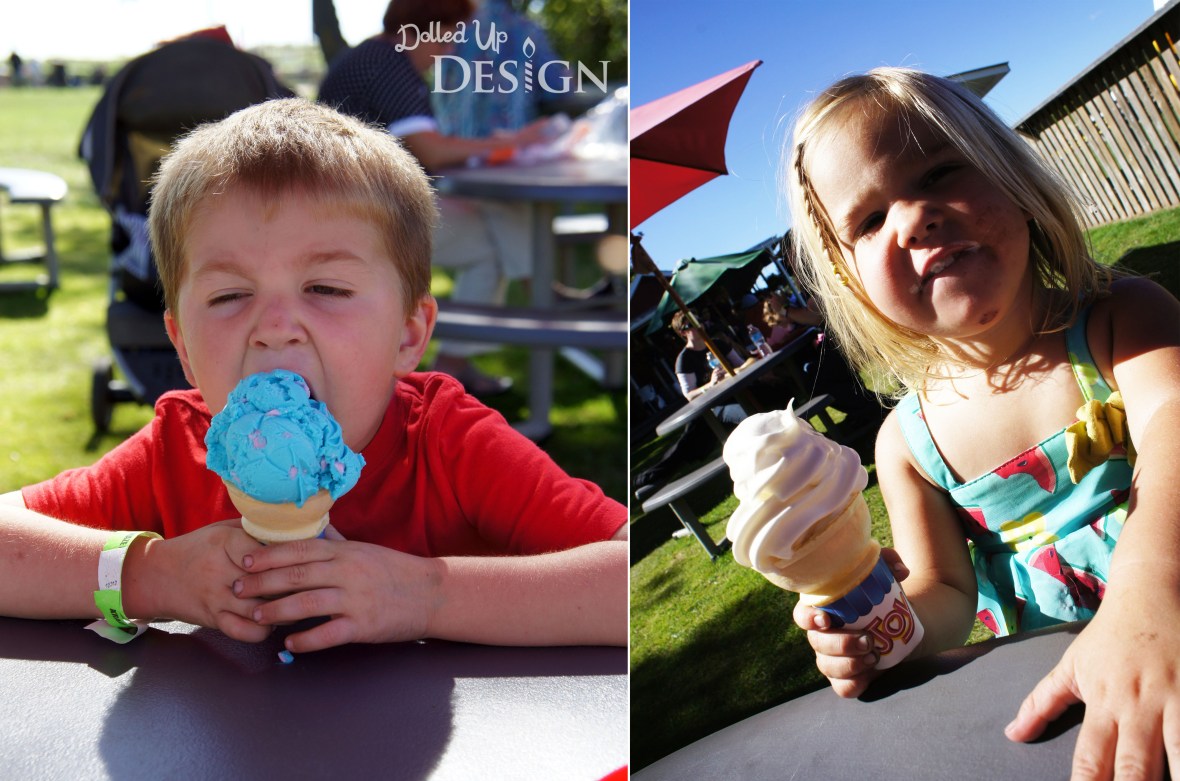
And we ended our trip to the farm with, what else, but ice cream!!  I think the kids would be more then happy if I built next summer’s bucket list solely on places we could go to enjoy ice cream.

SONY DSC


The farm and corn maze visit made for a fantastic day, but the icing on the cake was really in the evening when this happened:

SONY DSC

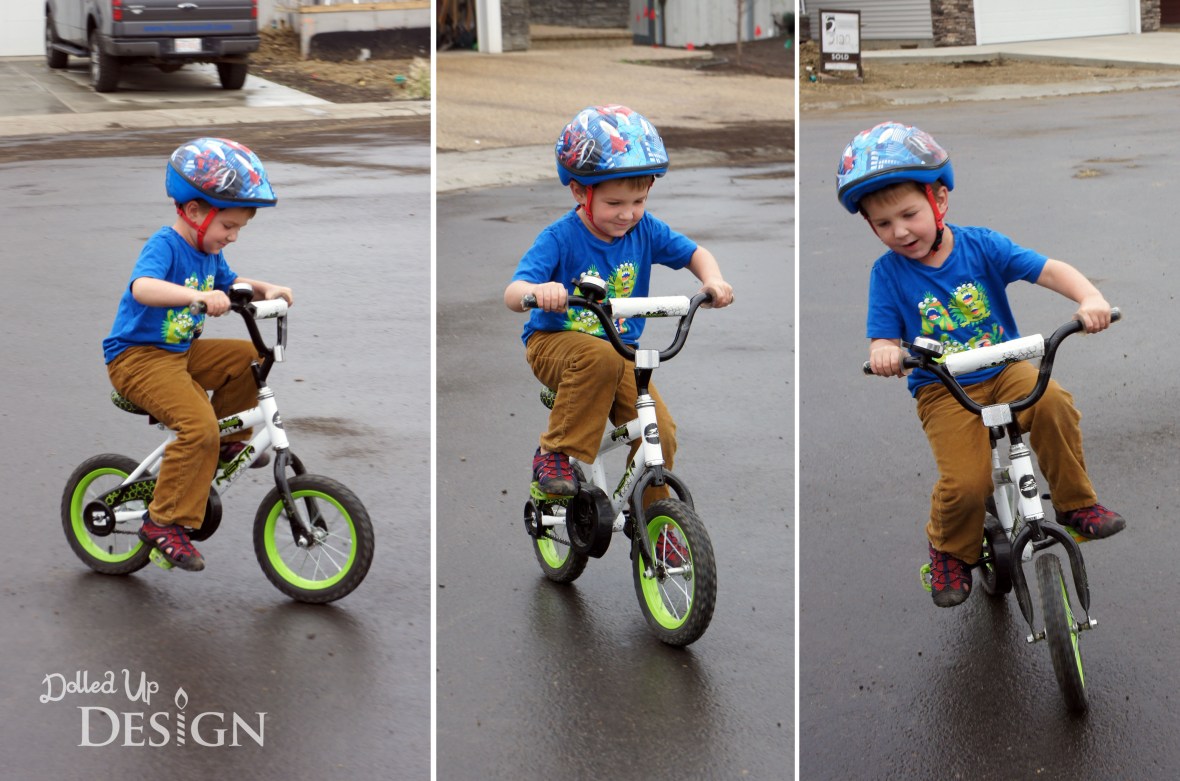
While relaxing with some drinks in the front yard, I watched how well Camden was doing riding his balance bike and decided to take the training wheels off his pedal bike to have him give it a try.  I was expecting some wobbliness and failed attempts, but what he did blew both my husband and I away.  With little more then a small push from my husband, my little guy took off pedalling his 2 wheeler like a pro.  Within minutes he was going up curbs and riding in circles like it was old hat to him!  I didn’t even have the video camera ready to catch the first try because there was no way I thought he would be able to do it that easily.

I couldn’t be prouder of my little boy and can’t think of a more wonderful way to start off being 32.  I  am looking forward to more upcoming family adventures and am excited to watch as the kids continue to grow and surprise us in the year ahead.


For more information on the Kraay Family Farm, be sure to check out their fantastic website or visit the Lacombe Corn Maze on Facebook.  As you can see by my many photos, there is no shortage of things to do on the farm and I would highly recommend it for anyone looking for fun activities to do with their kids in and around Central Alberta.


Print