

Halloween has come and gone again for another year, but I wanted to share some pictures of my costumed cuties and my pumpkin creations. Continue reading “Happy Halloween 2015”
Halloween has come and gone again for another year, but I wanted to share some pictures of my costumed cuties and my pumpkin creations. Continue reading “Happy Halloween 2015”
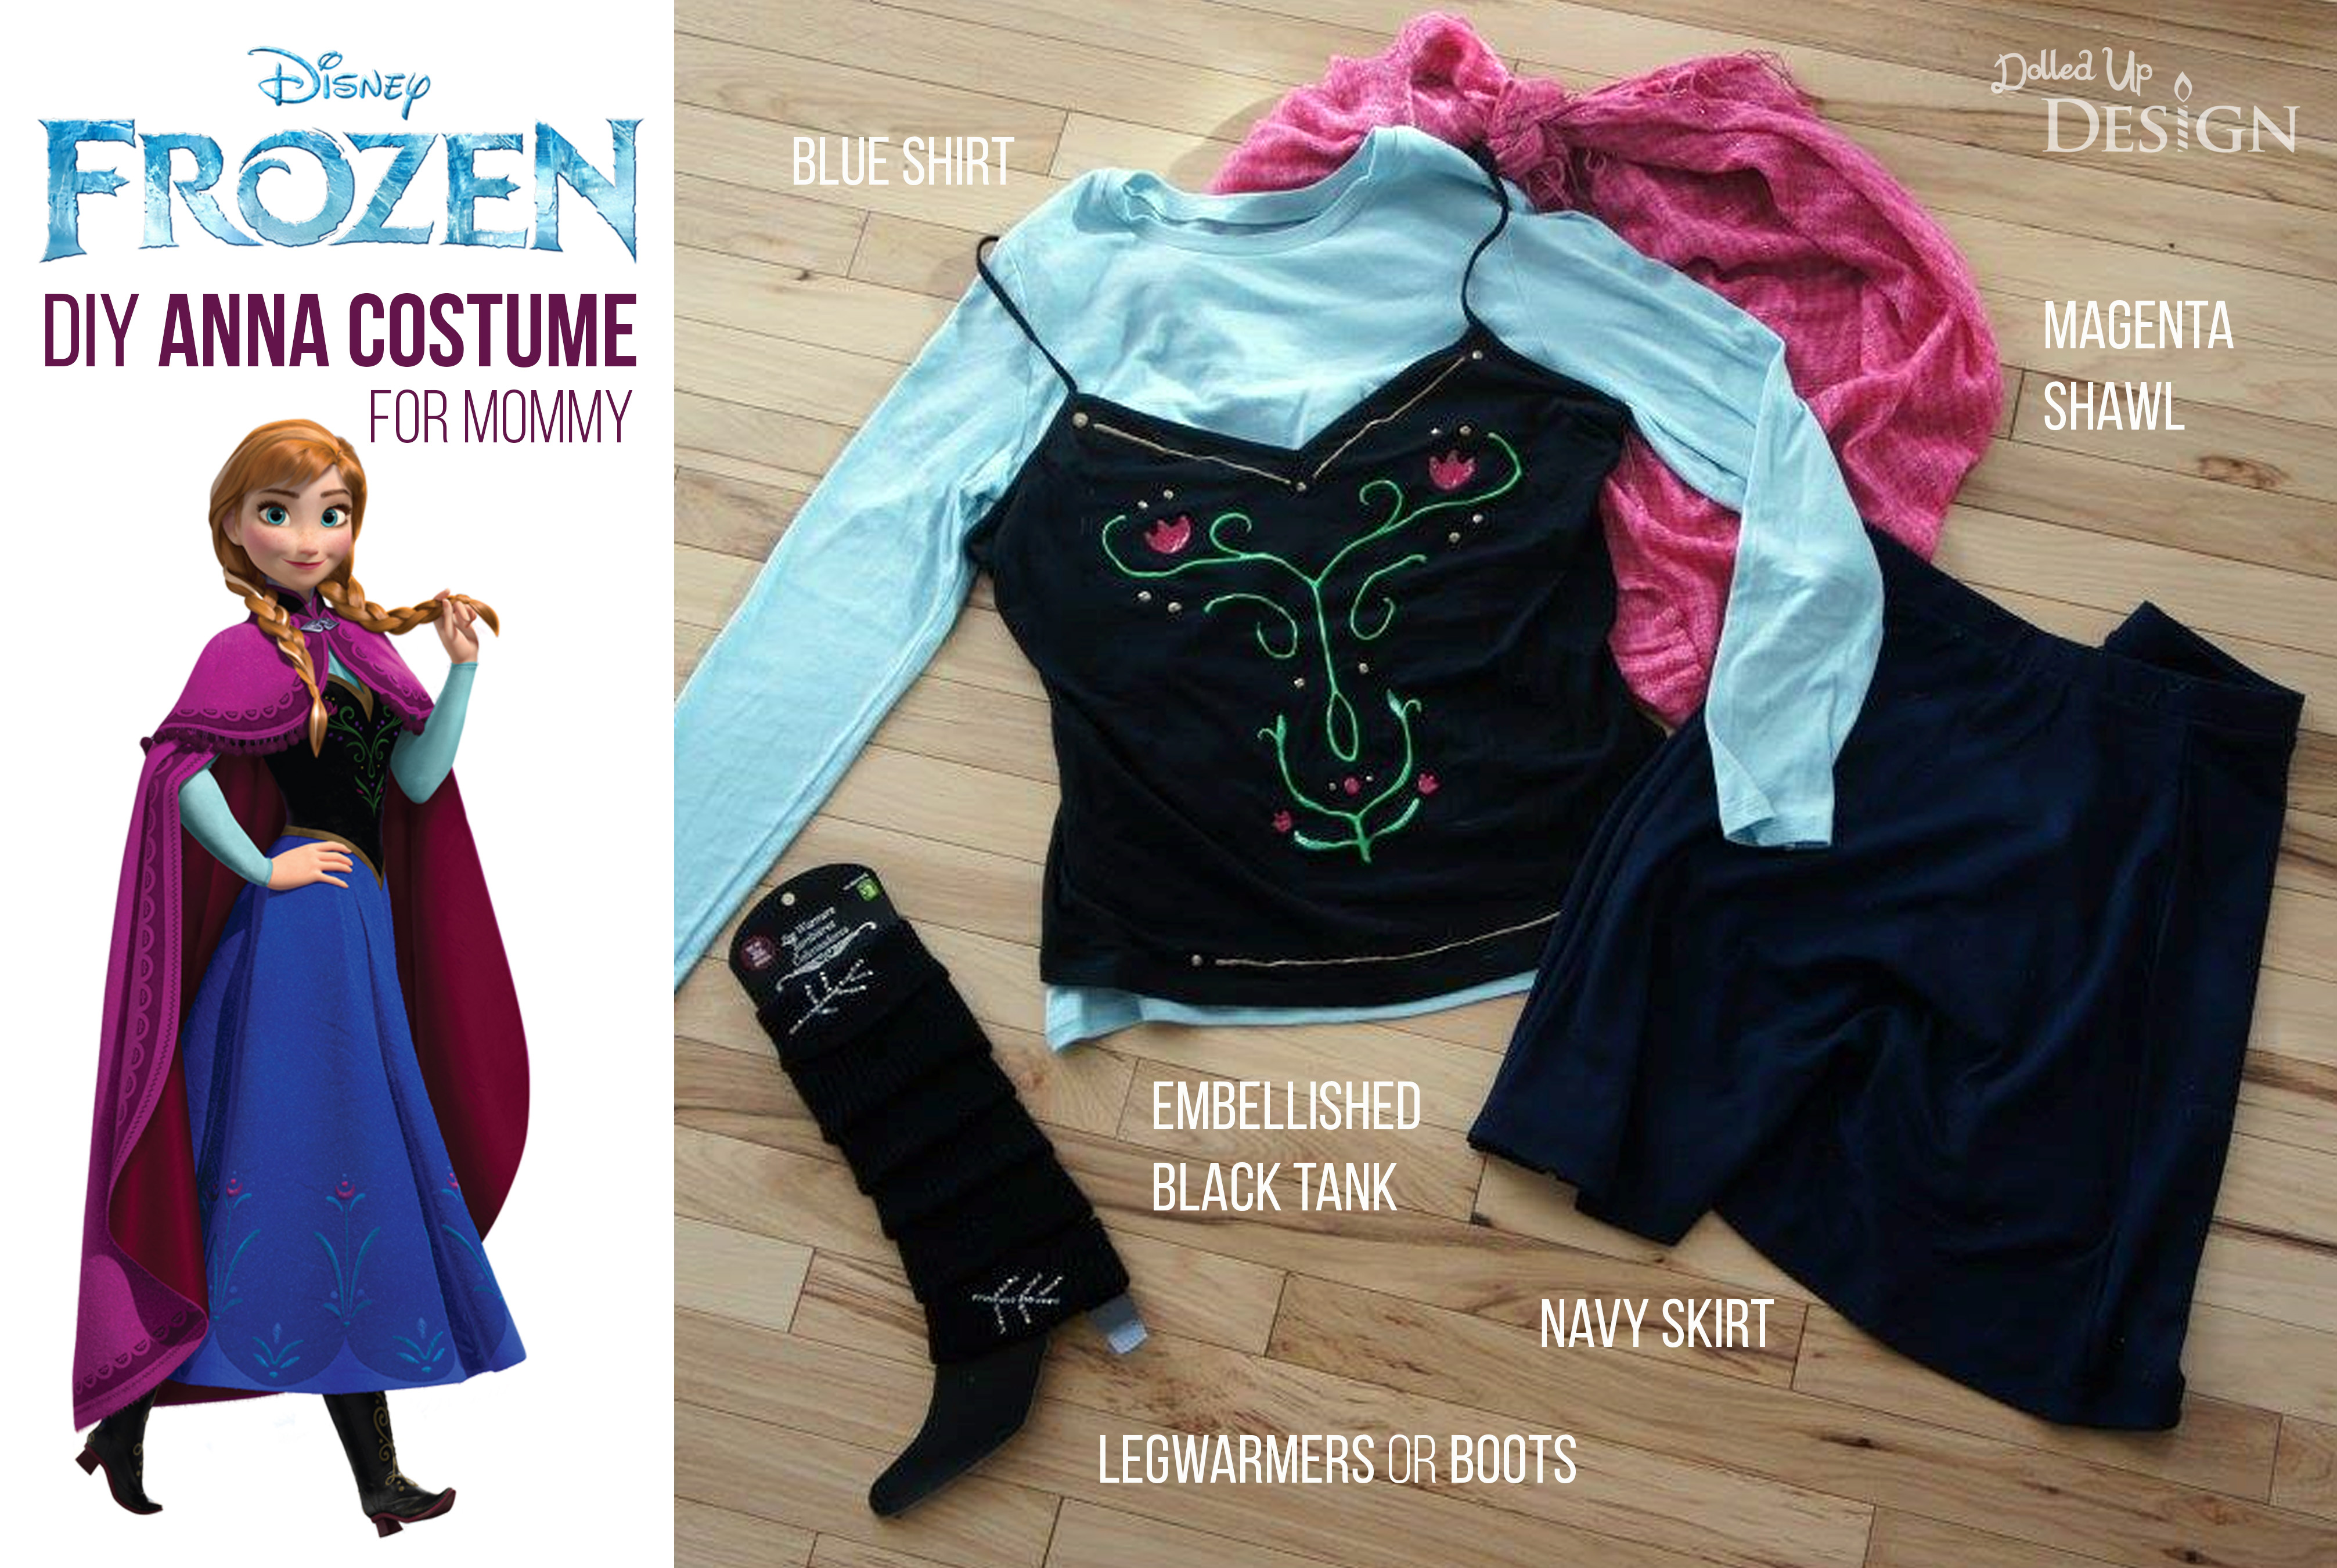
I thought my daughter’s Frozen obsession would have subsided by now, but she will be joining the hoards of other little Elsa’s this Halloween. Also joining in will be our large hound dog, thanks to this Elsa dog dress we came across at Petsmart.

I just recently took the kids to see the movie Inside Out and we all loved it. With her bobbed hair and glasses, I realized that I kind of resemble the character Sadness and it would be super easy to dress up as her for Halloween.

I love holidays because it gives me an excuse to get creative and come up with fun treats for my kids to share with their classmates and friends.
For Halloween this year, I wanted to do something special for my daughter’s preschool class. I came across this Five Little Pumpkins Sitting On a Gate Halloween Printable from Balancing Home and loved the idea so much I decided to take a shot at designing my own topper featuring the 5 Little Pumpkins poem. Continue reading “5 Little Pumpkins Printable Treat Topper”
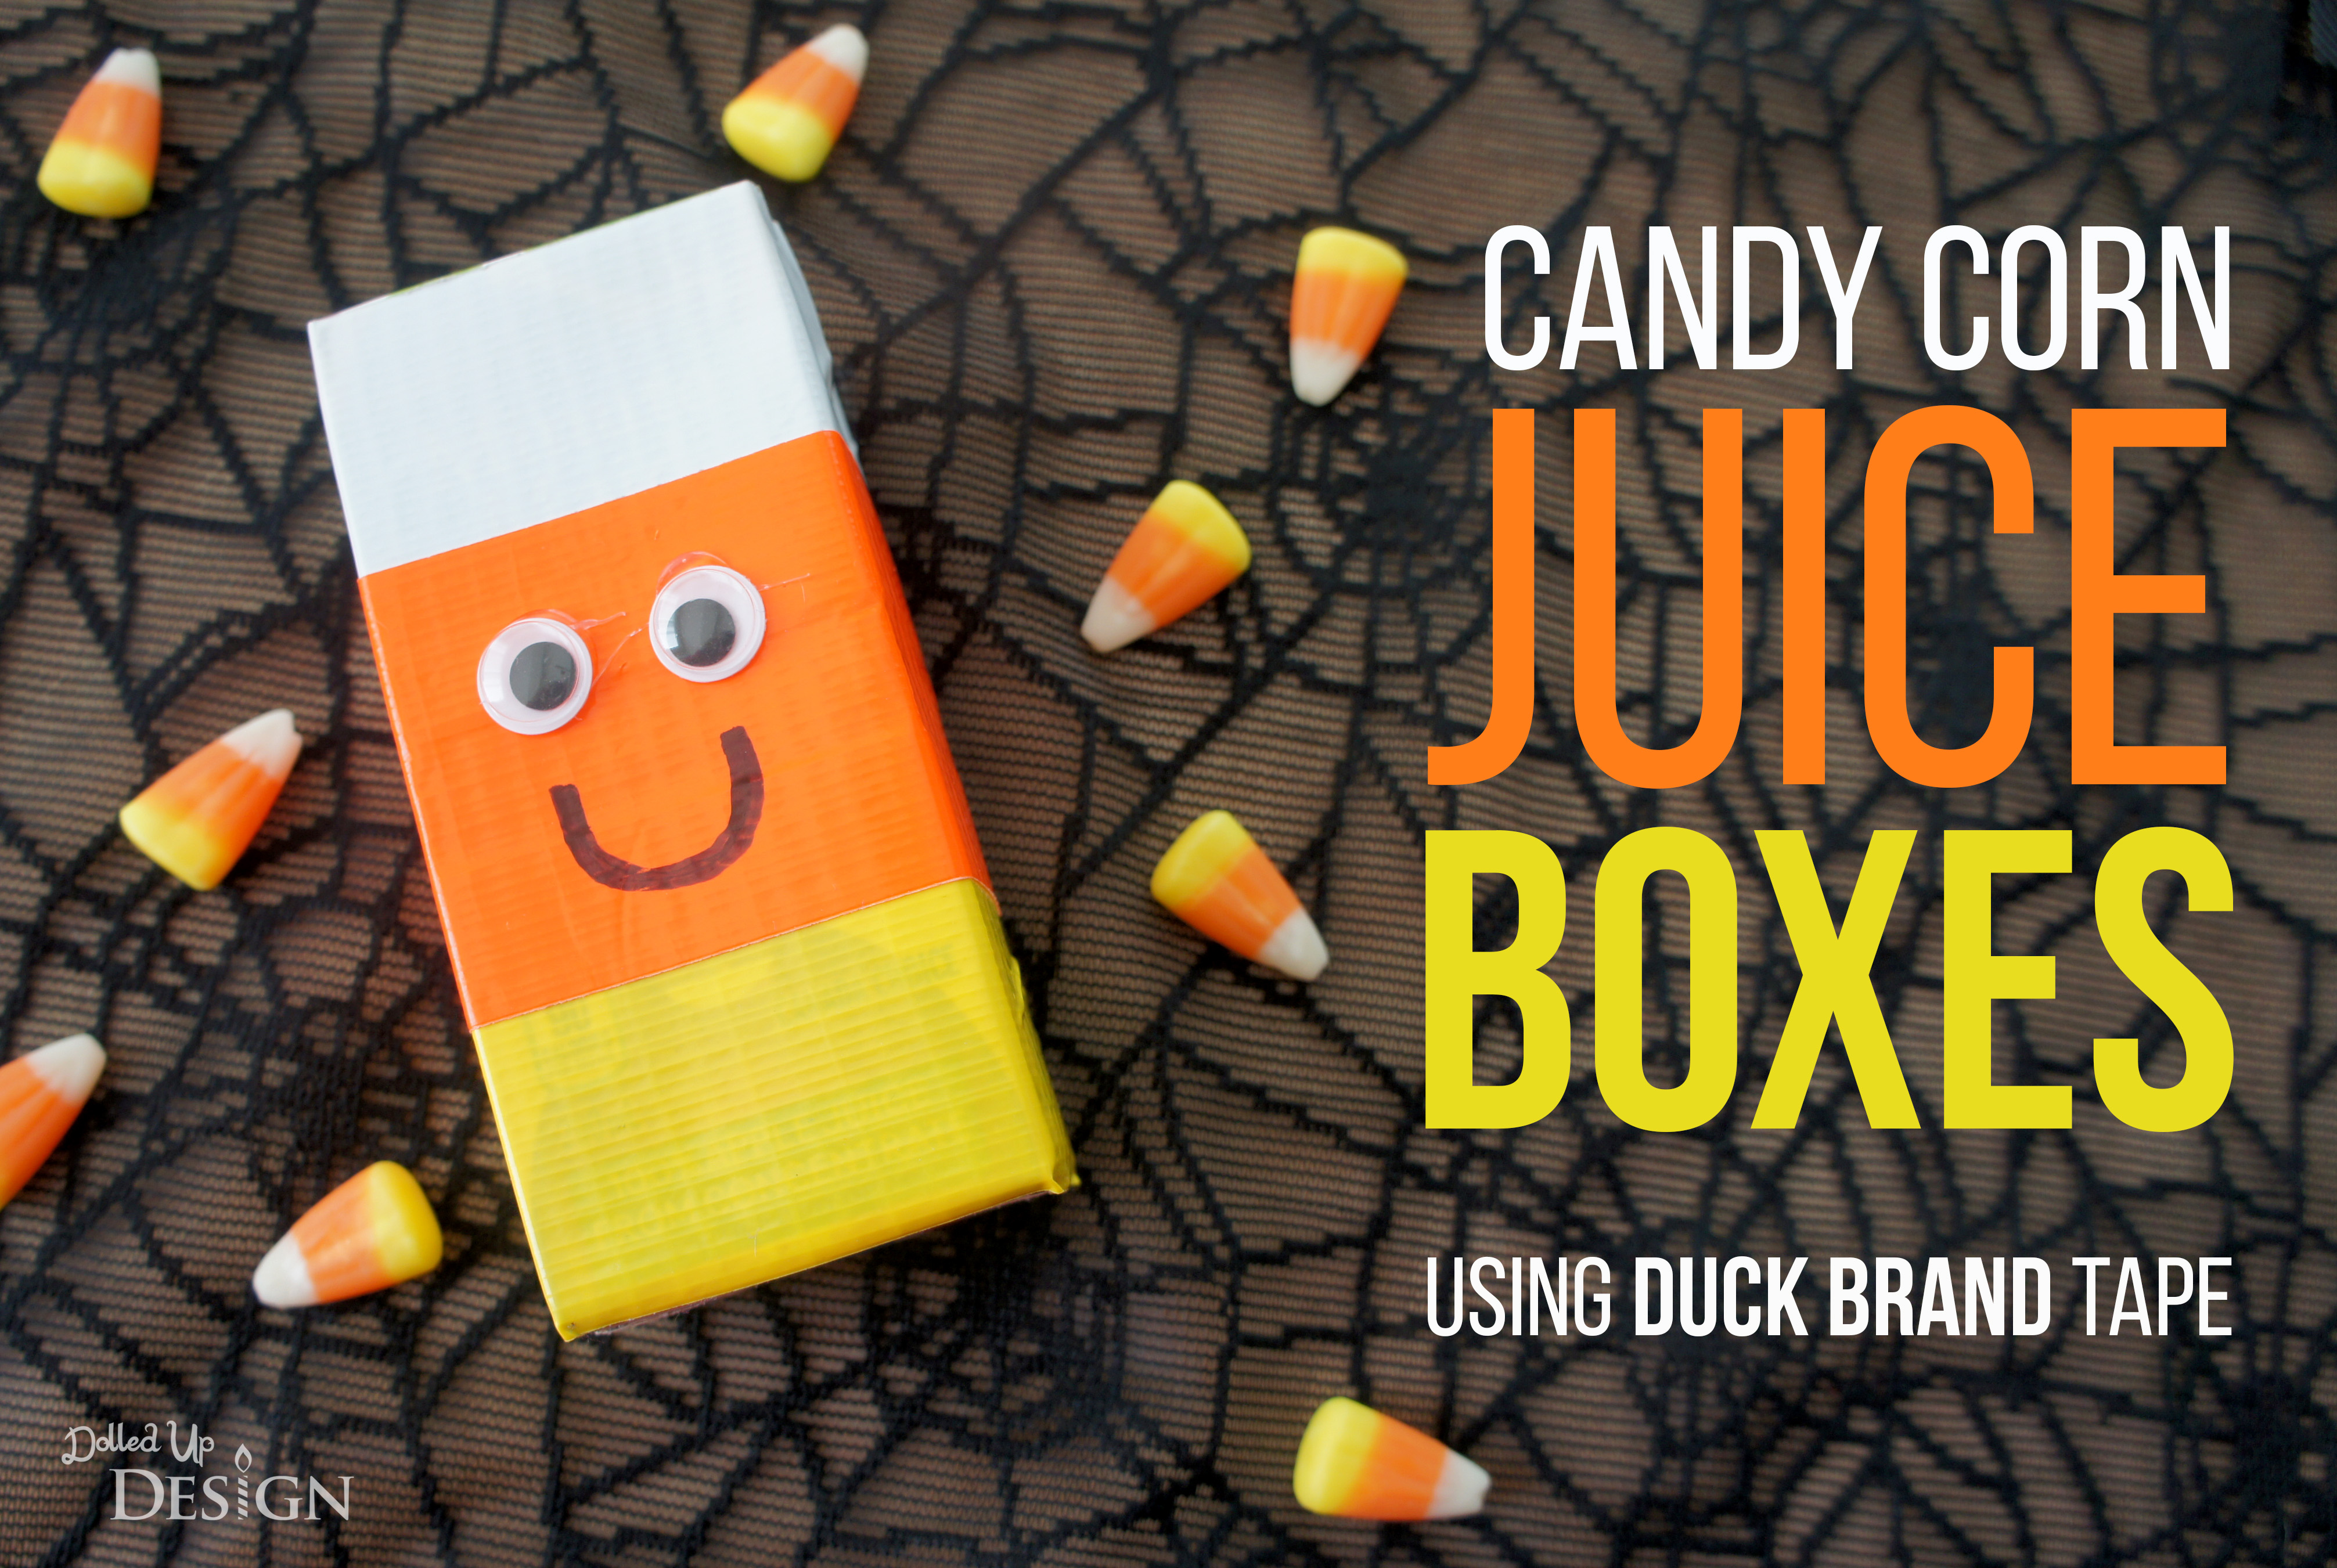
I thought I had signed up to bring a sweet treat for my son’s Kindergarten class Halloween party. I was all geared up to bring individual servings of spooky worms and dirt, until I decided to actually double check the sign-up sheet. Sure enough, there was my name, in my own writing, next to the “juice”.
I am not sure what I was thinking the day I signed up, as I’d much rather try my hand at making a fun baked treat then bring in juice boxes. Juice boxes aren’t inherently exciting, so I knew I gave myself the challenge of coming up with a fun way to make them Halloween themed.
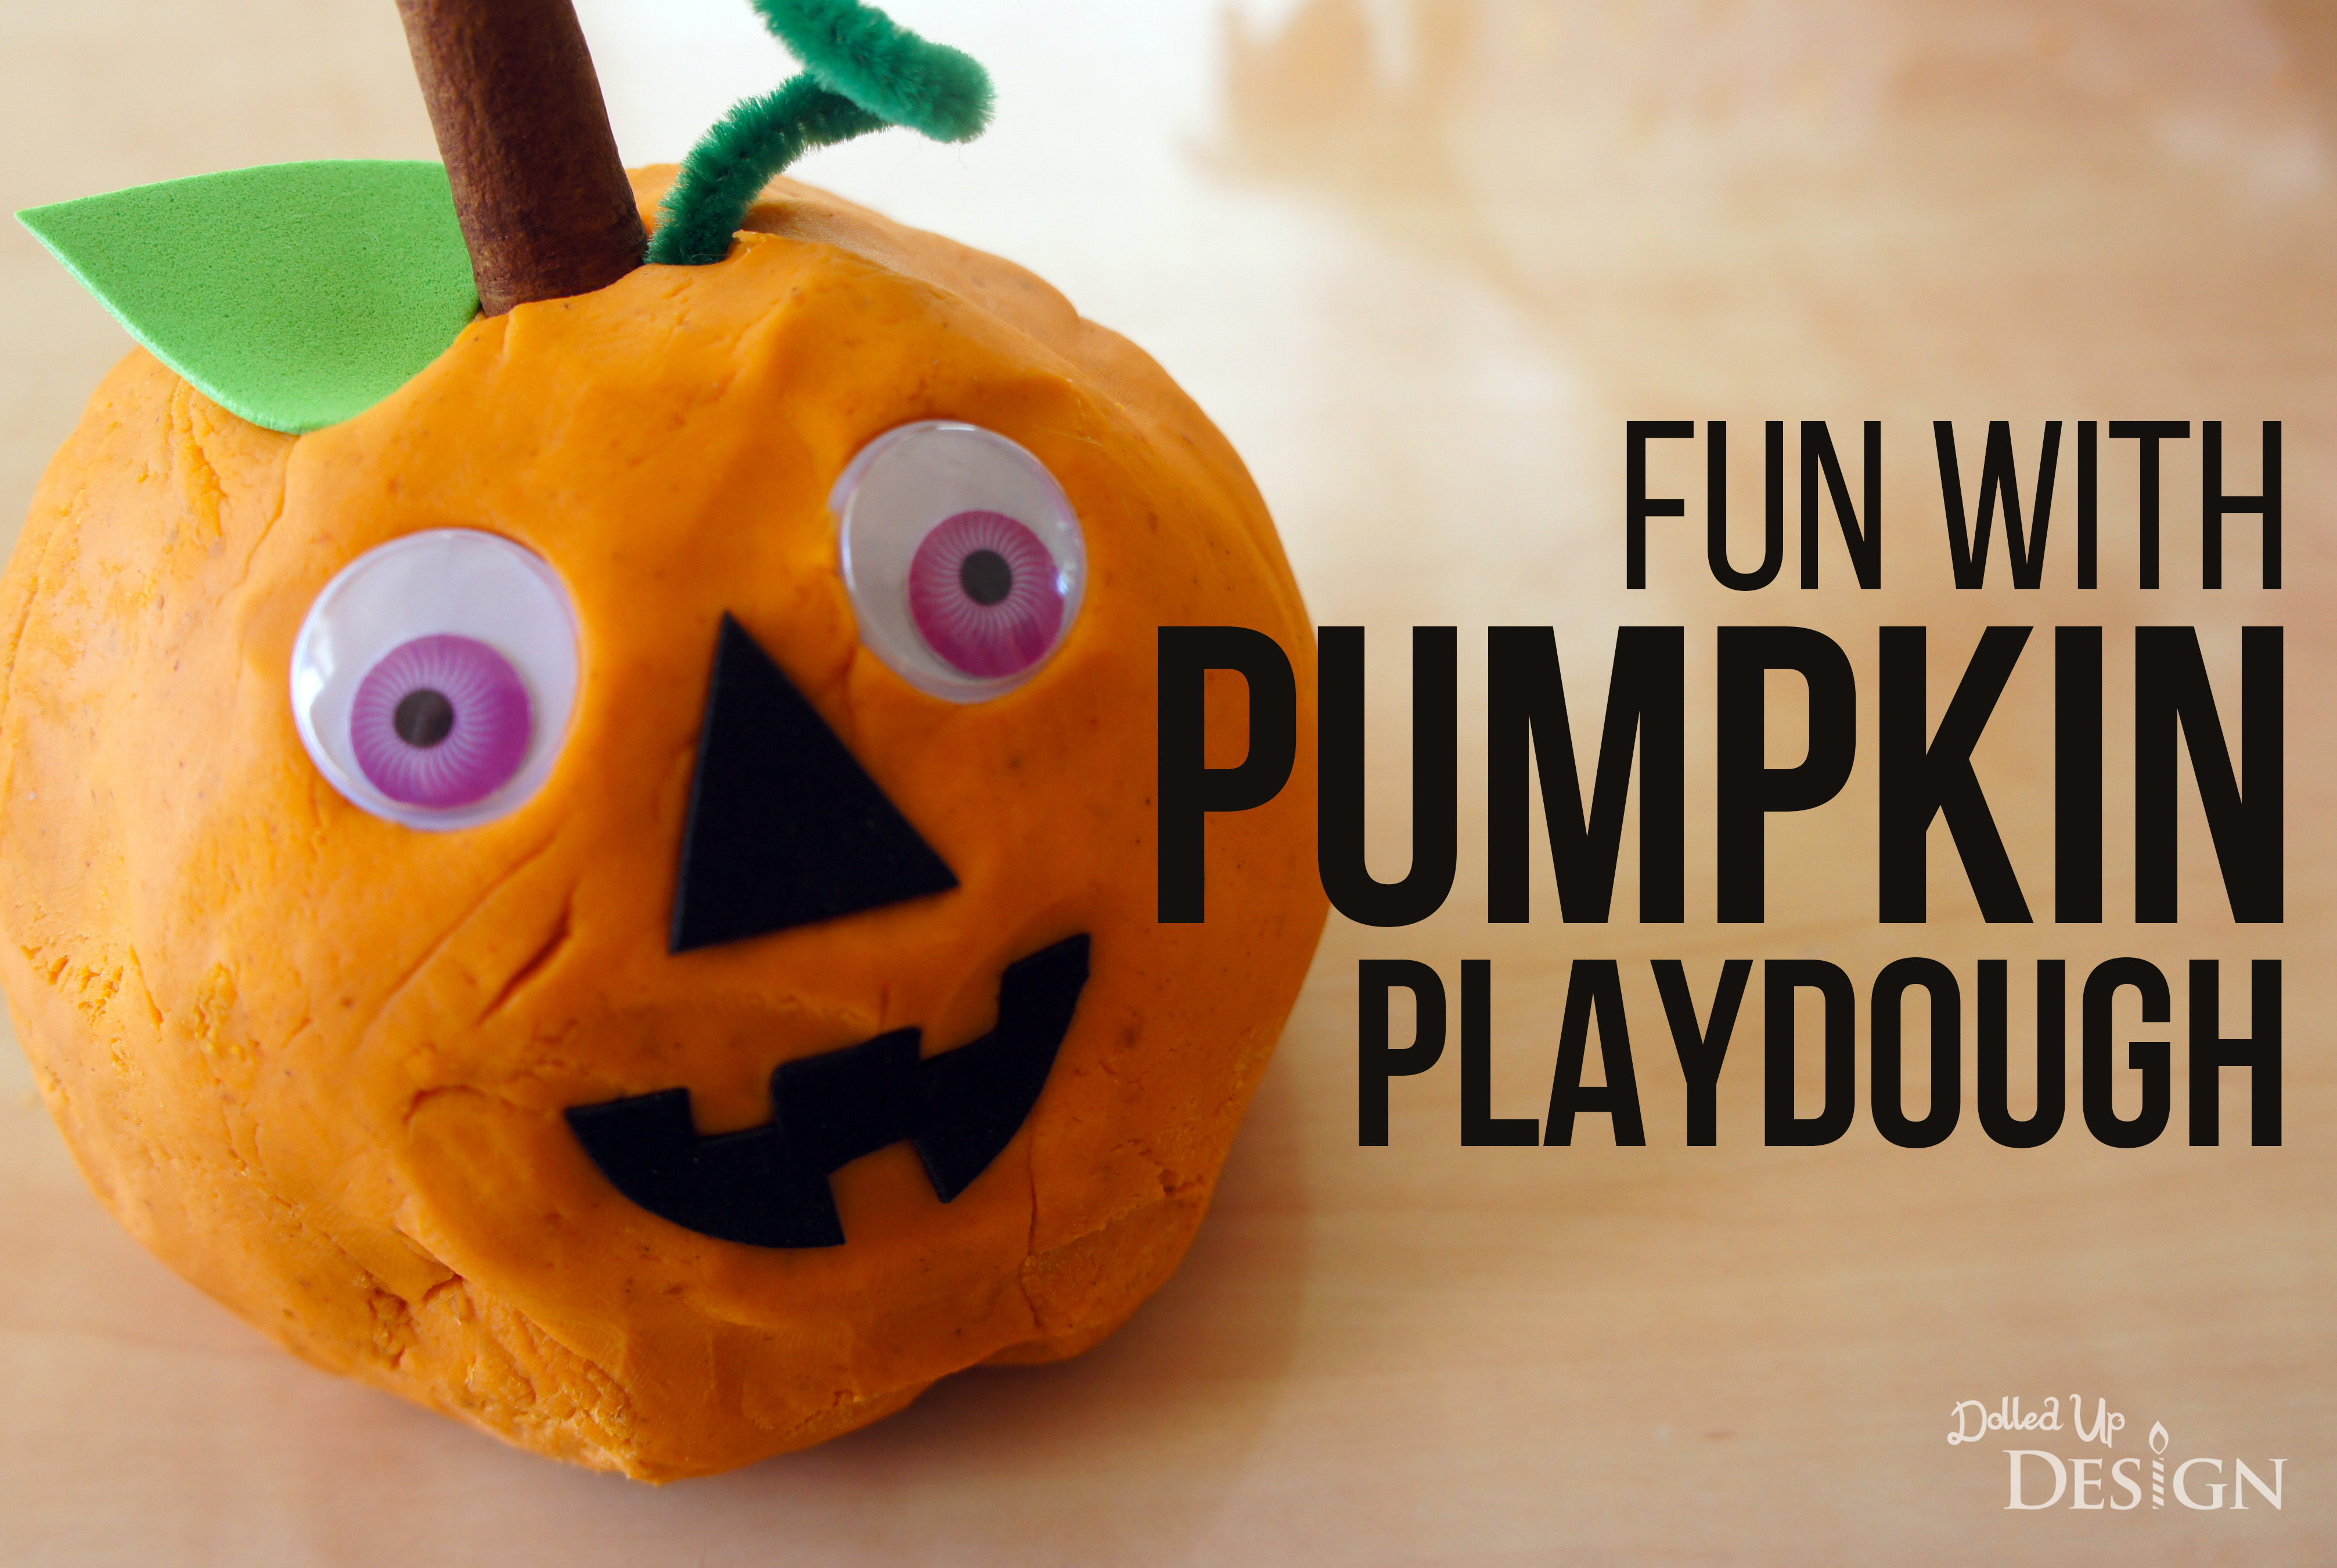
Last week I made some delicious pumpkin dinner rolls for Thanksgiving dinner and ended up with a lot of pumpkin puree left over to use up. I made these delicious Pumpkin Spice Rice Krispie Squares and decided to use the final bit for a batch of this yummy smelling Pumpkin Spice Playdough. Continue reading “Fun with Pumpkin Playdough”

Last week was my son’s last day of pre-school. It was a great introduction to school and I am (mostly) looking forward to sending him off to kindergarten this fall.

He had a great year and had some really amazing teachers who made it fun for him to go each day Most days I didn’t even get so much as a wave good-bye as he was running into the classroom to play.
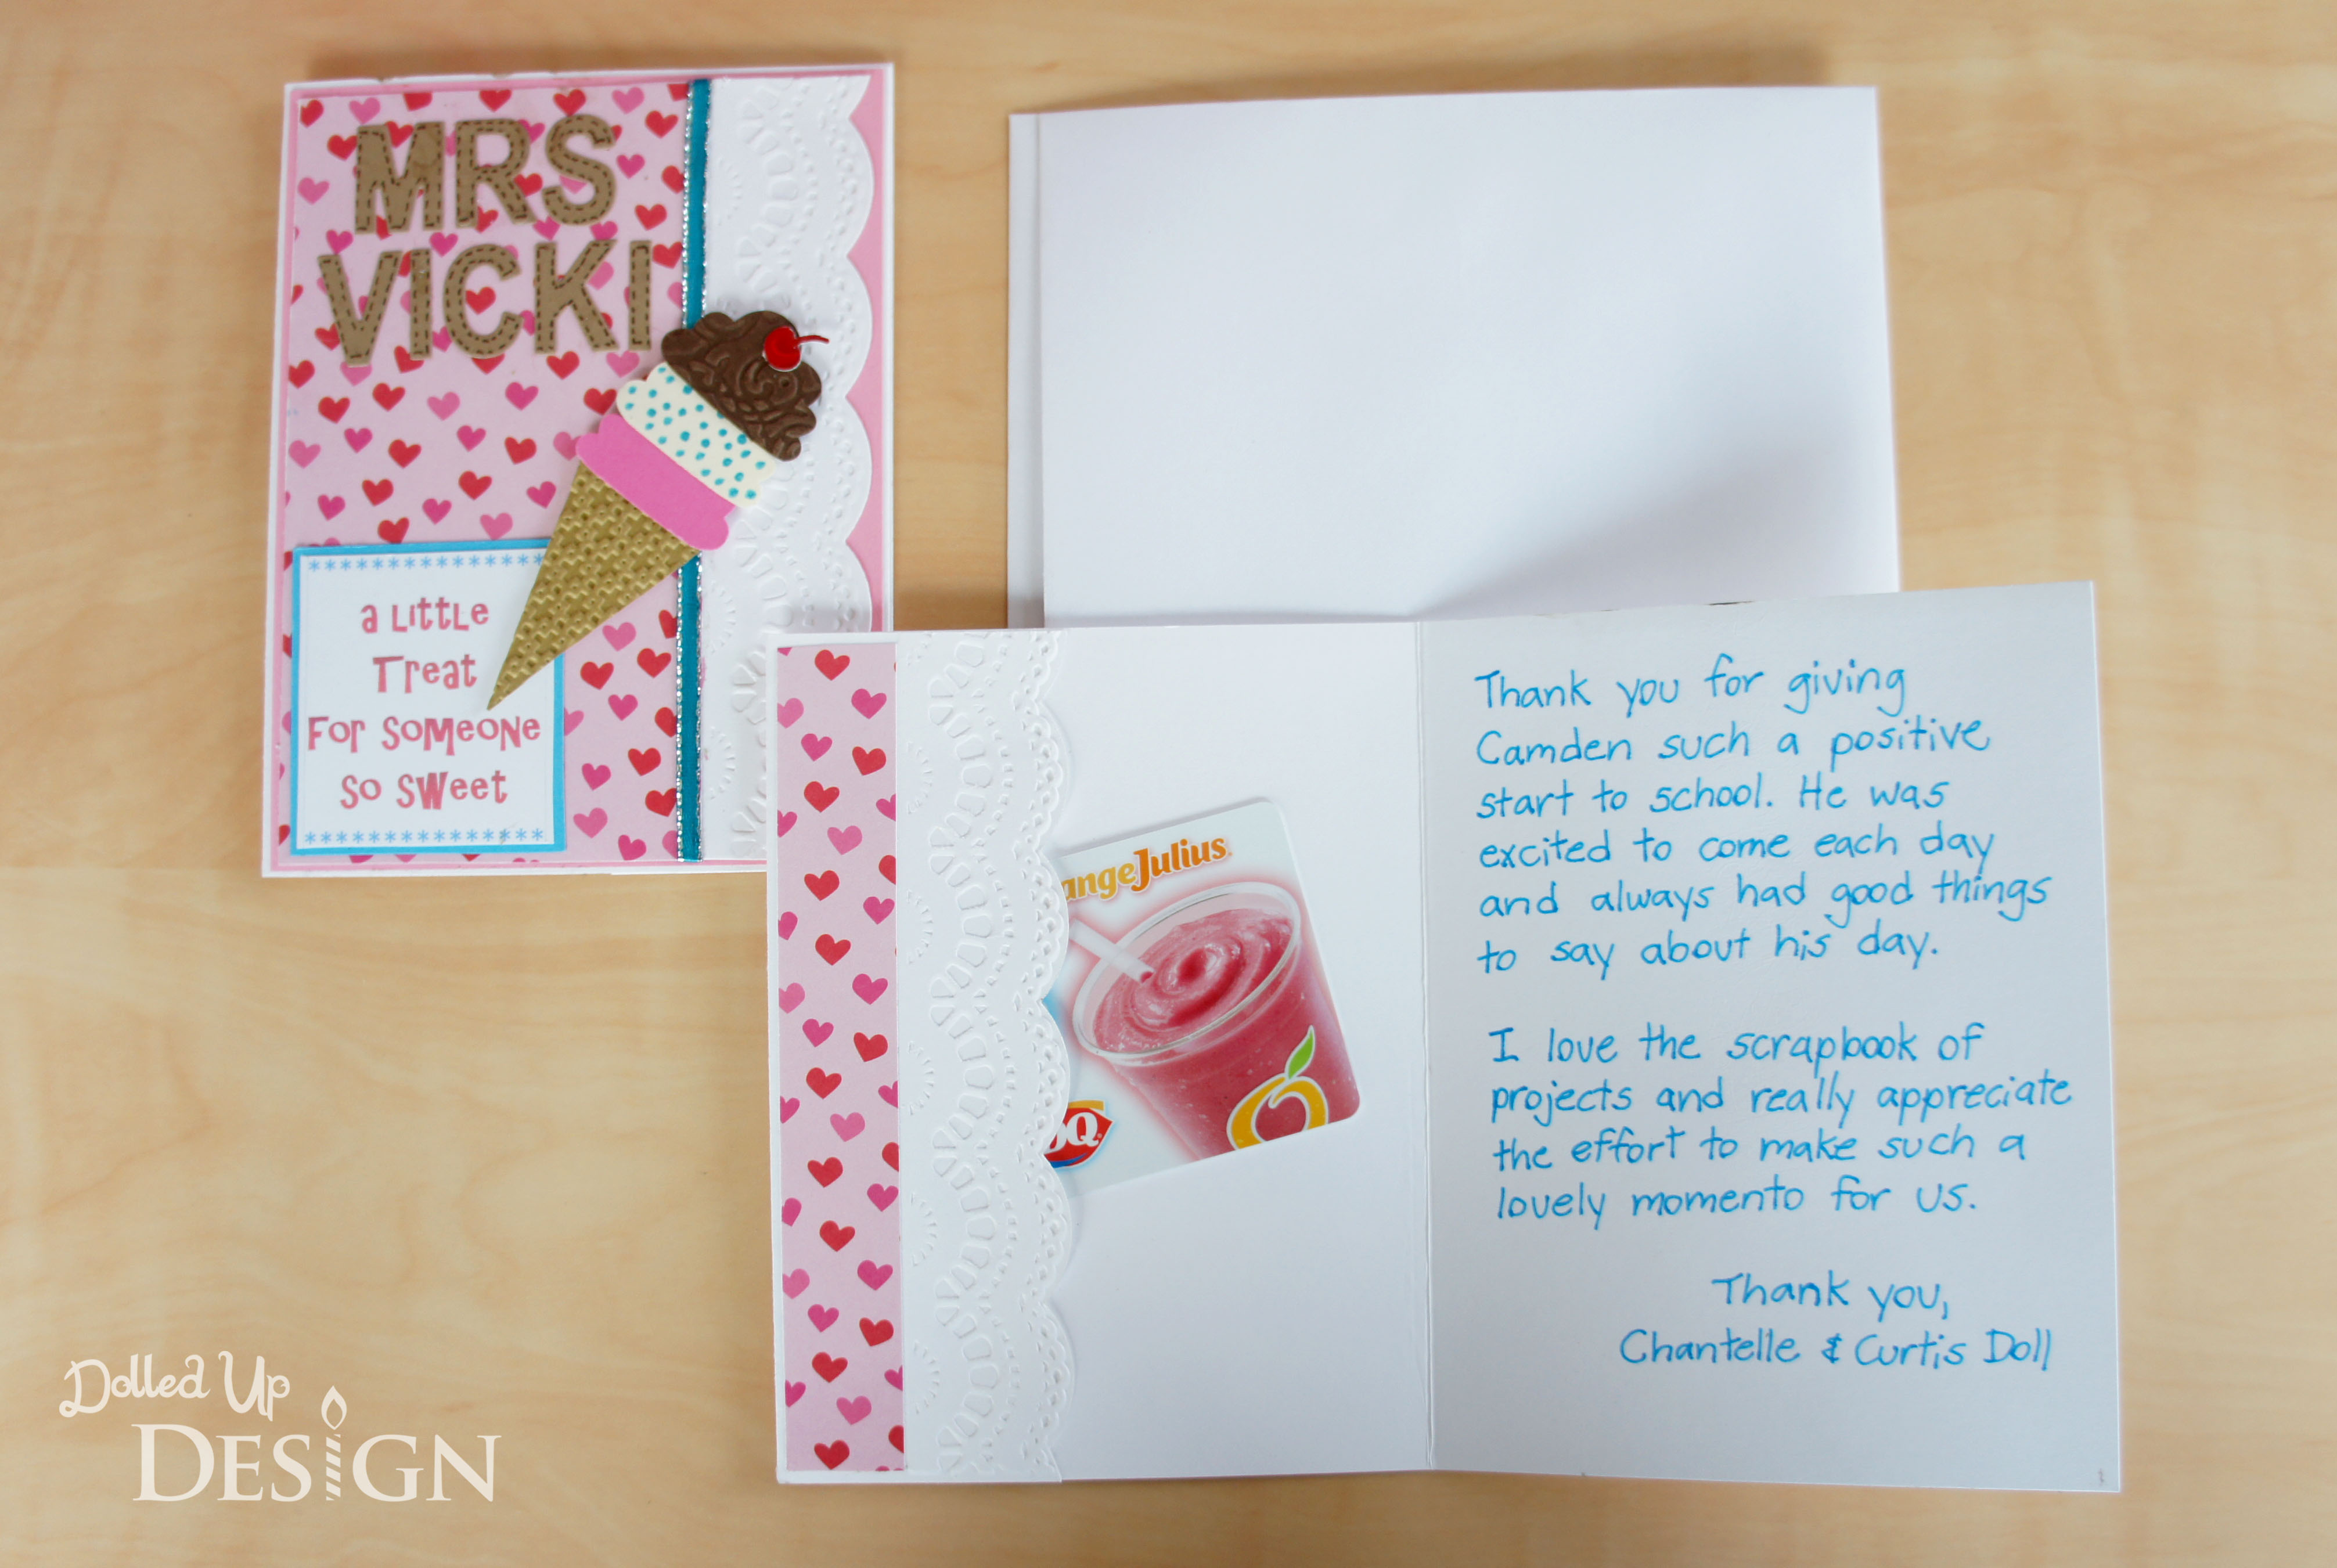
I wanted to do a gift card of some sort, but I knew the one teacher did not like tea or coffee. Both teachers have young families and since our family goes out for ice cream a lot during the summer months, I decided on a gift card for Dairy Queen.

I enlisted the help of my mom to make the cards. She was happy to do it and I knew she’d do a great job so this was one place I was happy to pass the DIY torch over.
The cards turned out great and I love that my mom even thought to included a small pocket inside for me to tuck the gift cards into!
And as a little something to go with the cards and gift cards, I decided to use a couple of the plastic pots we had leftover from an activity at my daughter’s birthday party. (There’s more on that to come, I promise!)

I designed a new insert to go in the plastic pots and had my son color and decorate one for each of the two teachers.

Now coloring and crafting is NOT my sons strong suit. It has been a battle all year to get him to do the crafts at pre-school and if it was left up to him he chose to play with toys or build with blocks before touching a crayon or scissors. At pick-up each day I would see each kid coming out with their wonderful creations, and my son was almost always empty handed.
Knowing this, I hope the teachers appreciated his efforts to sit down and actually create something for them. He seemed to try and get through the coloring part quickly so he could get to the playing in the dirt and planting, but he did seem quite proud of his creations at the end.

The gifts turned out great and I hope it help show the appreciation for his wonderful teachers. My daughter is already excited at the idea of starting at the same pre-school in the fall because of her big brother’s great experience.

For our upcoming trip to Disneyland, I was on the fence about whether or not I wanted to come up with an autograph book. In past trips I have not bothered with any character photos or signatures, but I have also never had young children along. I am still not sure how into it my kids might be, but I know I don’t want to regret not having one in case it is something they are excited by. We do have a character breakfast booked for our first morning in Disneyland Park and I figure at the very least we will be able to get signatures and hopefully a couple photos of the kids with the characters there. Continue reading “Designed to Sign: DIY Disney Autograph Book”

Are you planning a Mario themed party? These adorable treat filled mushroom favors are enough to excite any Nintendo-loving fan.

Check out the full DIY Mario Mushroom Favors tutorial as my guest post over at Moms and Munchkins today.
It is our very first Christmas in this house and I am very excited to share with you pictures of how we have decked our house out for the big day!
Outside my husband spent one very long afternoon up a ridiculously large ladder before the snow hit to get our exterior lights up. It makes me happy when I go out at night and come home to the twinkling lights!

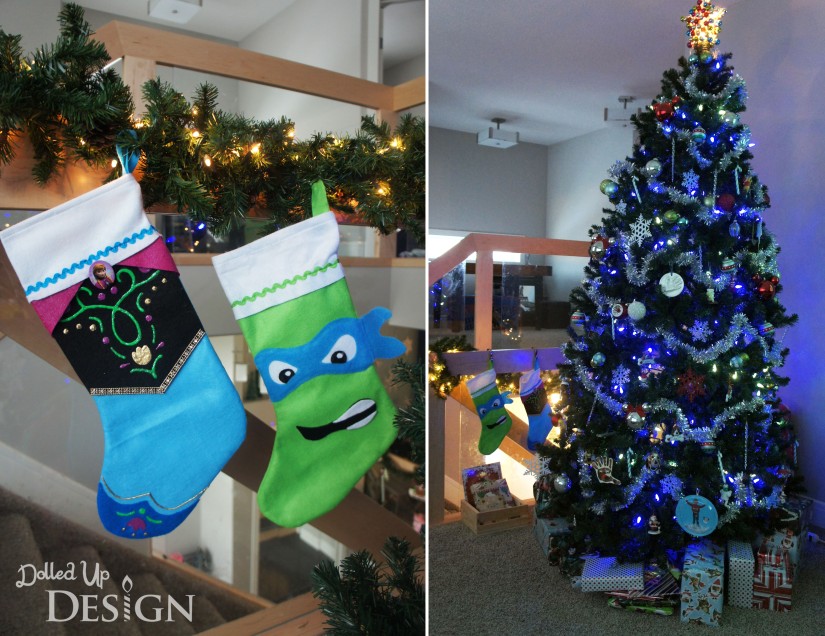
We decided to make the switch from a real Christmas trees to an artificial one this year. I miss the piney smell, but it is sure nice having the tree up early to enjoy and not having to vacuum up pine needles. It only took a few days and my two year old was bee-lining to the tree first thing in the morning to make sure it was lit up!
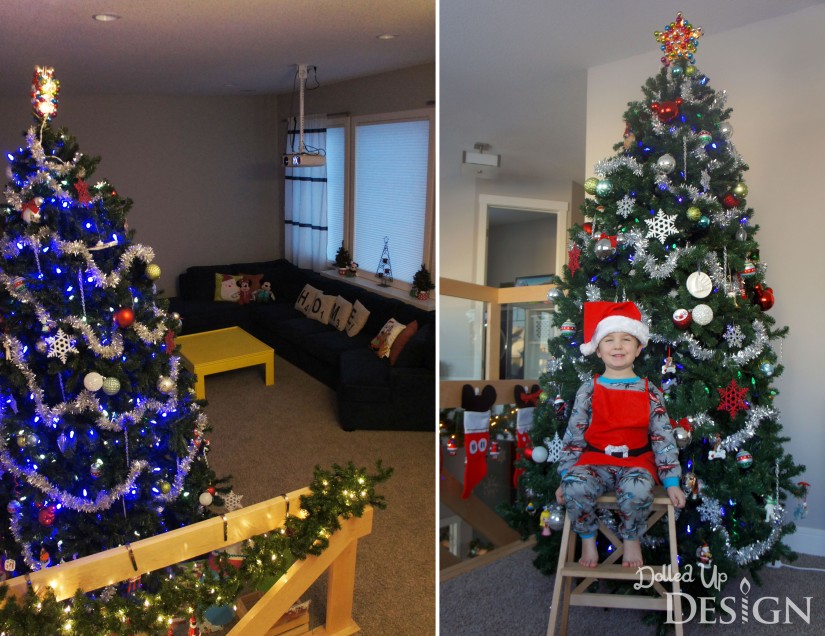
The tree is upstairs in our bonus room so the kids won’t have far to come down and see if Santa has come. There was some debate over where to put it, but I think this works best. There is lots of room for the 9 foot tree and that room has a soft carpeted floor for the kids to open their gifts on and play Christmas morning.
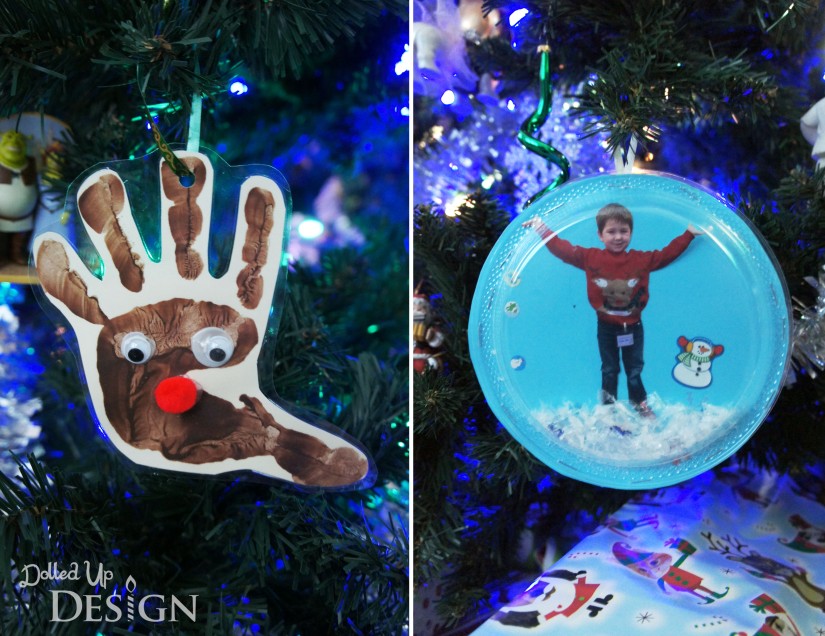
Two of my favorite new ornaments on are tree this year are this handprint reindeer and snowglobe my little guy made at preschool. He is not big on crafting, so I appreciate when he does actually bring home a craft.
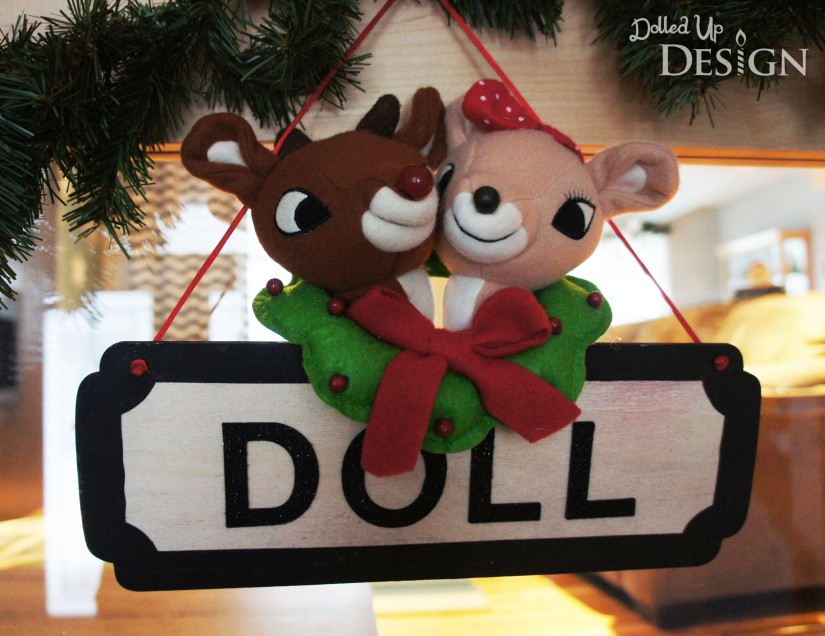
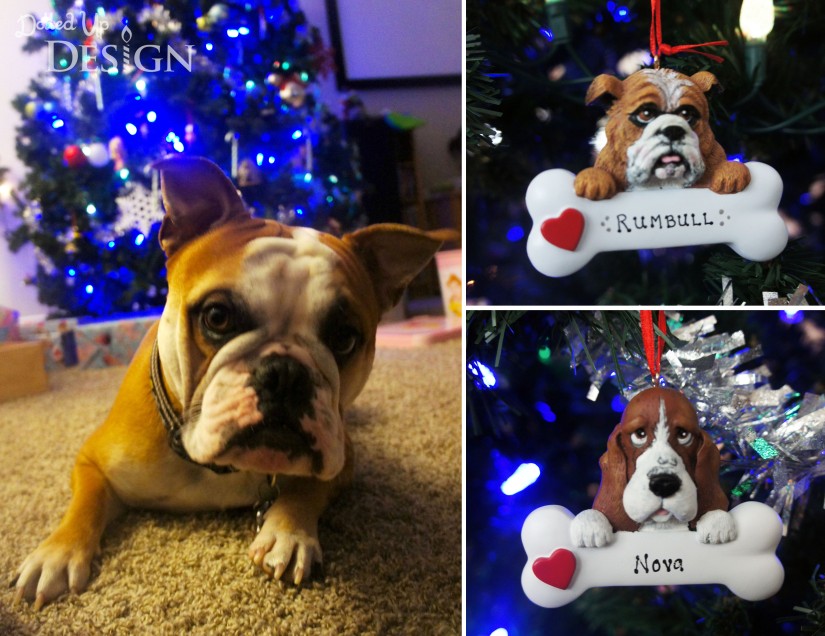
I also was feeling a bit of puppy mommy guilt as we were decorating the tree and I realized Rumbull had no ornaments yet so I got him this one when we were at the mall for our annual visit to Santa. I was very excited to find a personalized one that matches Nova’s!
The kids DIY stocking are new this year and you can read more about how I made them here. They have been hung on the stair railing next to the tree where Santa can easily find them.
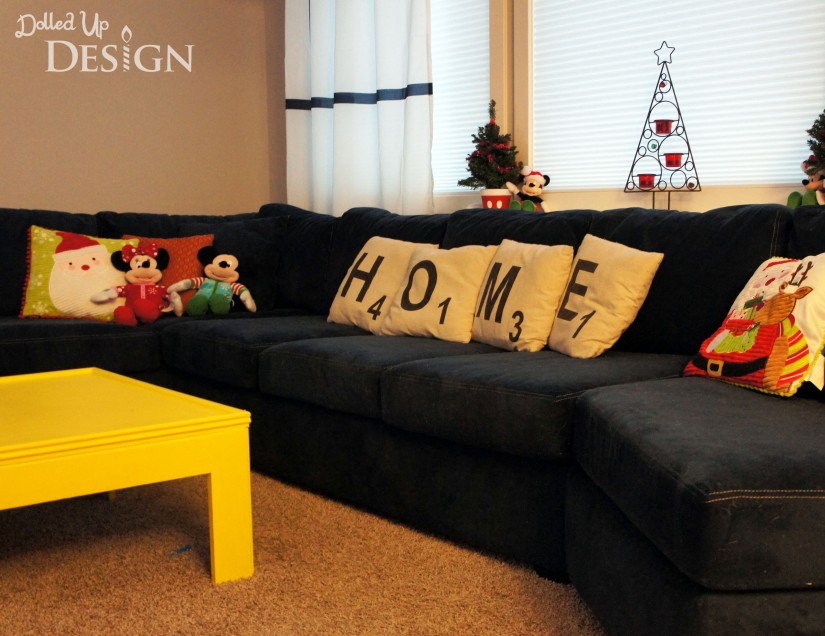
I also found some new throw cushions for the couch and a placed a few small Christmas accessories we already owned throughout the room to make it festive. Dontcha just love our giant couch!? It has been perfect to cuddle up on as a family and watch all those great Holiday specials over the last month!
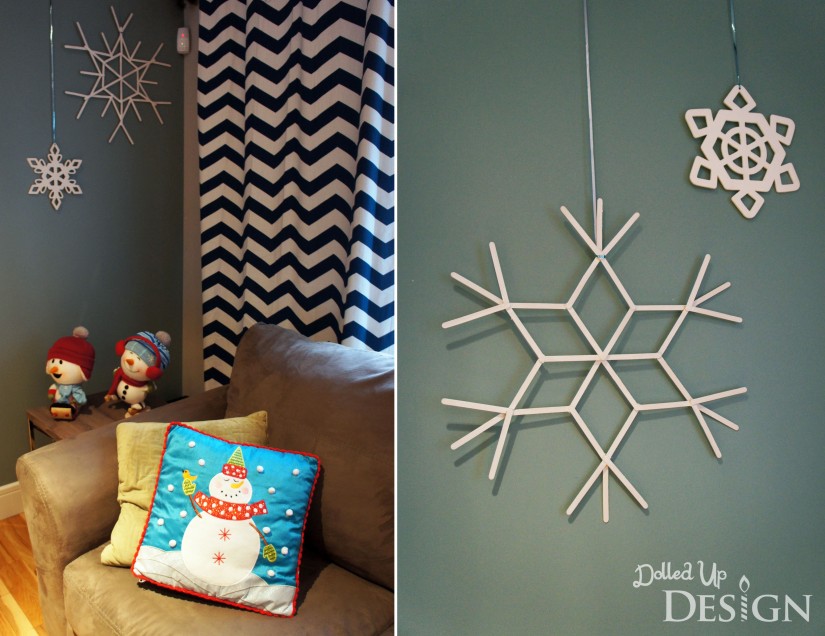
On the main floor, I still haven’t managed to get any pictures hung on the living room walls so I had a blank slate to work with for Christmas decorations. My sister in law pinned these pretty DIY Snowflake Popsicle Ornaments from Fab DIY and when I realized how easy and inexpensive they would be, I decided to make some.
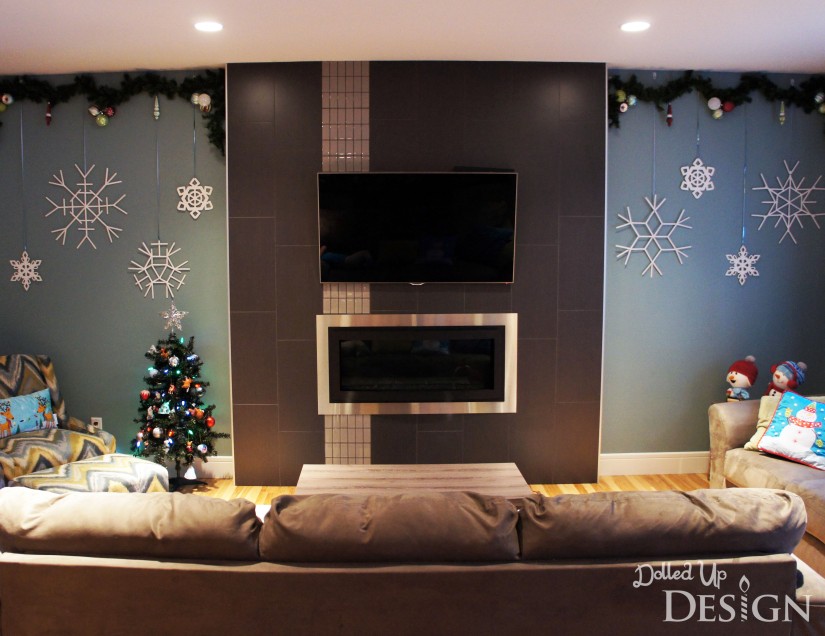
I painted mine white and hung them alongside some wooden snowflakes I found at the Dollar Store. I love the way they pop against the color of our living room wall and the big impact it makes for just the cost of some popsicle sticks and hot glue! And, you can also see my sister in law’s stir stick versions here.
And, of course, I added a couple more Christmassy cushions for the couches in this room!
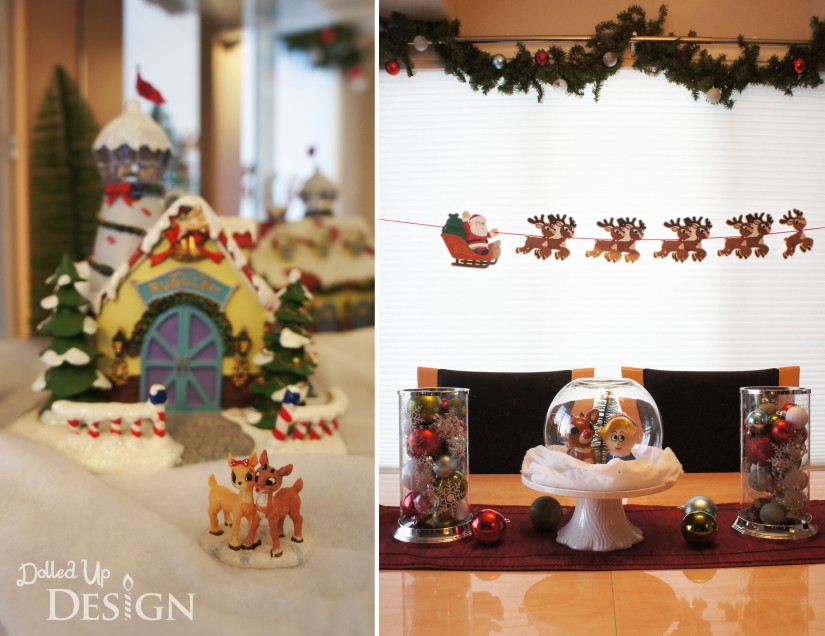
Our fireplace has a clean, modern look that I really like, but I do miss not having a mantle to decorate. In our old house we had a large corner mantle that I would set my Christmas village out on so this year I had to figure out a new solution. I ended up filling my China cabinet with the village and it turned out pretty well.
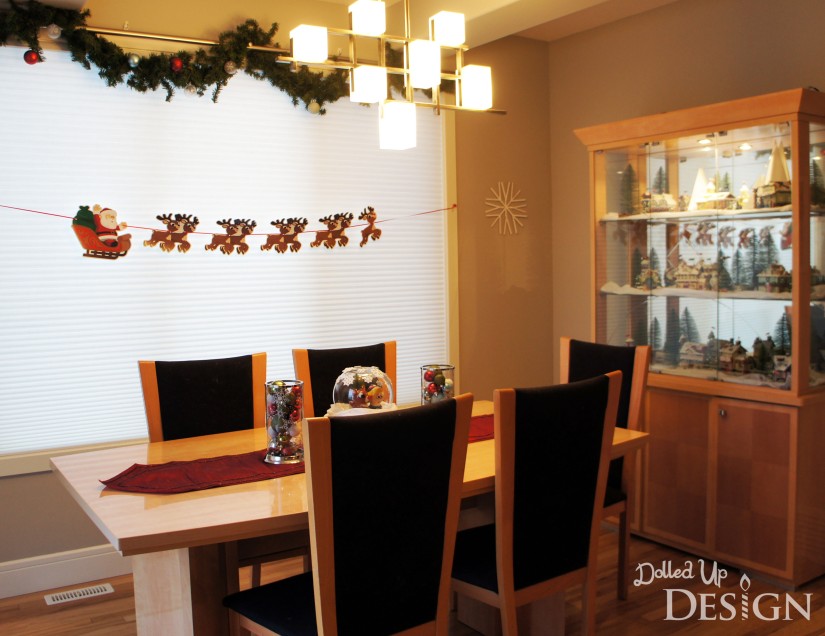
My Christmas village is Rudolph the Red Nosed Reindeer themed so I decided to carry that theme through some of the other decorations on our main floor. My DIY Rudolph banner look great hanging over the dining table, and I love the little snowglobe inspired centerpiece I made using with my new ornaments from Target. Hop on over to Moms and Munchkins to get the free printable file I created to make your own flying Rudolph Banner.
We had considered putting the Christmas village up in the niche over the front closet, but the configuration wouldn’t have worked well. I ended up coming up with this cute Rudolph scene after making some simple mountain shapes from foamcore and hot glue. We already had the sleigh and used it as an excuse to buy the Rudolph and Hermey figures from Walmart.
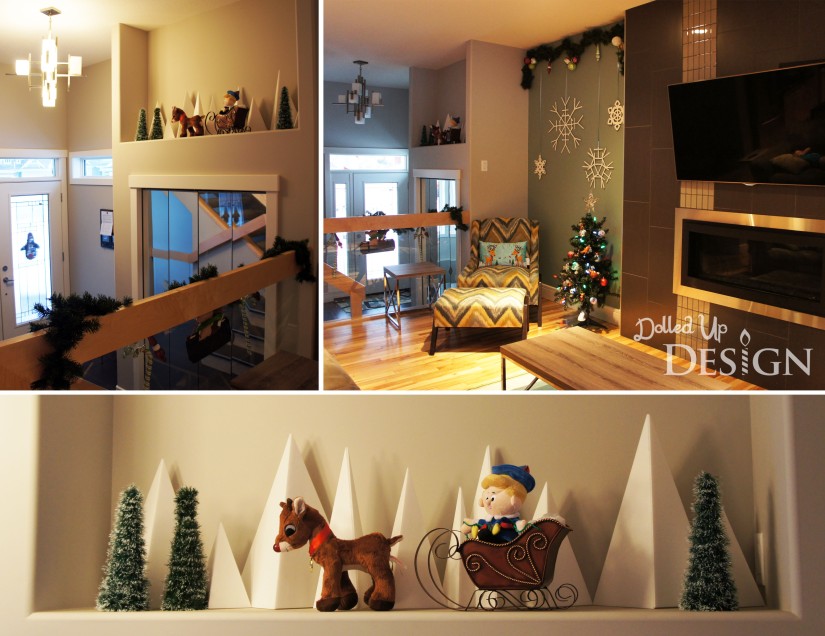
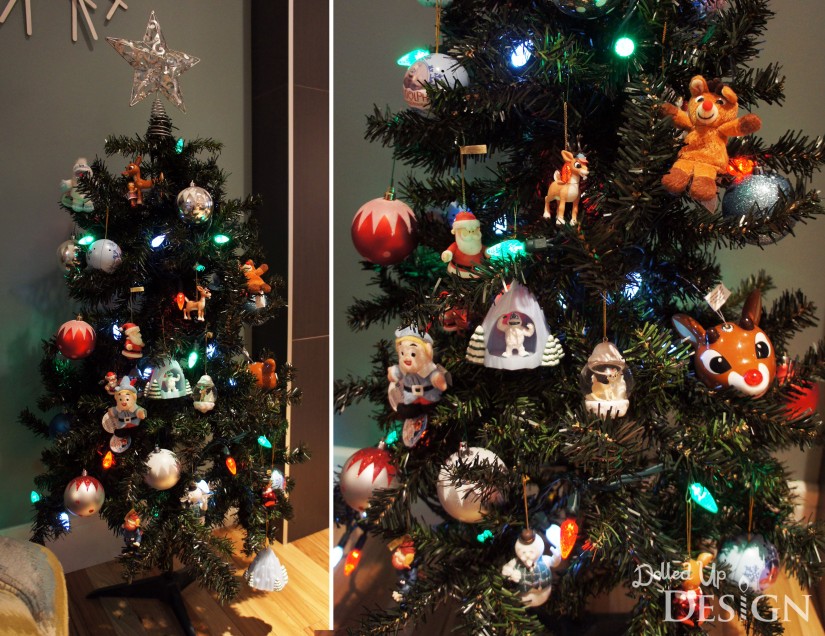
I also put up my small 4′ tree in the living room and put all the Rudolph ornaments I have collected over the last several years on it.
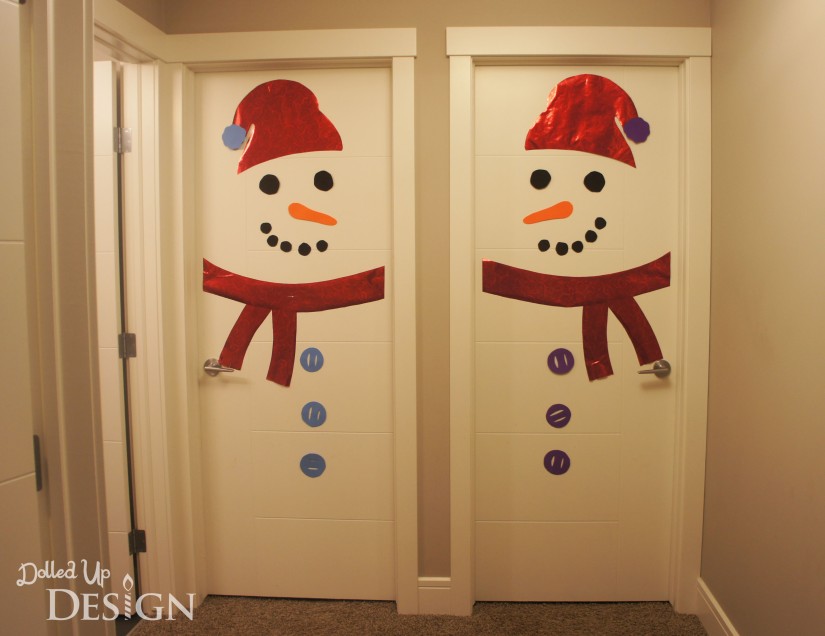
Finally, one simple DIY project I did were these quick snowmen on each of the kids bedroom doors. This is not an original idea, but still one worthy of a share because it is so simple and fun for the little ones. Mine were cut from foam sheets and wrapping paper.
Phew. If you have made it this far I hope you have enjoyed my tour. I think I have made a good start to decorating our new house for the holidays and hopefully I can add to my decorations over the next few years. I would love some Christmas themed accessories and towels for the bathrooms!

